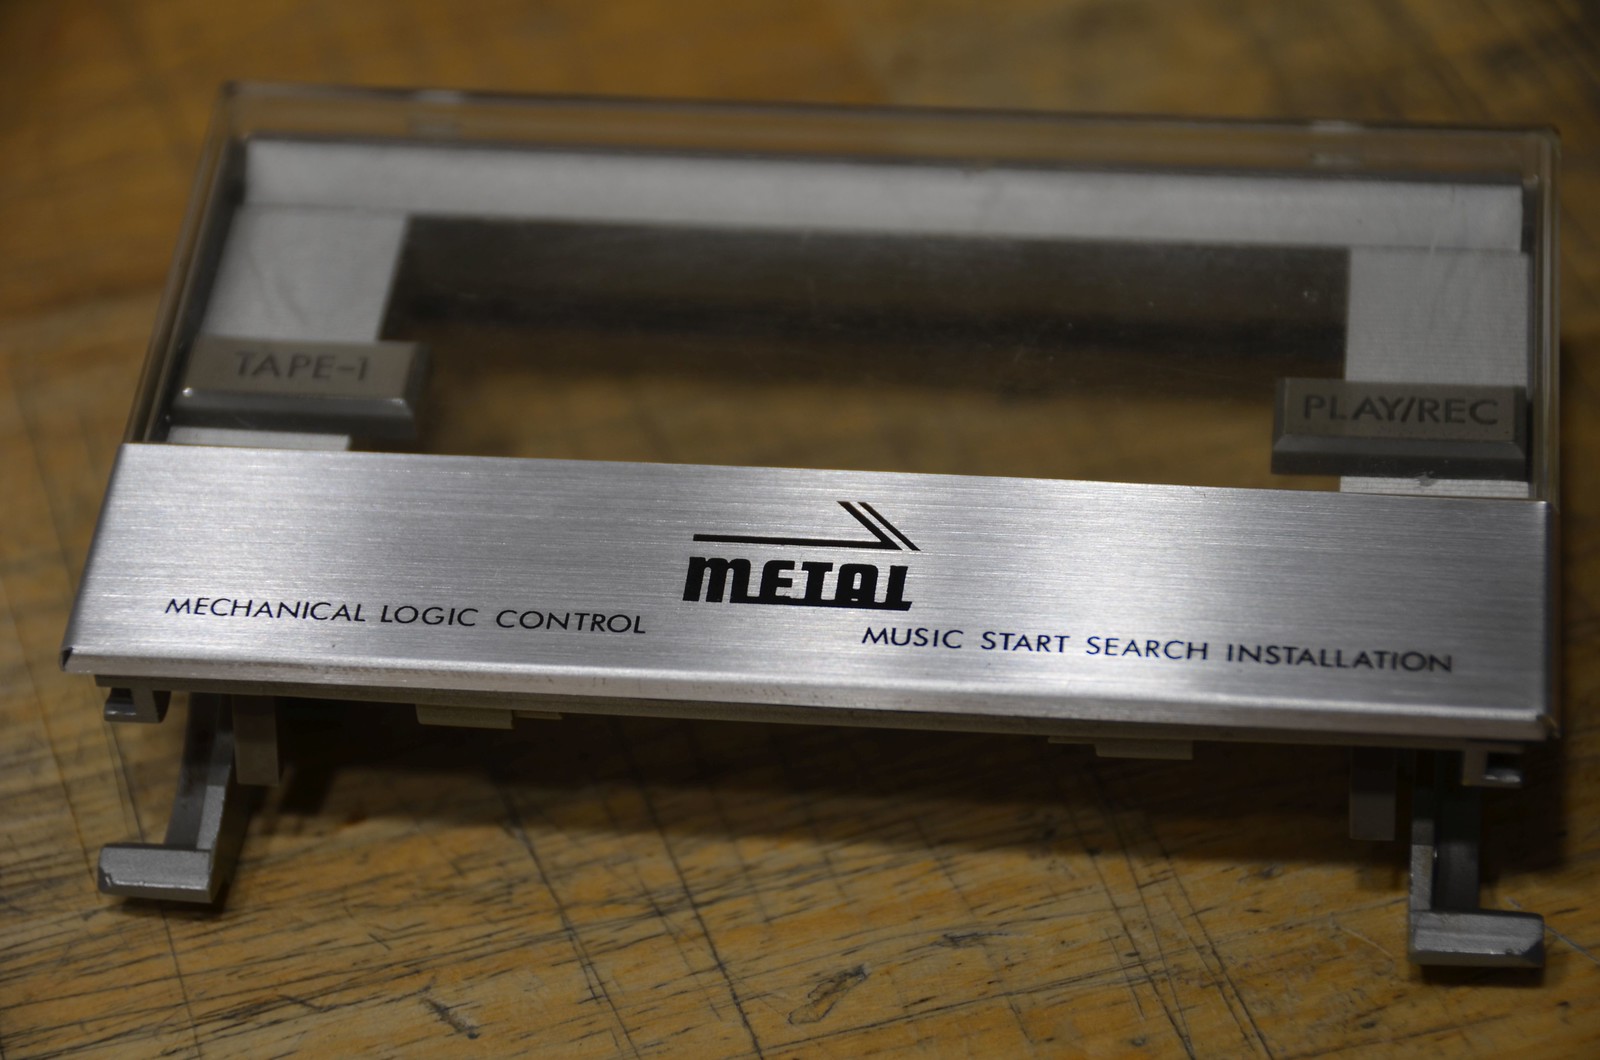
C-100F control panel trim spec
- Thread starter caution
- Start date

Got the dry transfers but they're white. D'ohhh. By the time I noticed he already had a corrected copy in the mail, haha.
So, if anyone wants to add C-100F lettering to something dark, I can help you
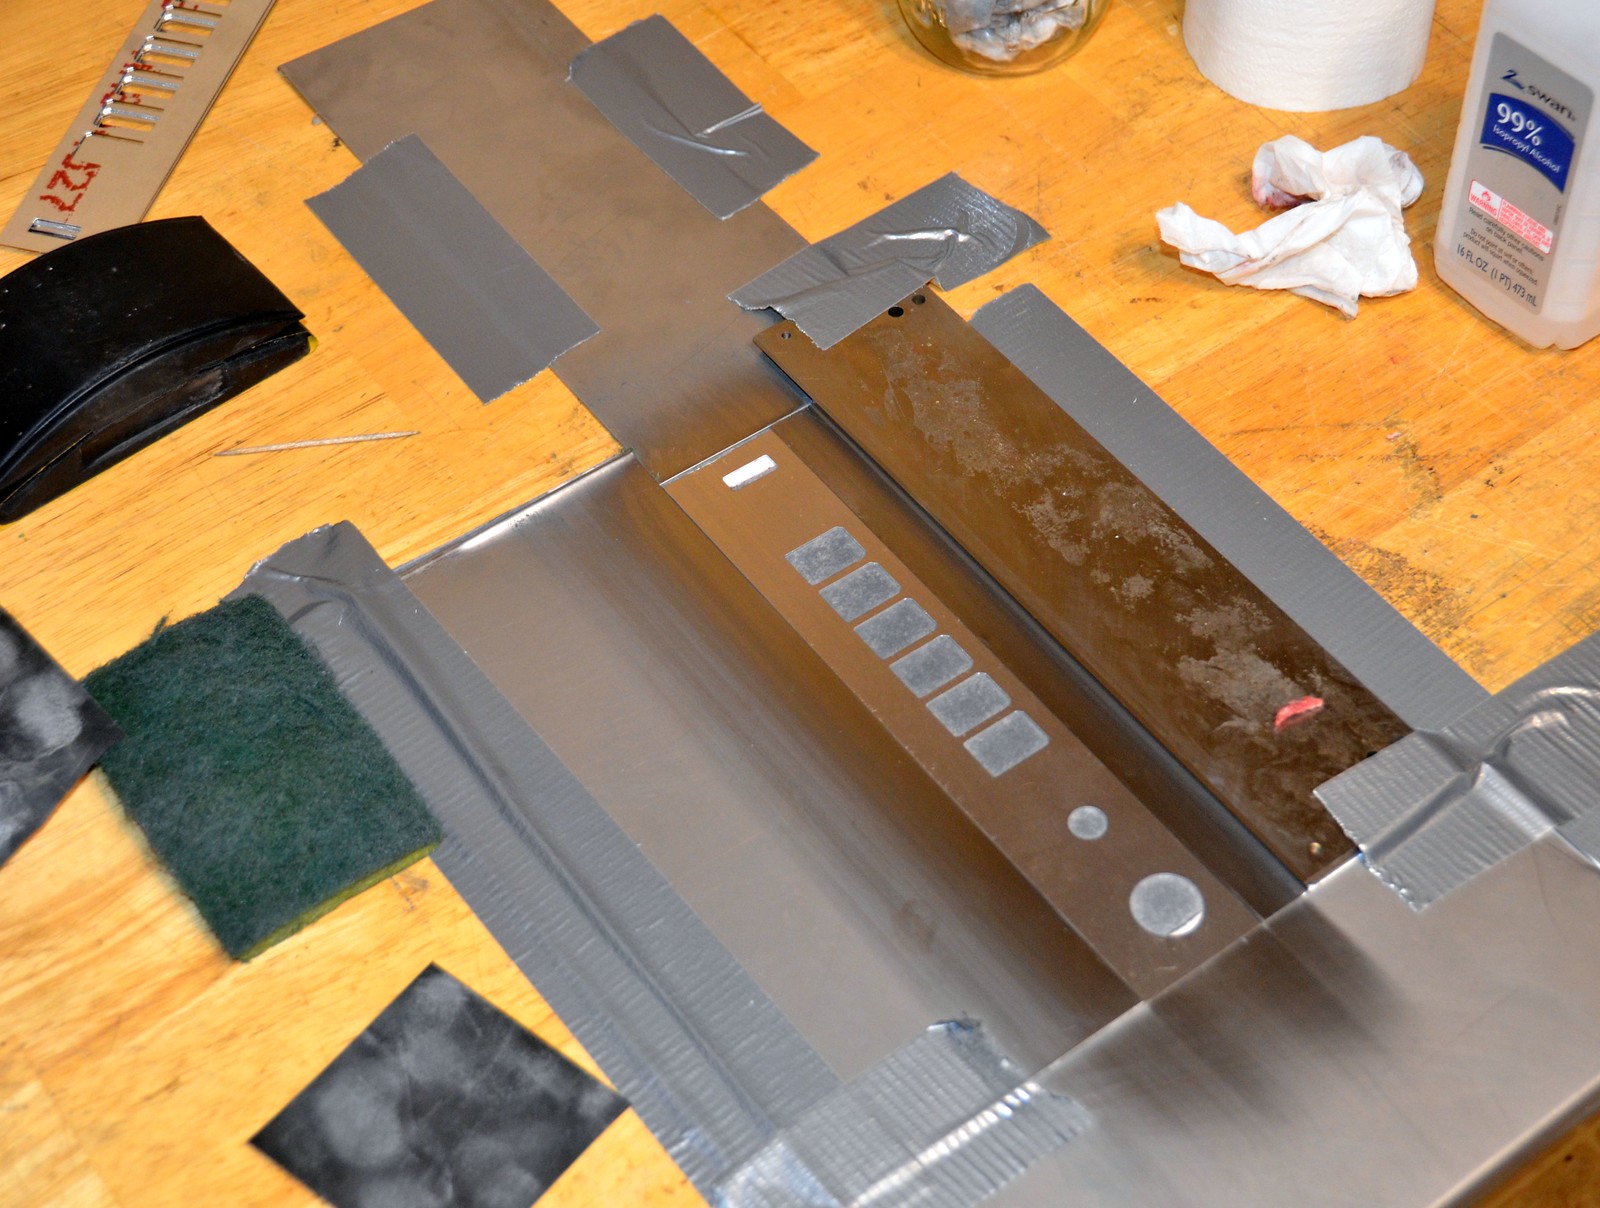
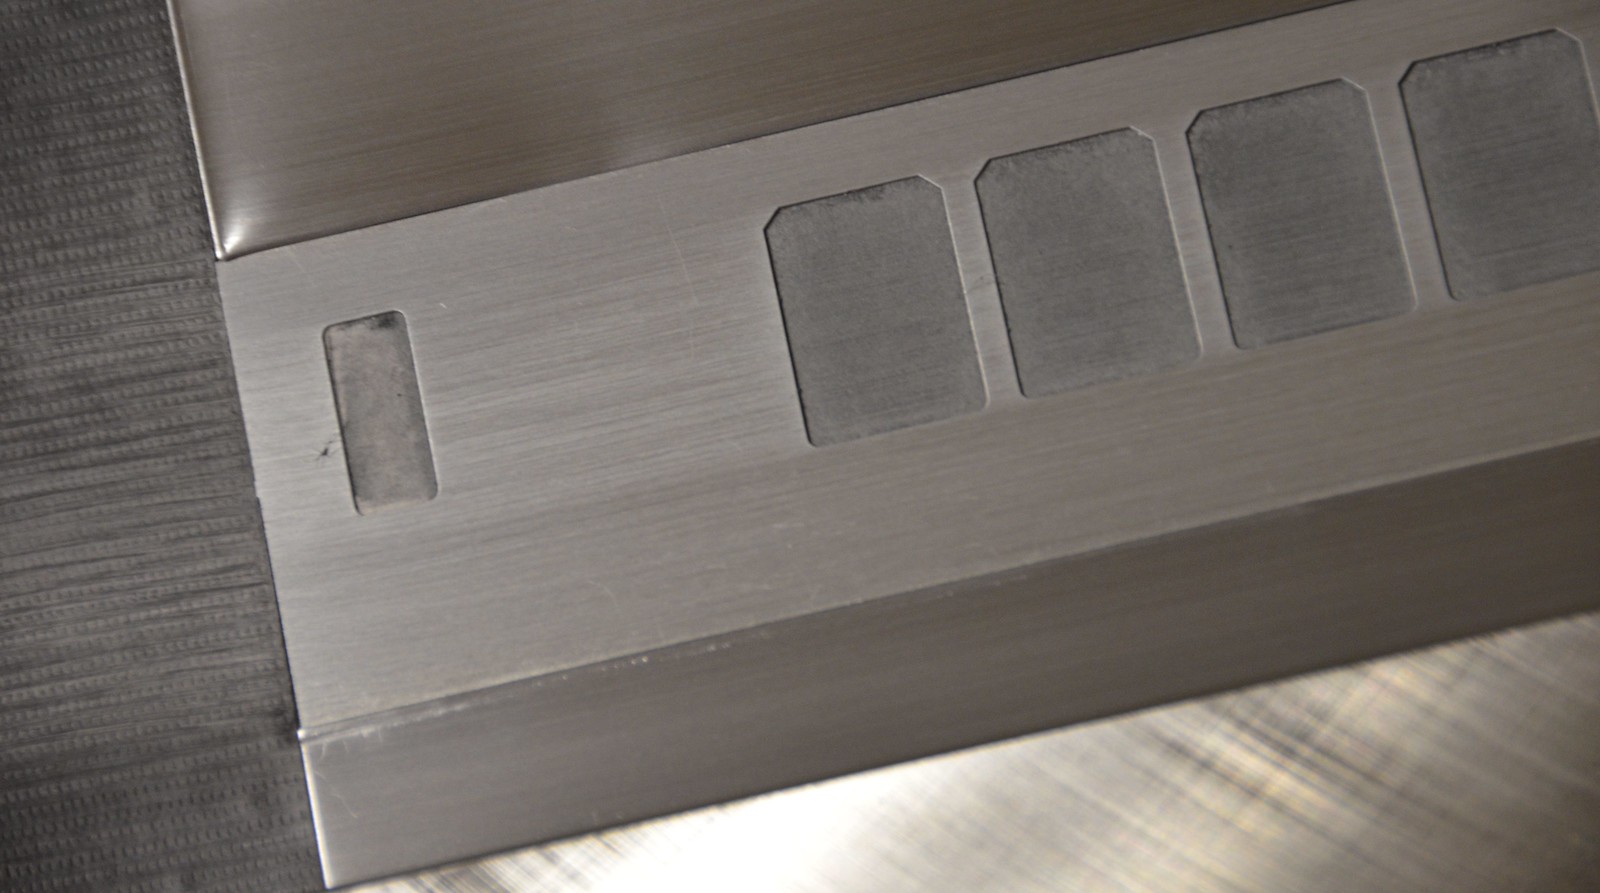
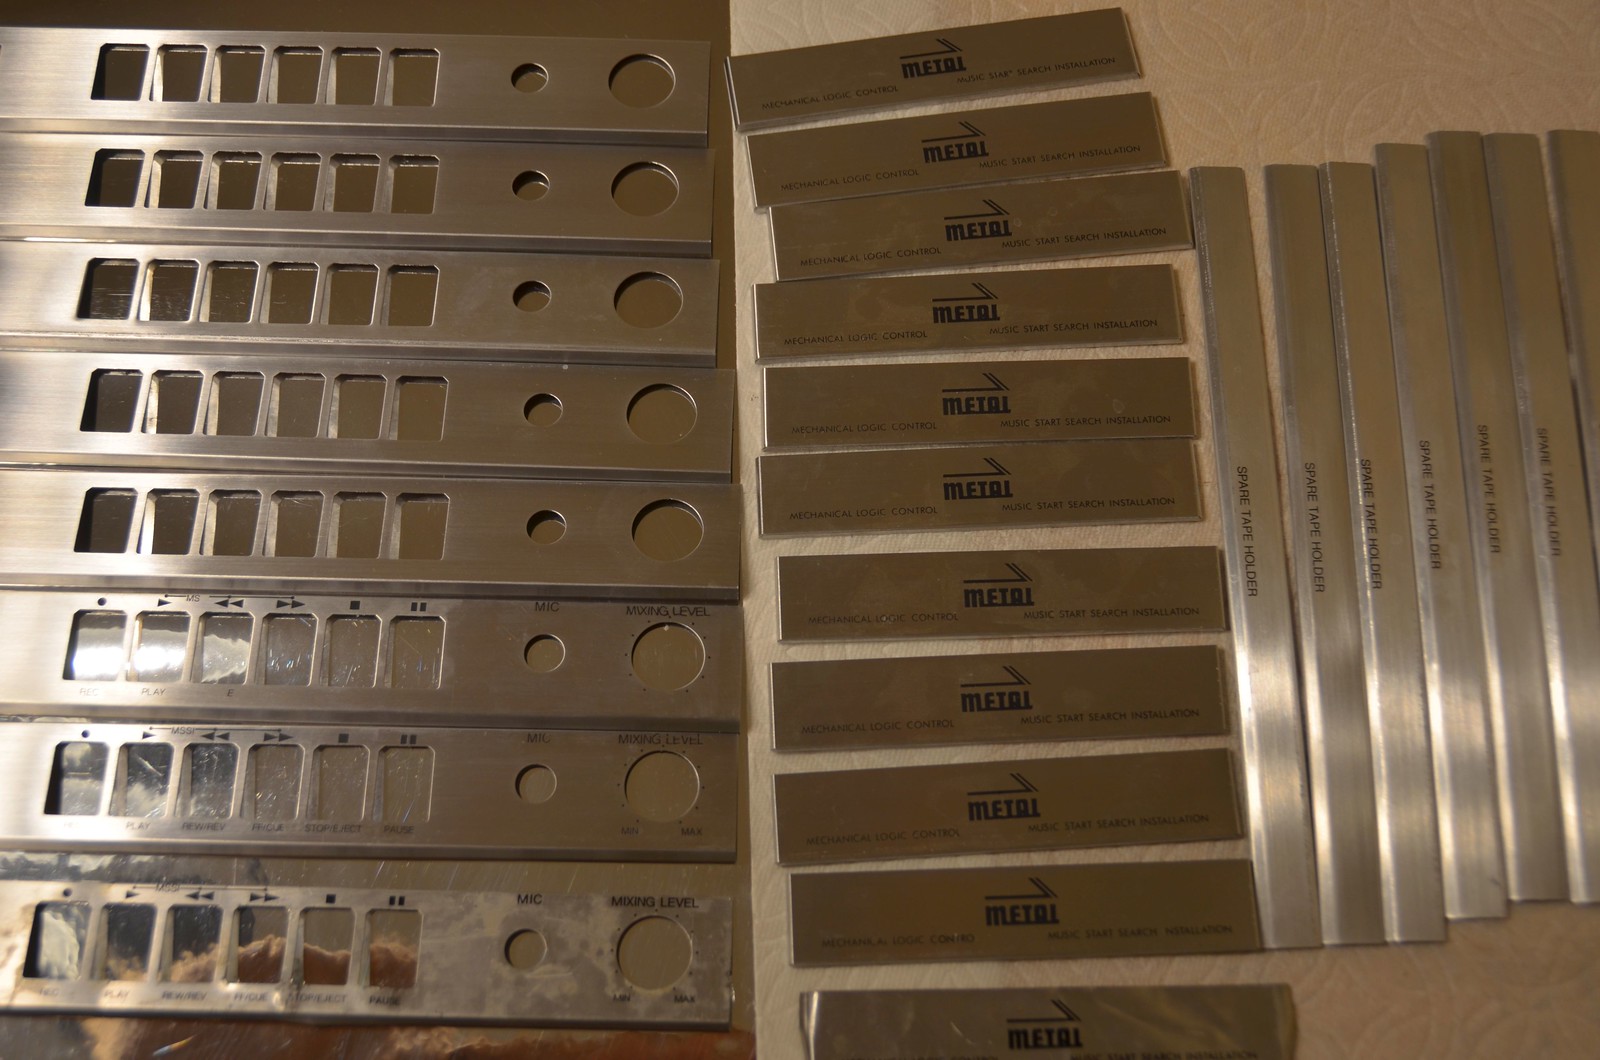
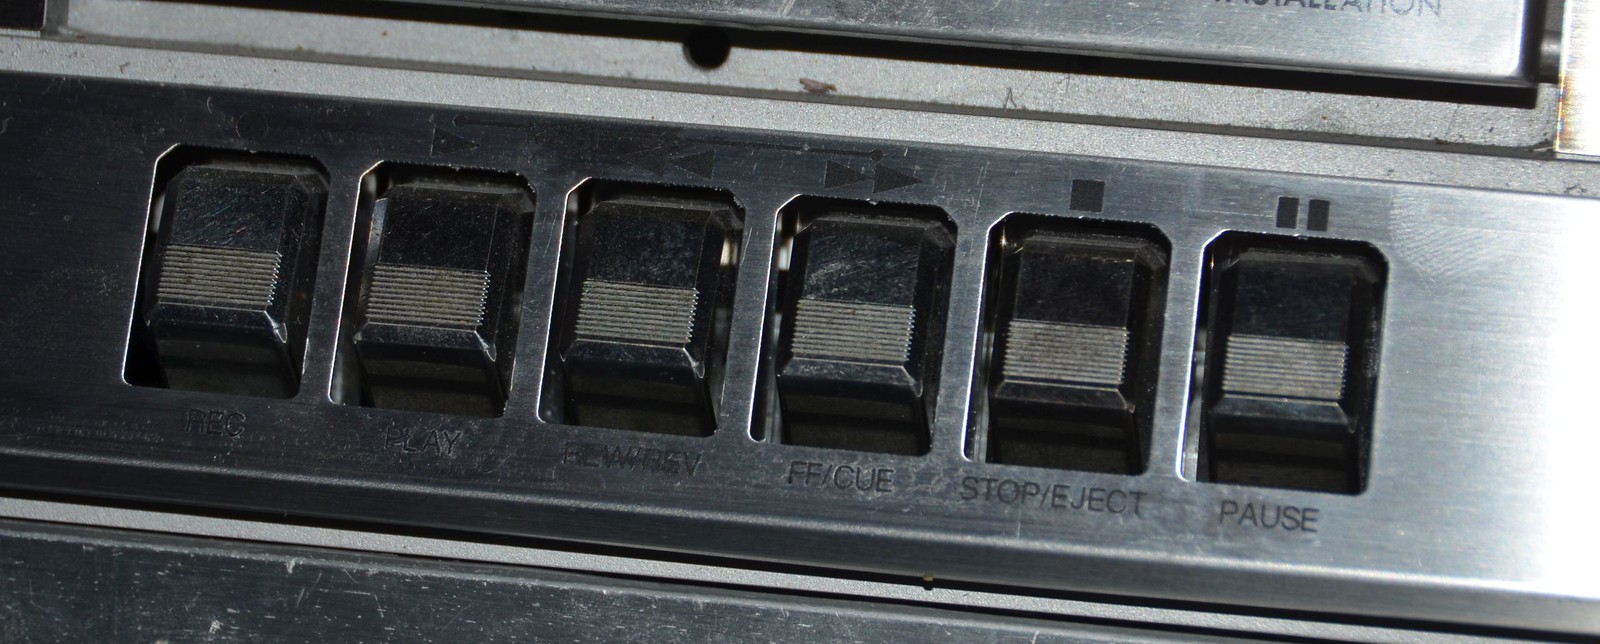
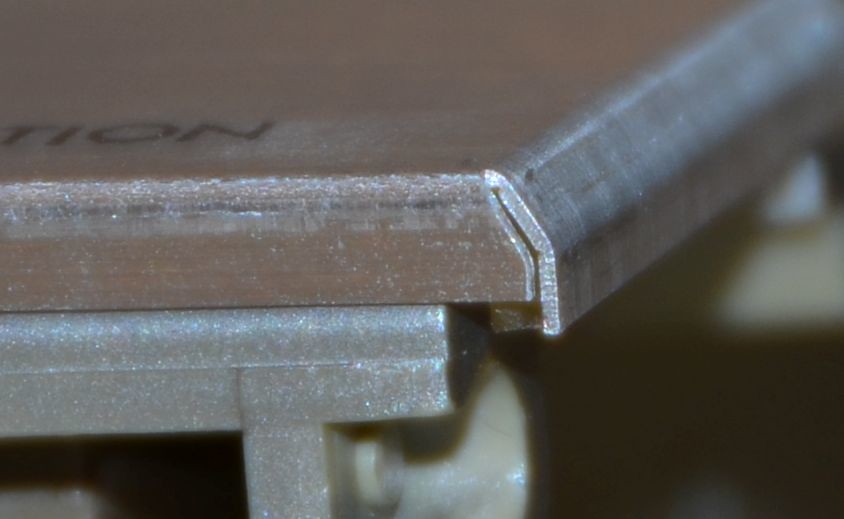
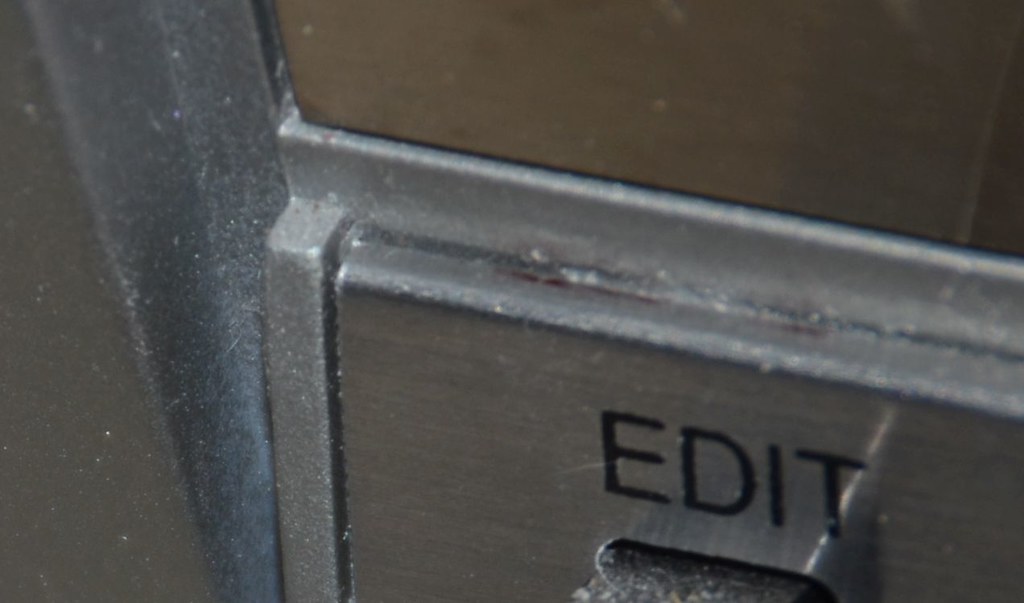
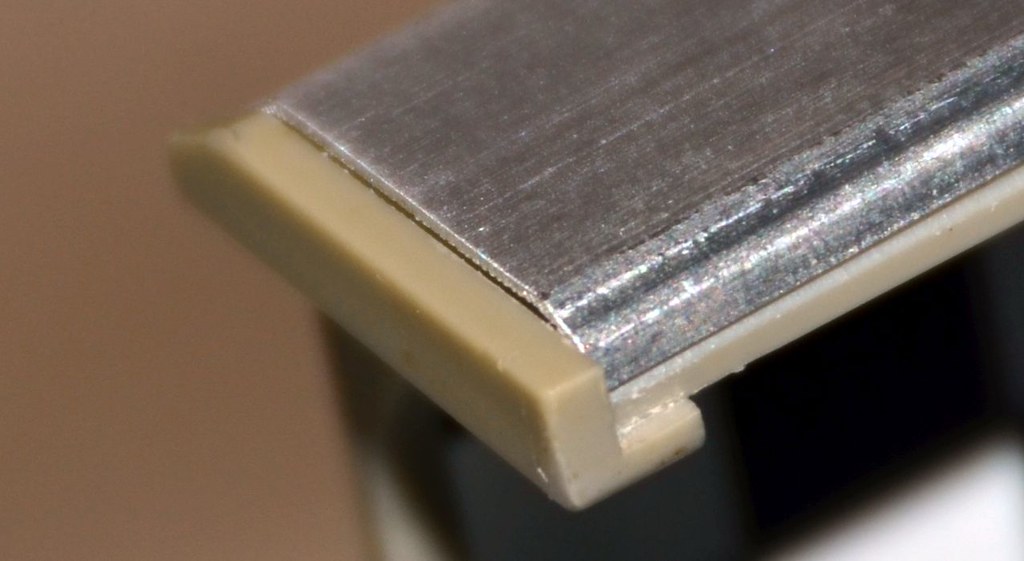
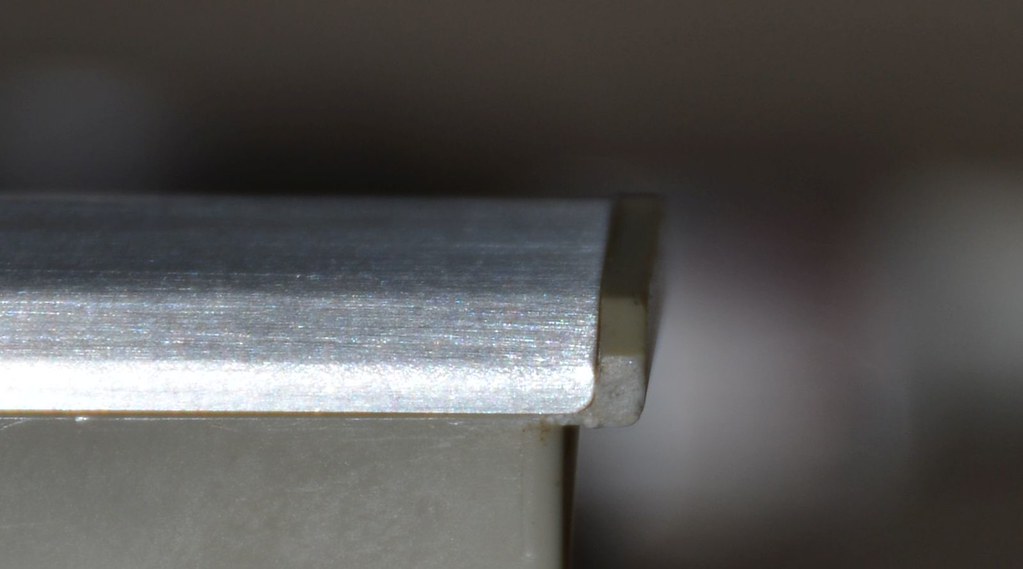
The door and tray trims came out great, but I gave up trying to get the deck trims consistent, with those holes in it. Conion stamped these originally, so they still wouldn't look 100% if I brushed them before cutting, the laser leaves marks that have to be removed anyway. The warped edging around the edit button is also impossible without stamping.


So, if anyone wants to add C-100F lettering to something dark, I can help you
The door and tray trims came out great, but I gave up trying to get the deck trims consistent, with those holes in it. Conion stamped these originally, so they still wouldn't look 100% if I brushed them before cutting, the laser leaves marks that have to be removed anyway. The warped edging around the edit button is also impossible without stamping.


Royce the original pieces on these were not coated with anything, both units I have were damaged by moisture and it's obvious. If you have a C100F and an M-X920, compare them, Sanyo used a clearcoat on their panel.BoomboxLover48 said:Caution, Do you think it will make it more better to have a matte clear coat over it when it is all done? That would lessen the glare from the shiny metal and protect the lettering over it.
You are so talented!
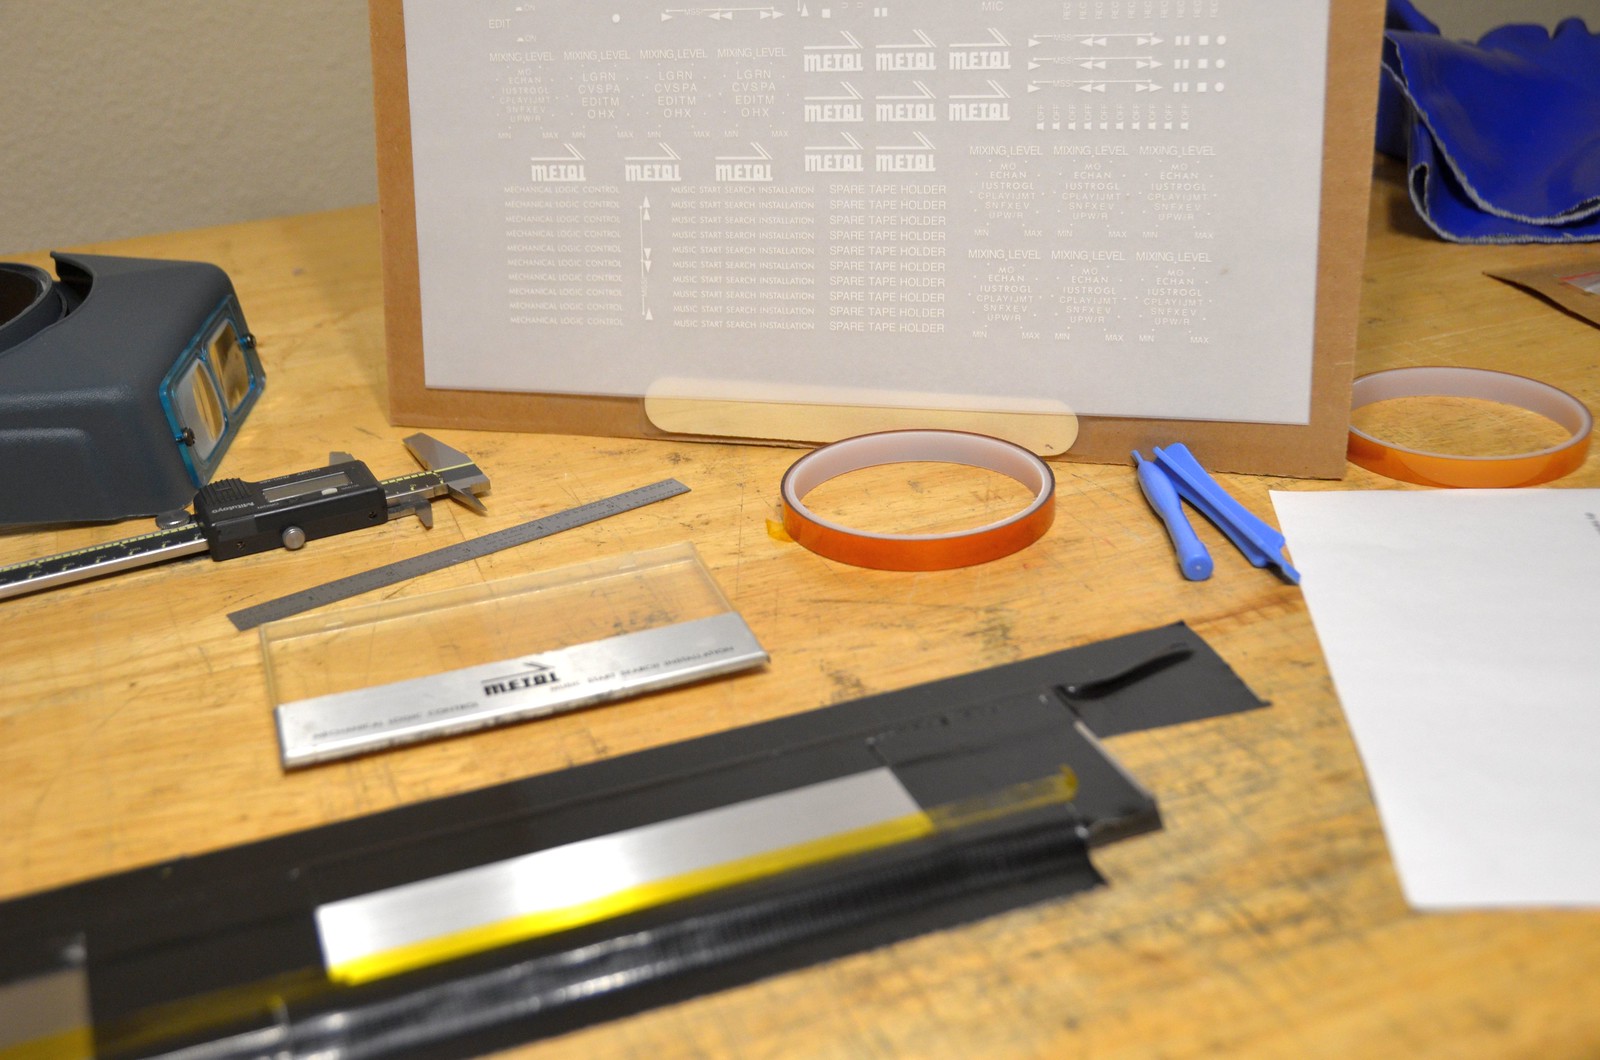
I am definitely going to need to clearcoat it with something, the dry transfers for the thin lettering is too fragile, some of the letters almost just sitting on these pieces right now, so I must lock them down with a clearcoat. I have read some feedback from other sites and there is a lot of variation in durability, clearness, hazing, and so on and so forth, but I wasn't expecting to have to do this actually, and since I do not have a place to spray, I'm not sure when these will be done. Maybe never.
This took all of Sunday
I think it comes down to sheer size, the door trim font is so small that there just isn't enough adhesion present in the lacquer to hold it down.
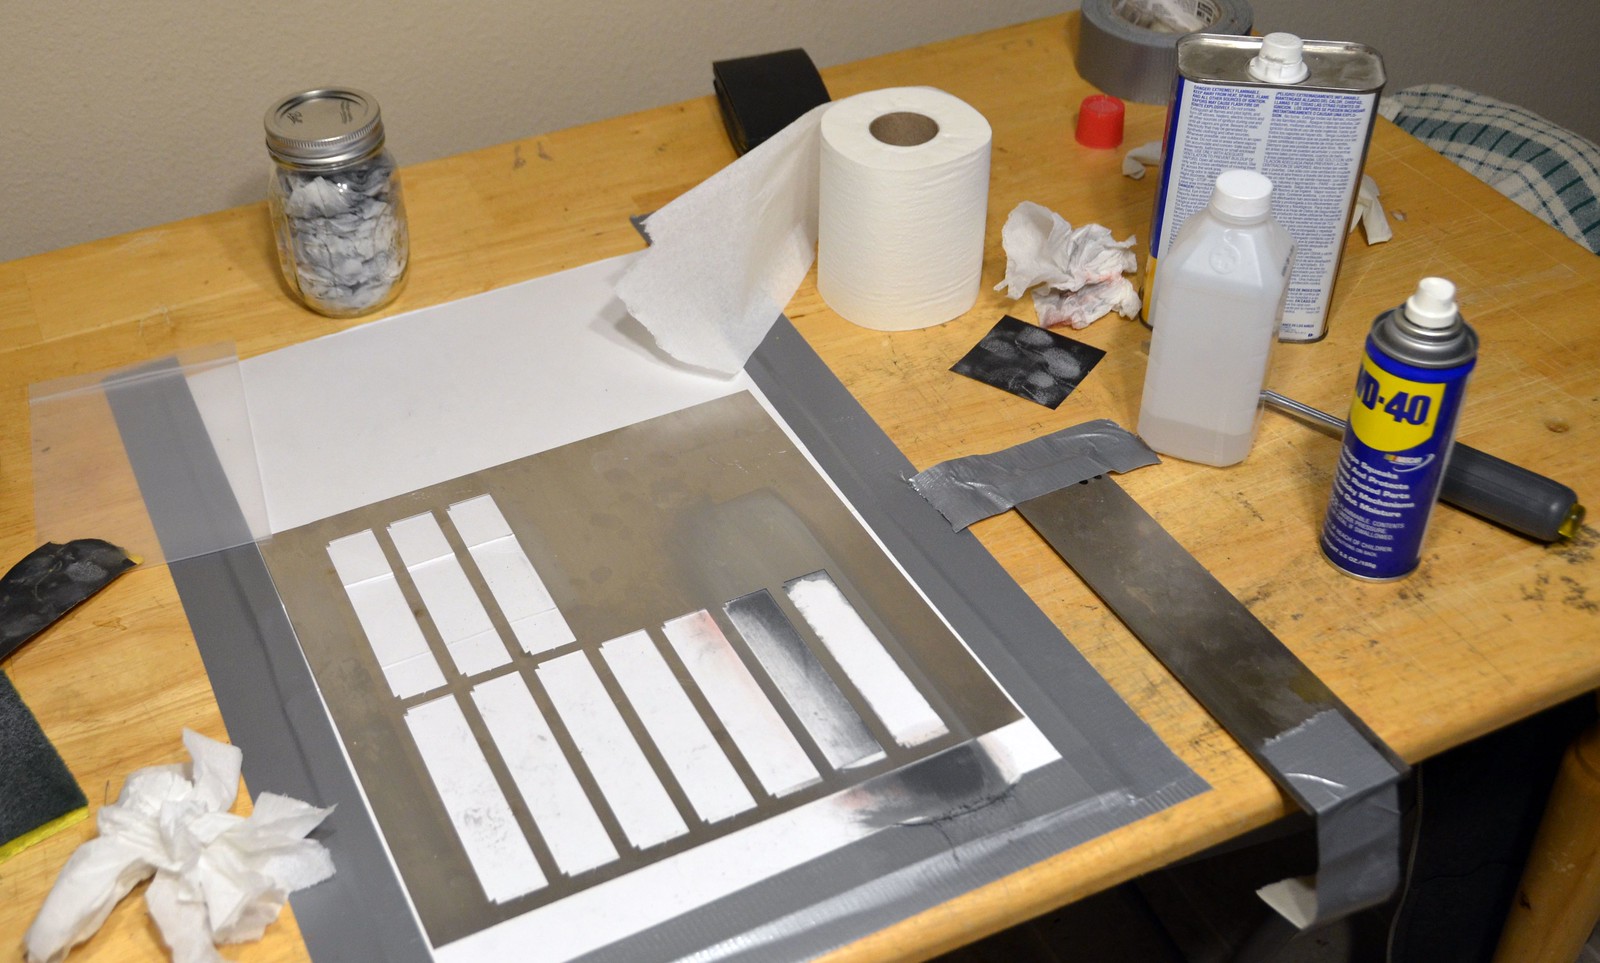
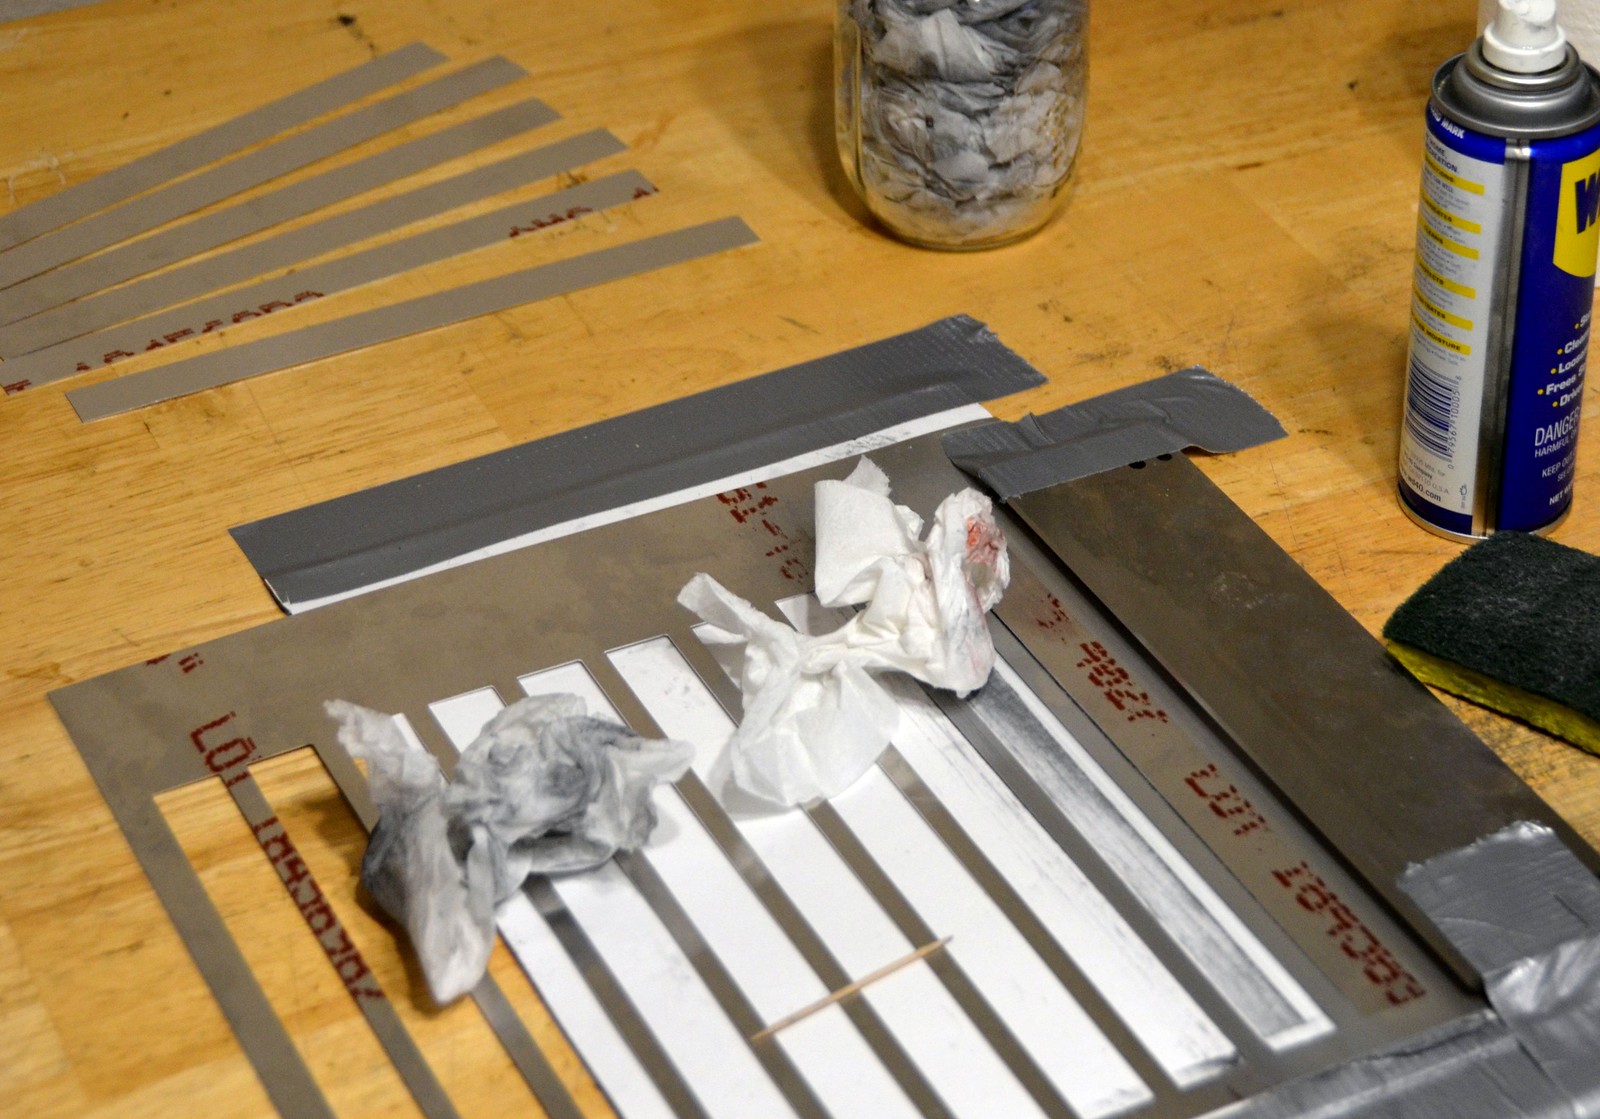
I'm double-cleaning the trims before I apply them, first with 99% isopropyl alcohol and then an acetone wipedown right before I lay down the tape to start transferring.
A ray of hope is that the larger lettering for the tray trims sticks down much, much better.
I'm double-cleaning the trims before I apply them, first with 99% isopropyl alcohol and then an acetone wipedown right before I lay down the tape to start transferring.
A ray of hope is that the larger lettering for the tray trims sticks down much, much better.
They look fantastic. Amazing work.
What about laying some sort of clear tape over them? Then trimming to size
What about laying some sort of clear tape over them? Then trimming to size
Hmm... Chris, do you mean use clear tape to hold them in place? That might work, but the tape may not stay down. It turns out Joe was right. I was doing another spare tape drawer trim last night, and none of the lettering stuck down after rubbing them all. After a ton of rubbing they barely did. But, the next one I did stuck down in like 10 seconds without any effort.
So, I took a really bright LED flashlight and examined the finished ones, and most of them have various levels of a sheen on them. It's not much but it's there. I either didn't do enough of a clean or it was something on the TP from a prior use. It may have been because of the brushed surface, and needed more effort to get them 100% clean.
*sigh* I gotta get on with other boxes. This has taken more time and far more money than I wanted and still ain't there yet. I do need a set for the ones missing on my second C100F but this isn't fun anymore, no sir. I'm hanging onto these so I have nine chances to f*ck up if I ever get back to it.
I know many who would love to have a set of these as much as I do, in fact word is starting to spread that I've completed these and I'm selling them. If there is interest I can order more of the aluminum from OnlineMetals and have it cut locally while you do the bending and brushing. If you want the same lettering you can order another sheet from drytransfer.com or just stick some letters on there from a generic store-bought sheet.
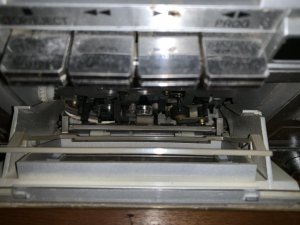
I noticed that a lot of these boxes only seem to have one of the two holes drilled which seems to indicate that maybe the original spring used in these style boxes might have only been on one side. For that reason and because it was within my small skill levelstragulus said:

 I ended up only using a spring on one side. So far it's been holding up well. Been about 8 months to a year since I bent this spring for my C100.
 [sharedmedia=core:attachments:39155]
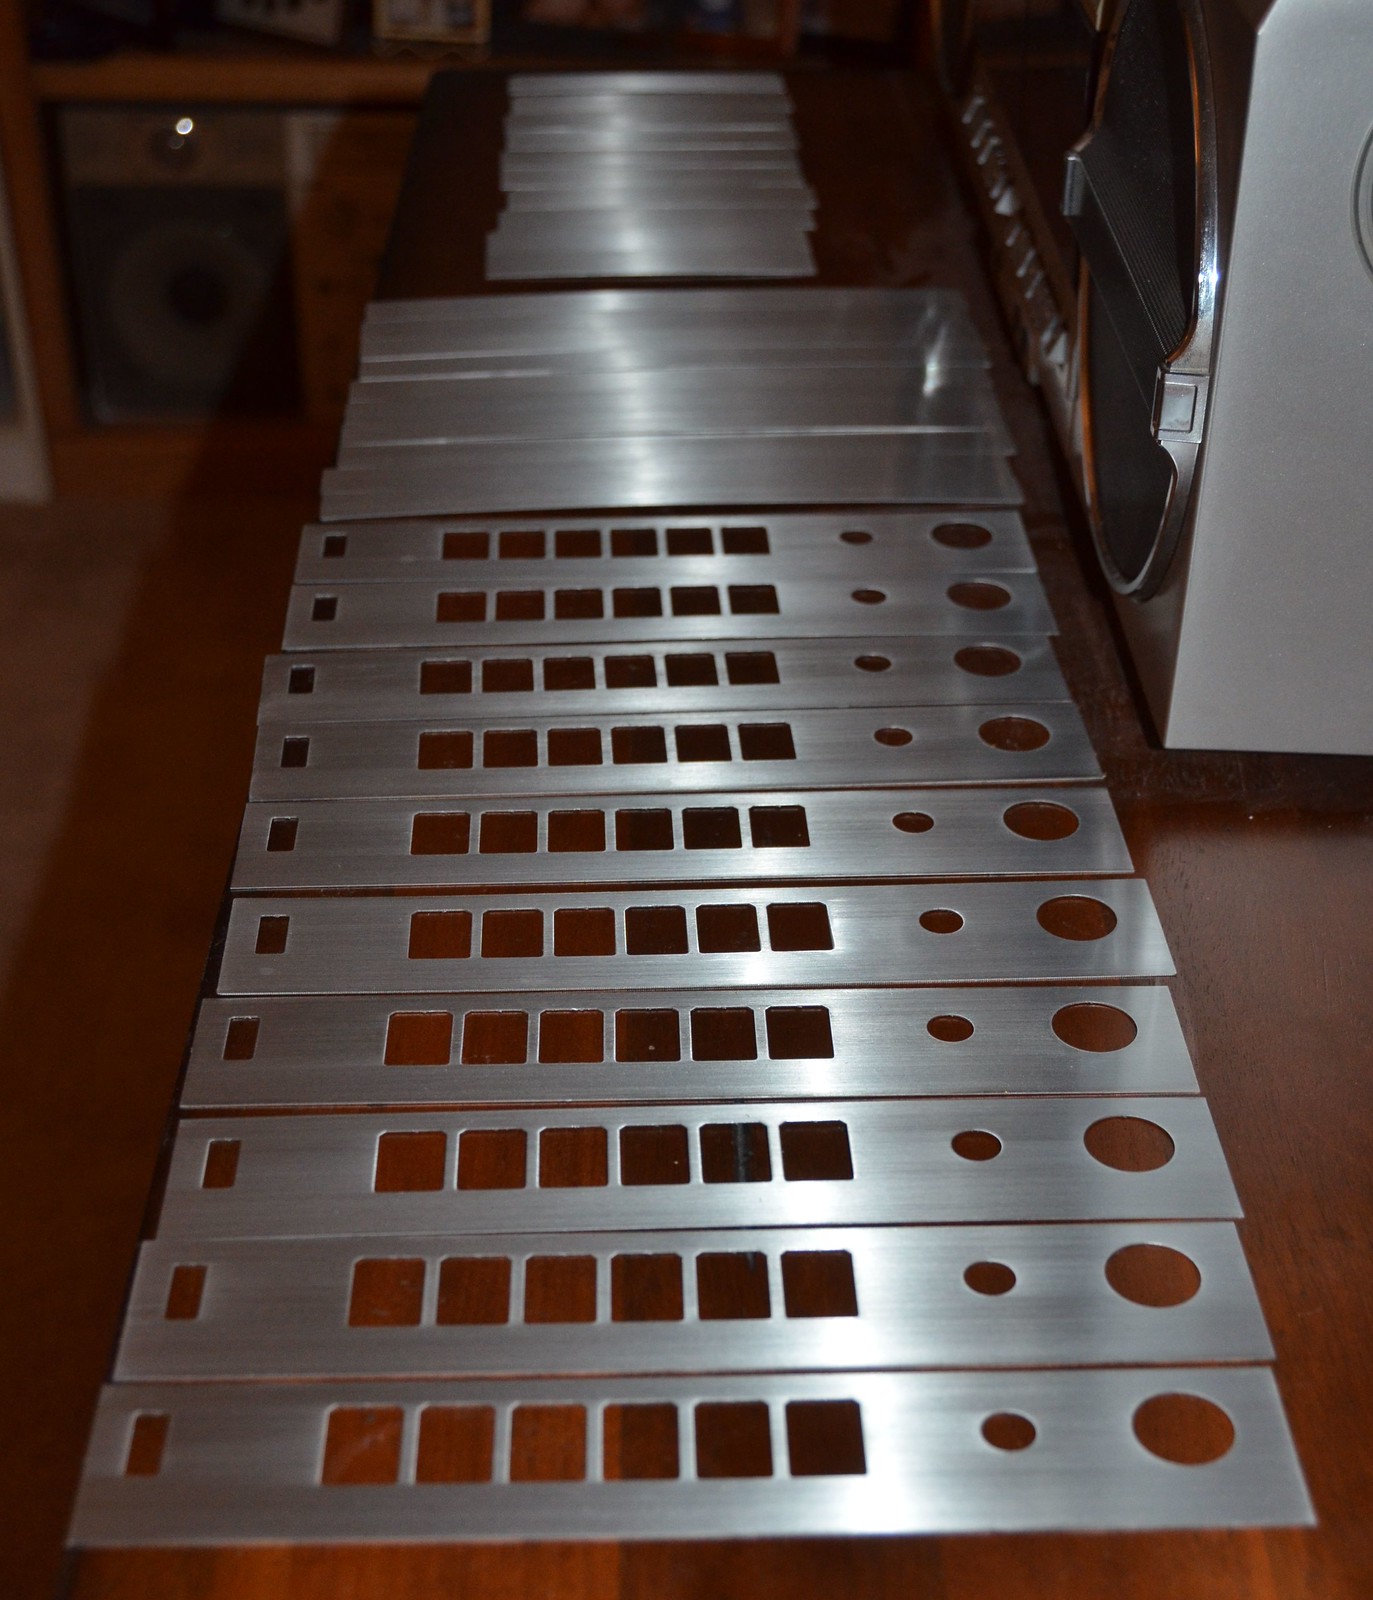
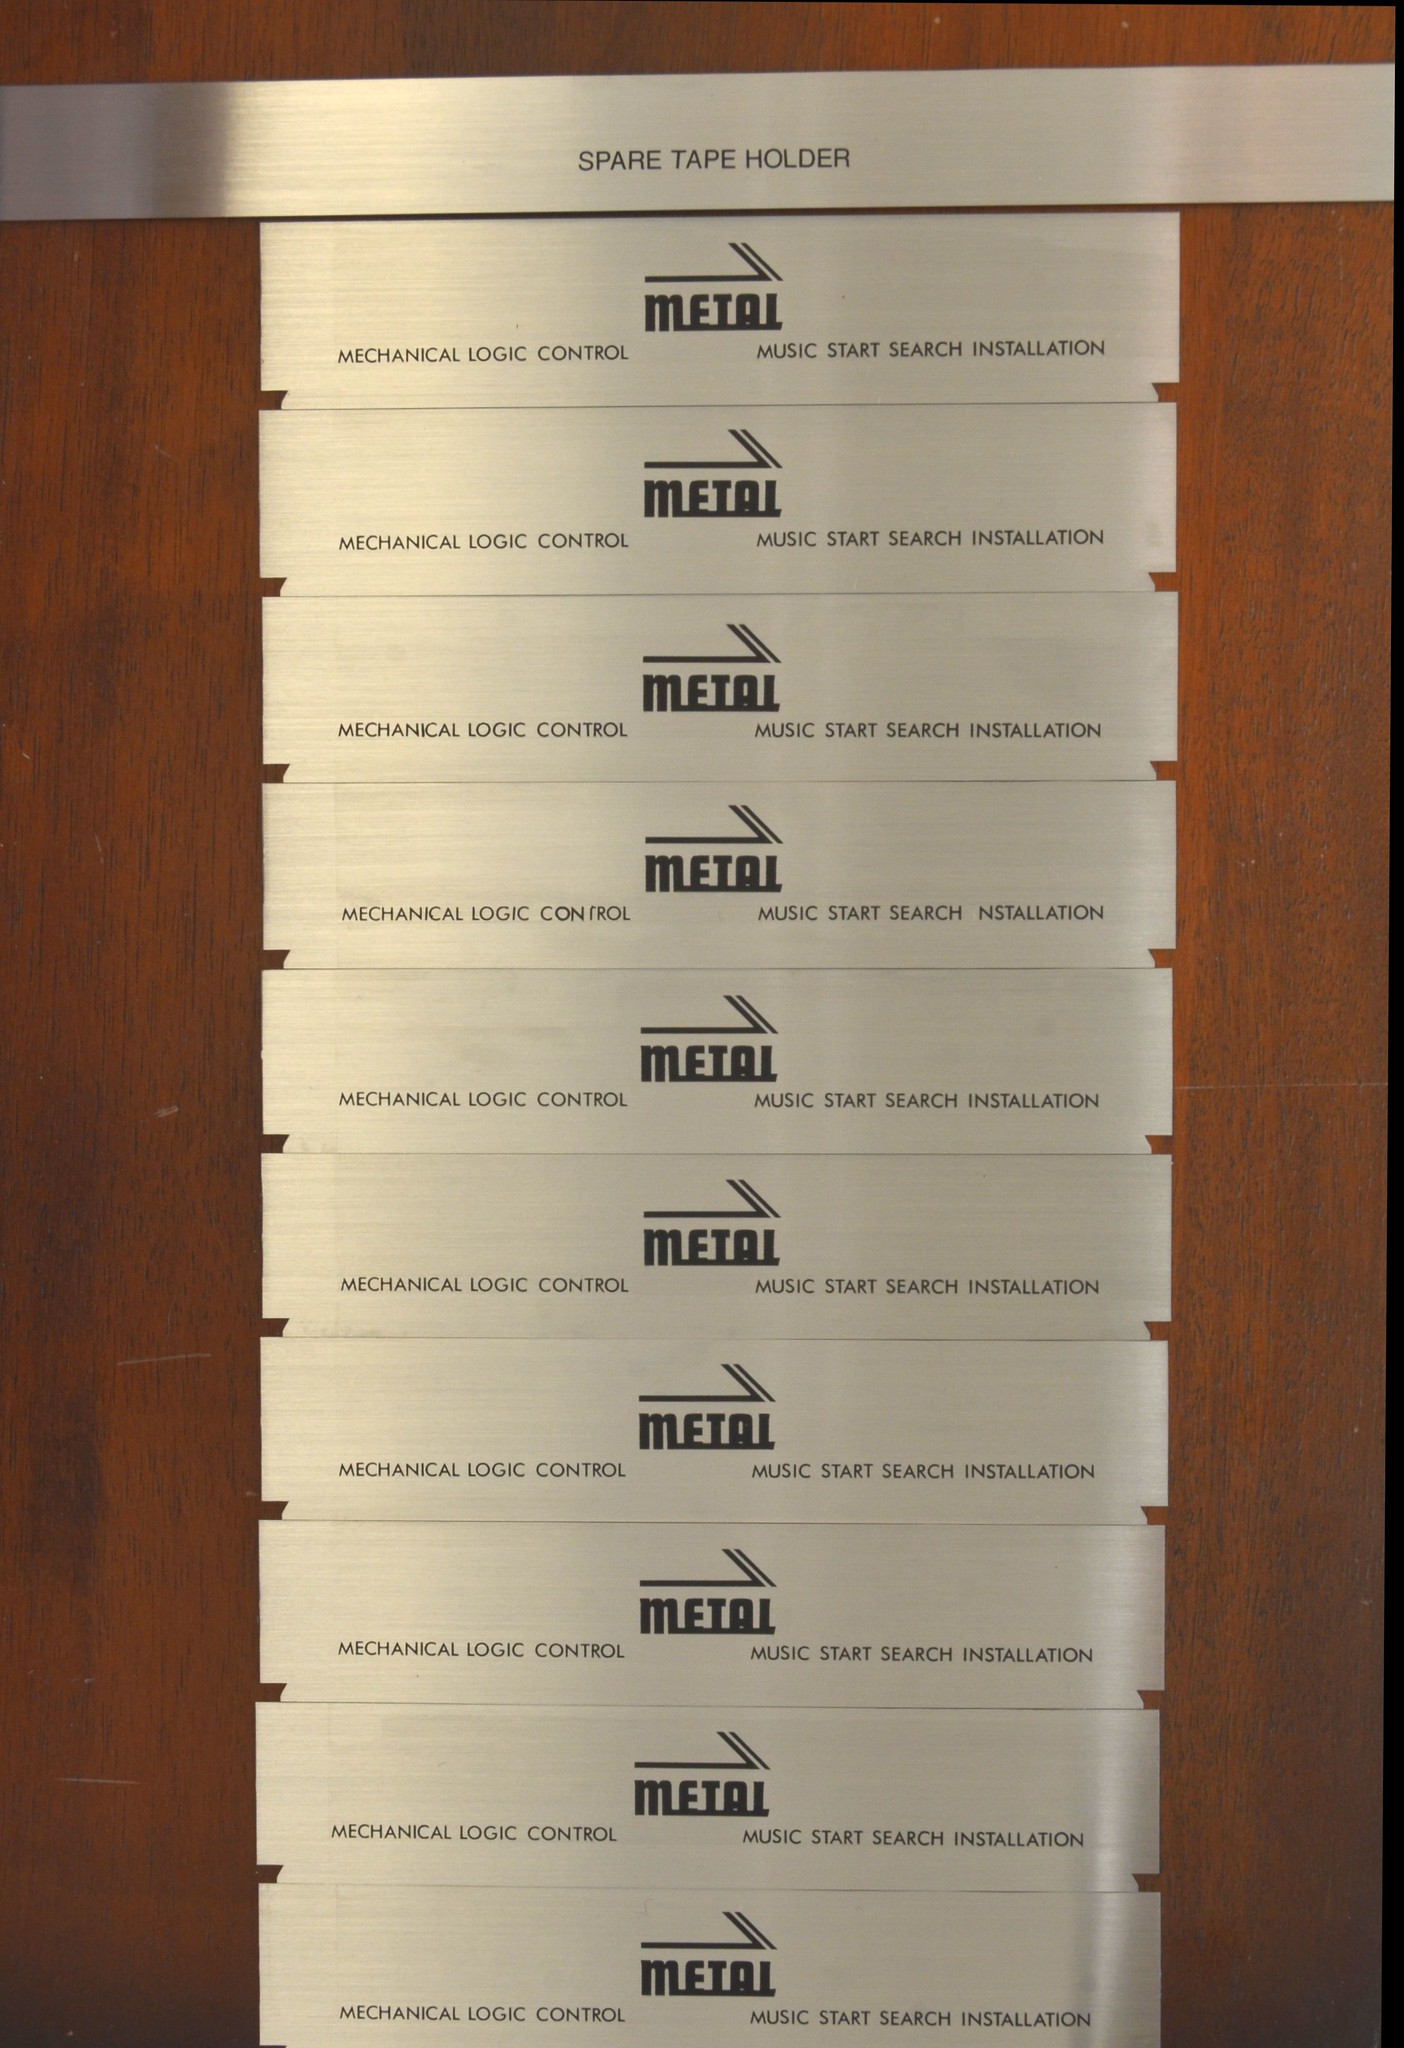
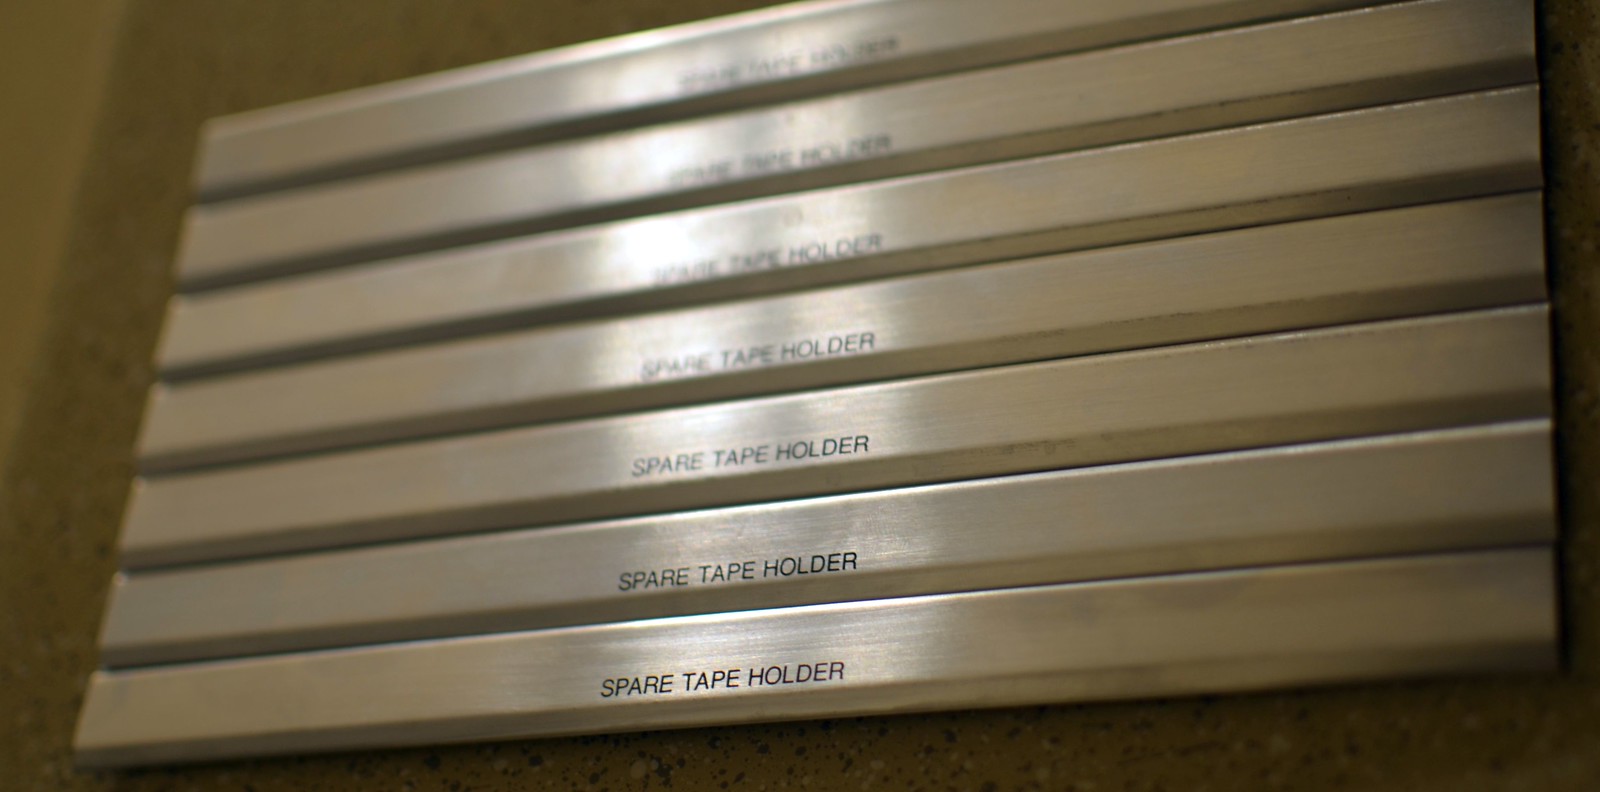
Quick update to this thread. I finished bending most of the button and tray trims with a new set of bending brake fingers that had a nice sharp edge. Turned out sort of okay. But, I still don't have a lettering solution better than dry transfer yet.
The Helix boxes had a different spring, the C-100F has one on the right hinge of the door.
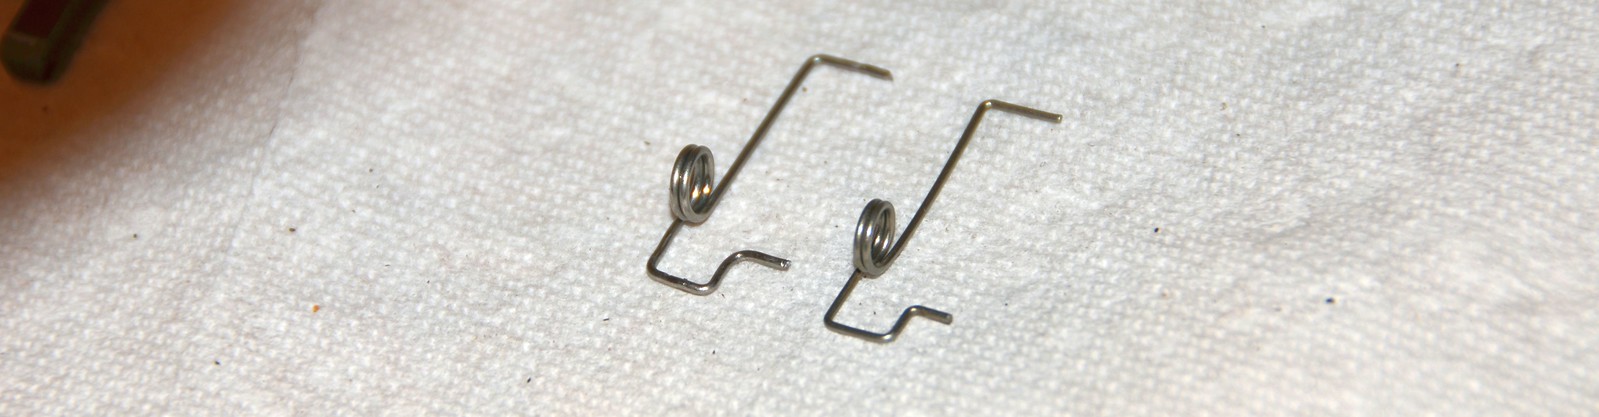
The Helix boxes had a different spring, the C-100F has one on the right hinge of the door.
After a ton of tweaking on the adjustments for the brake, I was able to do all the same bends for the pieces that I needed. The new bending fingers have a nice sharp edge.
My values for the lower deck button and door trim were fine, but the tray trim was a hair short, so this first batch doesn't quite make it over the top. I cut out a sample piece at the right size, and it fit like a glove.
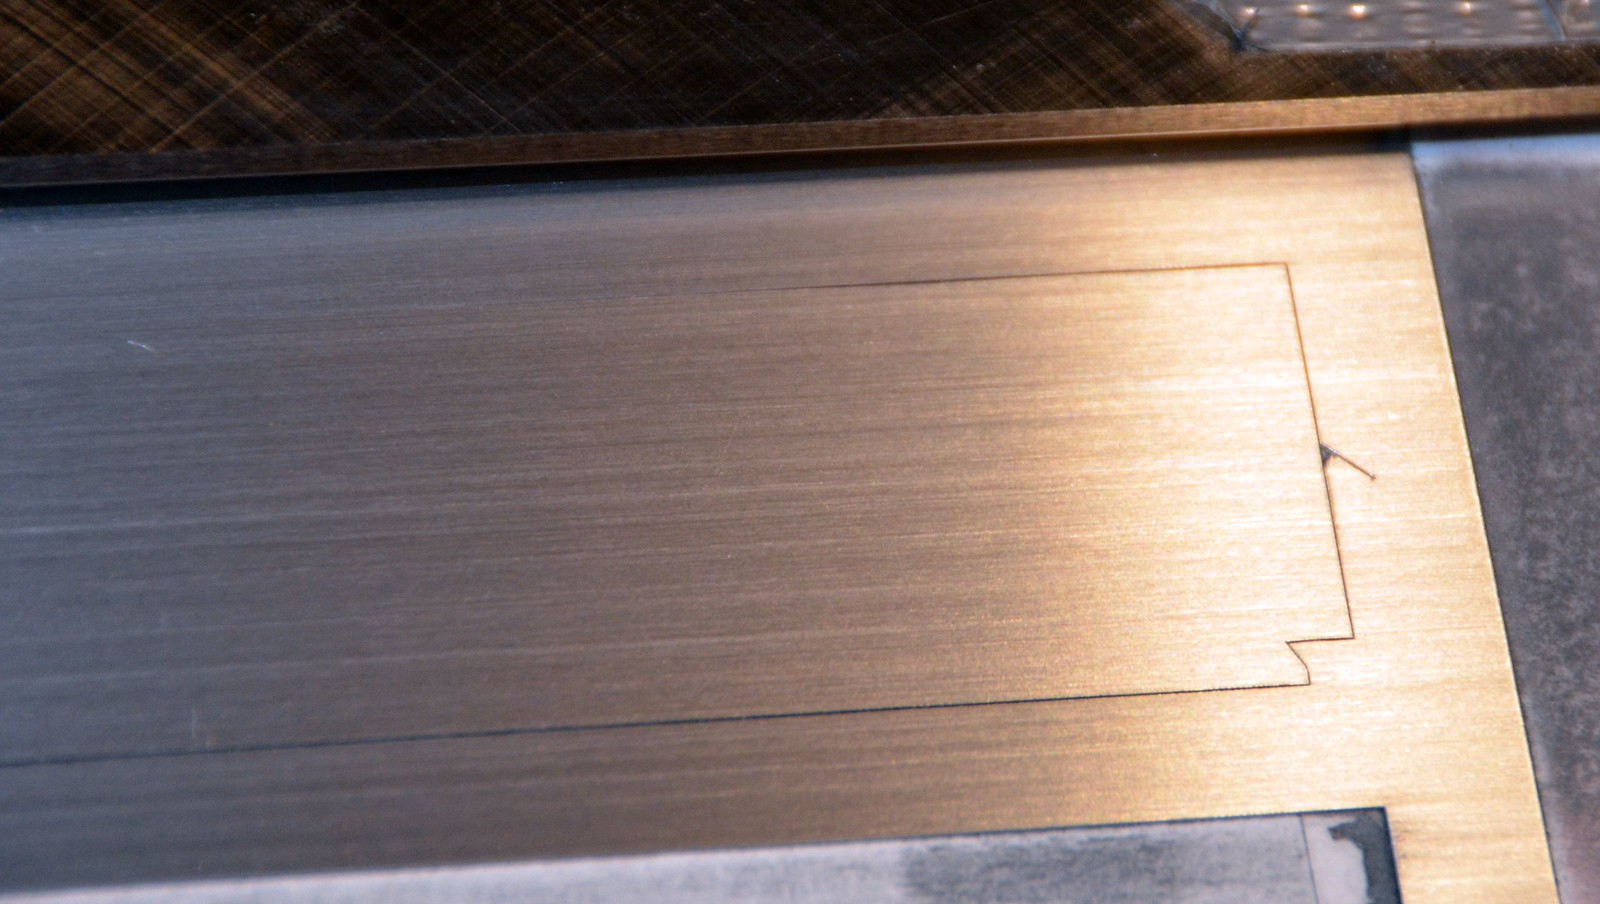
Unfortunately, the metal gets scuffed by the brake, even with tape, so next time the bending must be done before lettering. The lettering also gets damaged by the brake. The dry transfers I applied are not sticking well enough to withstand wiping from a cleaning cloth, so I've been looking for more permanent solution. Silkscreening is a lot of messing around, but I see that laser marking is just as precise, and more permanent, so I think I'll give that a shot.


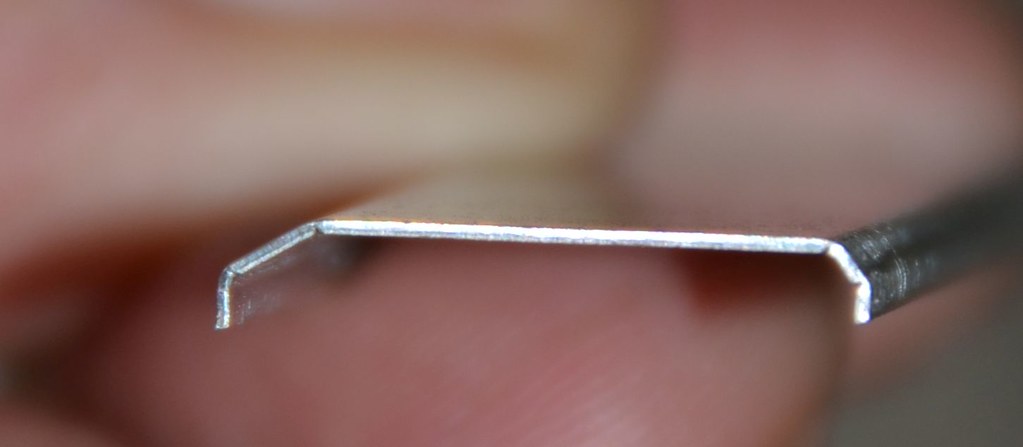


My values for the lower deck button and door trim were fine, but the tray trim was a hair short, so this first batch doesn't quite make it over the top. I cut out a sample piece at the right size, and it fit like a glove.
Unfortunately, the metal gets scuffed by the brake, even with tape, so next time the bending must be done before lettering. The lettering also gets damaged by the brake. The dry transfers I applied are not sticking well enough to withstand wiping from a cleaning cloth, so I've been looking for more permanent solution. Silkscreening is a lot of messing around, but I see that laser marking is just as precise, and more permanent, so I think I'll give that a shot.
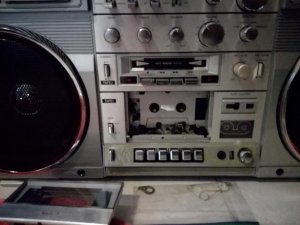
Is this the spring I may be missing so my eject button works properly? You have to give the door a little help so it opens when there isn't tape inserted. With a tape inserted it almost ejects on its own. Here is a photo inside my cassette door.caution said:Quick update to this thread. I finished bending most of the button and tray trims with a new set of bending brake fingers that had a nice sharp edge. Turned out sort of okay. But, I still don't have a lettering solution better than dry transfer yet.
The Helix boxes had a different spring, the C-100F has one on the right hinge of the door.
Attachments
-
 78.5 KB Views: 15