C-100F control panel trim spec
- Thread starter caution
- Start date
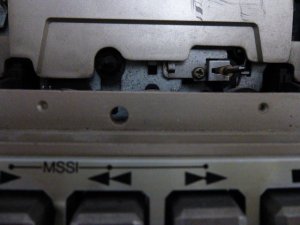


Took me quite a few tries to get a straight bend this close to the edge, but more practice should bring consistency.


So nearly a month after dropping off the trims, three weeks later than I thought it would take, I'm told he hasn't even started the work and had misplaced my parts. Very frustrated.
I suppose it's a blessing in disguise, the guy treated me like a chump when he gave me an initial estimate, sarcastically saying later on that he should charge me nearly twice the quote he gave me first, like I was supposed to haggle with him. Just a bad feeling all around. Pretty disappointing since he's got a big shop and has been around a long time and apparently does pretty good work.
If you have any experience doing silkscreening yourself or know of a better source I could mail these to I'm open to suggestions.
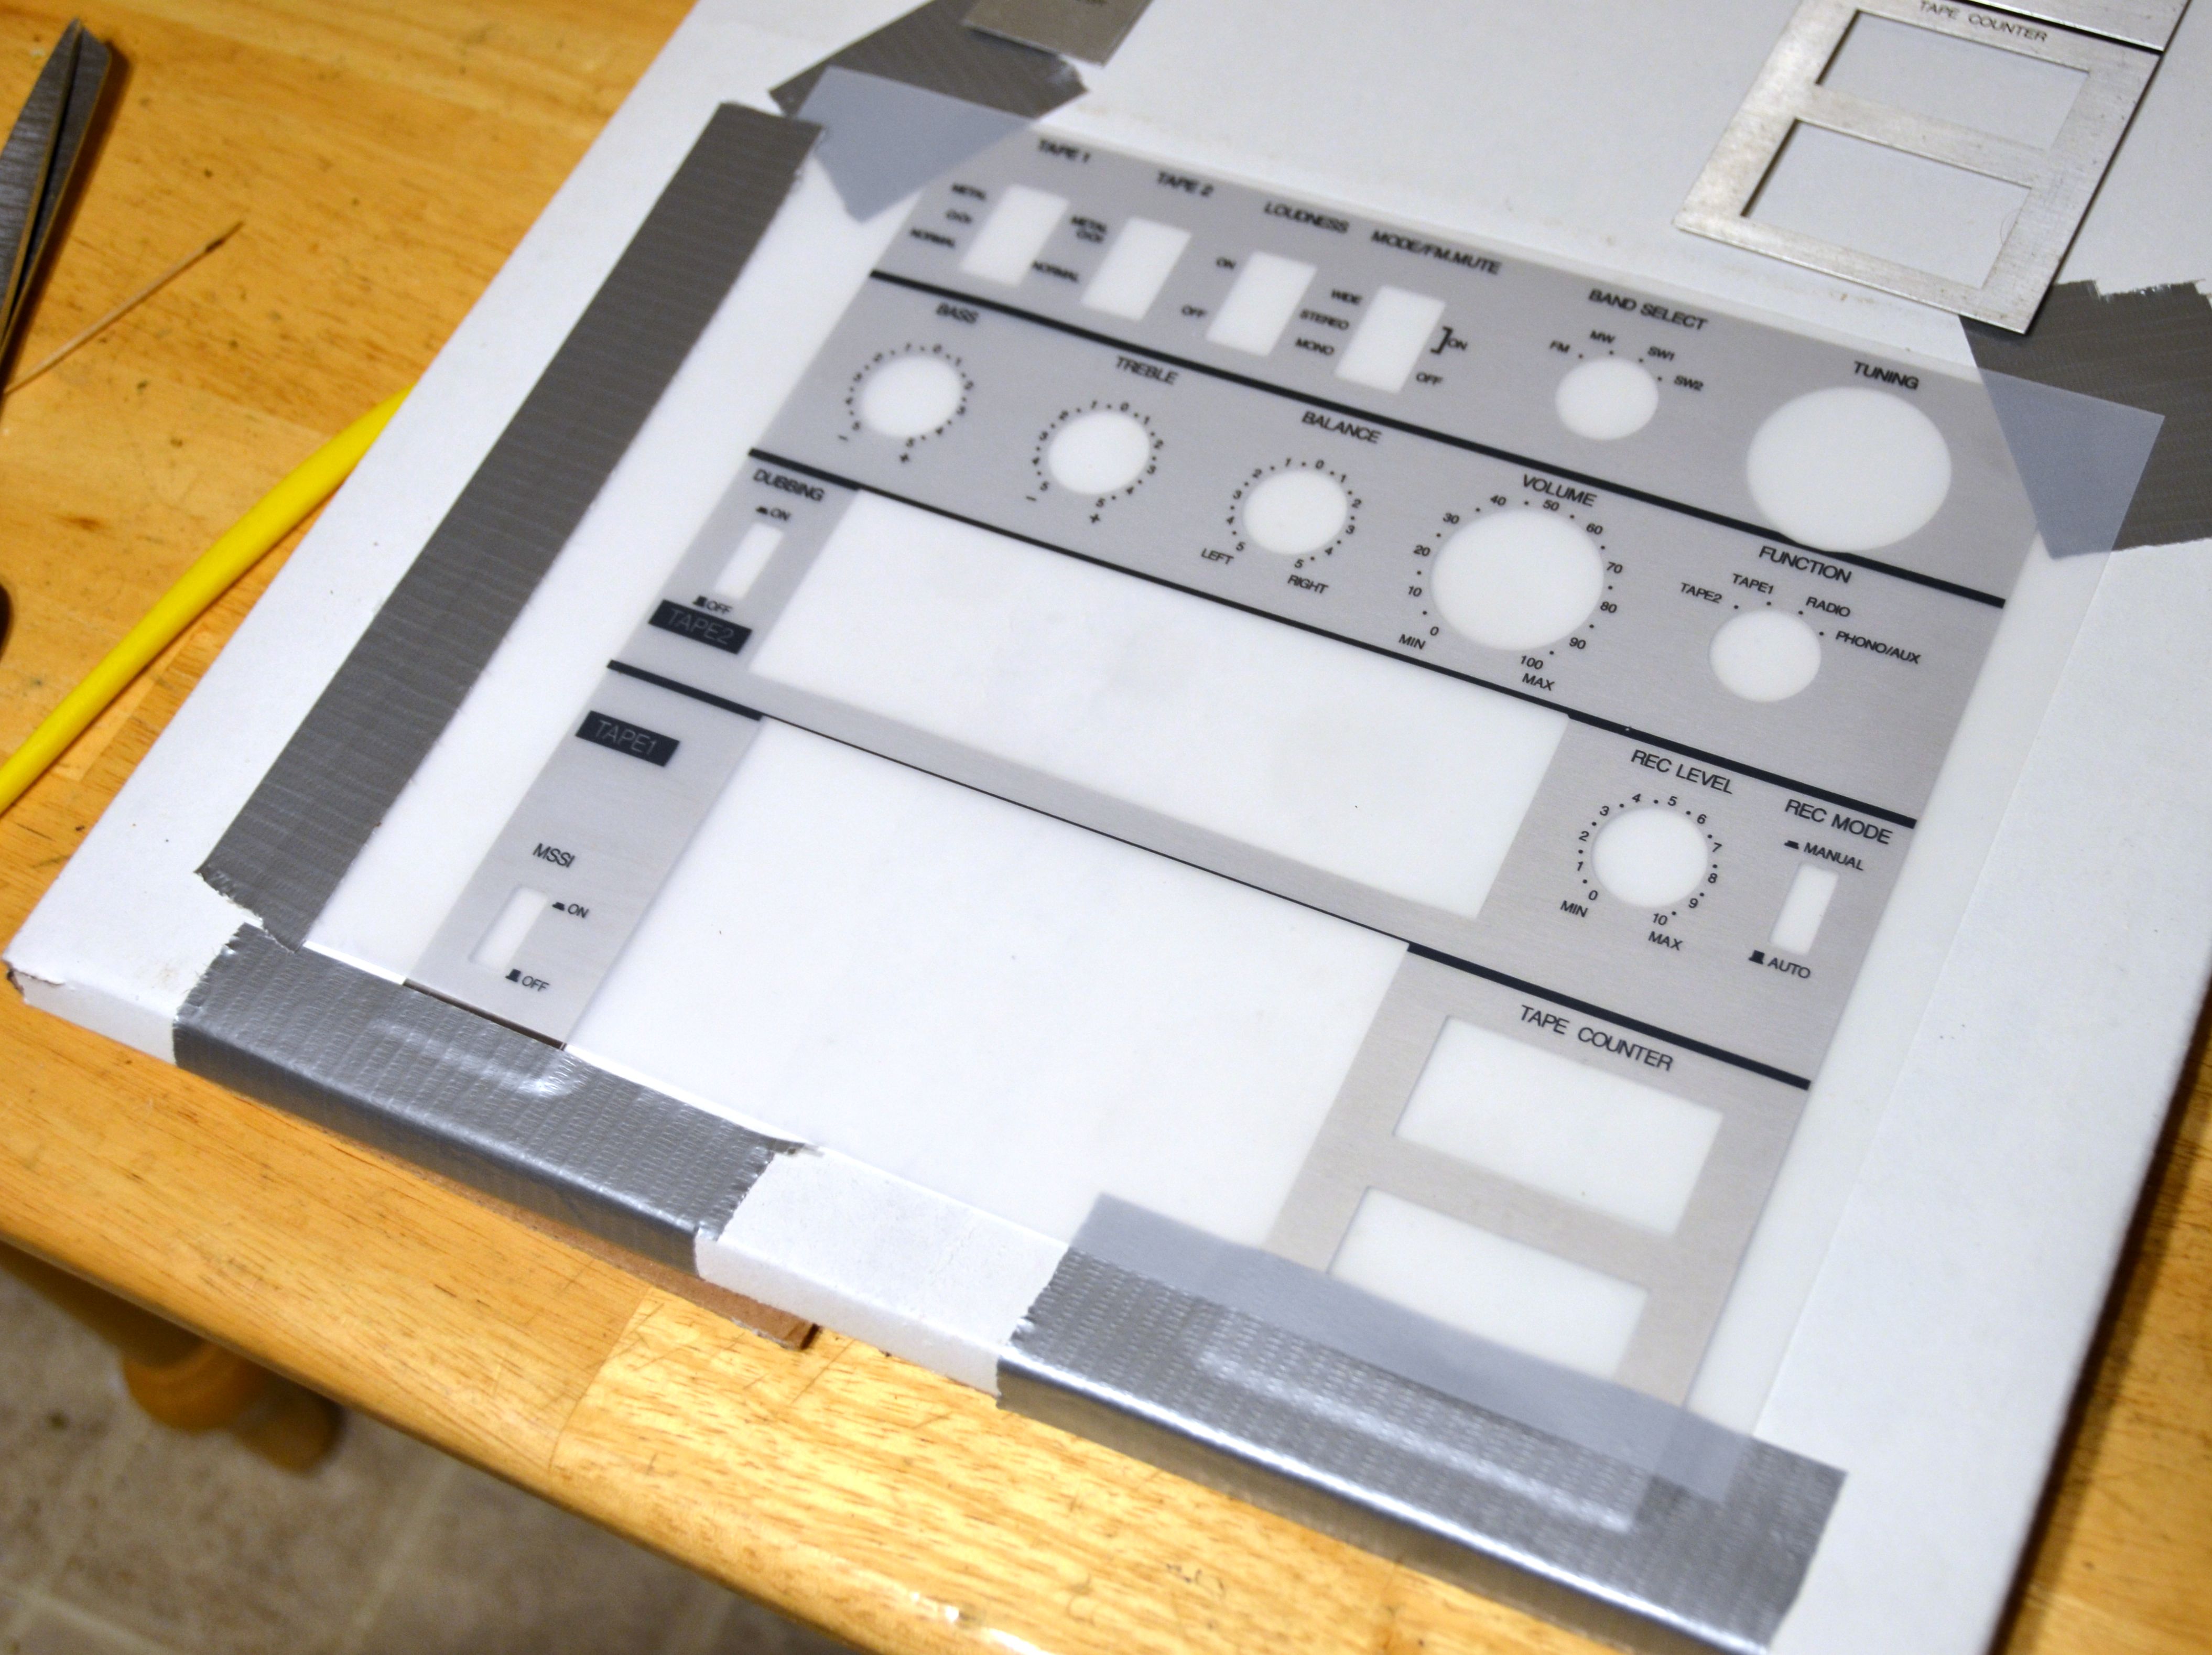
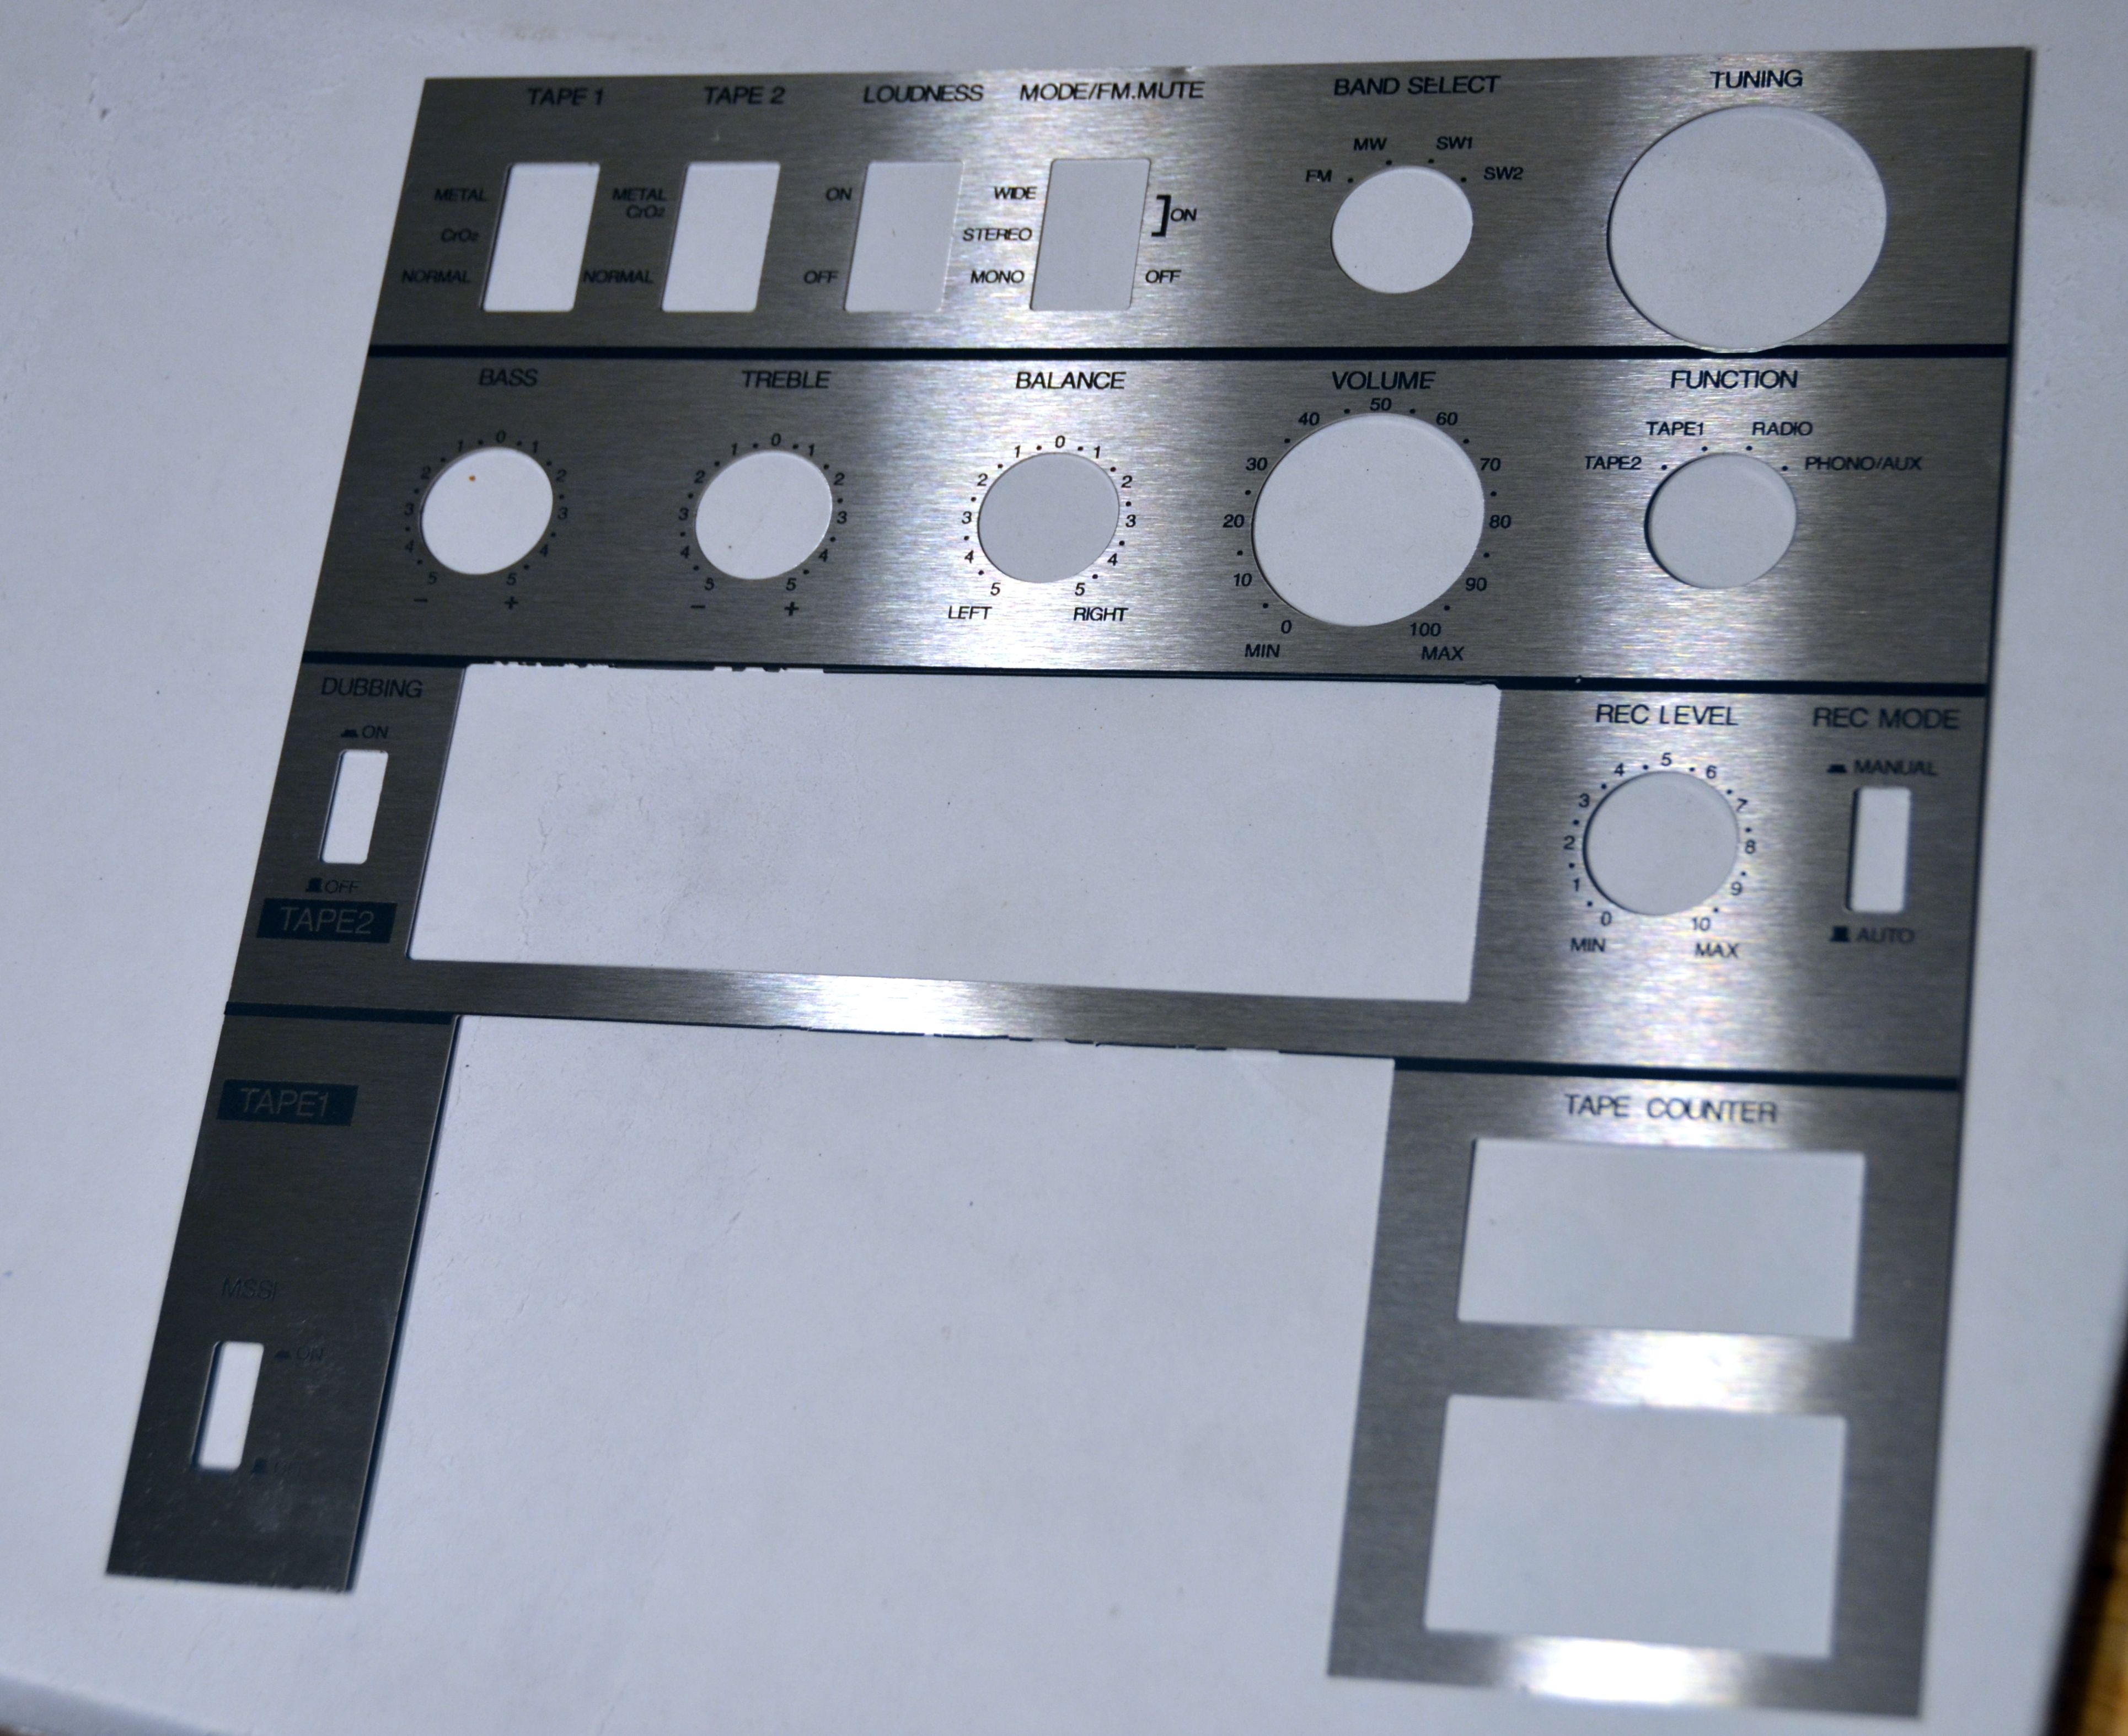
Good news! I got dry transfers made and they turned out great, I was even able to stop in and personally pick them up at his shop.
This was my first shot at applying dry transfer so I wasn't expecting perfection. It's a laquer that slowly dries out over time so even after a week it's not as sticky as it was when I got it. Brushed stainless is still pretty shiny and can be tricky getting it to stick. I had a few pieces of letters get misplaced or not at all, and even one number shifted a bit. But with a little magic those can be fixed enough to be nice. The resolution is just the same if not better than the original silkscreen.

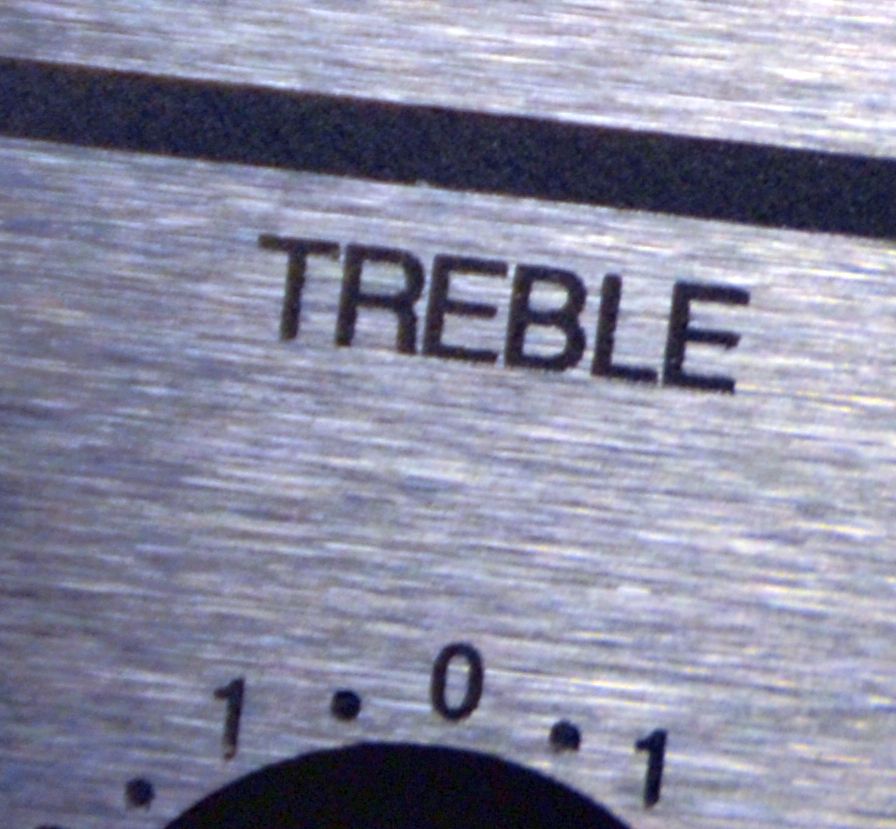

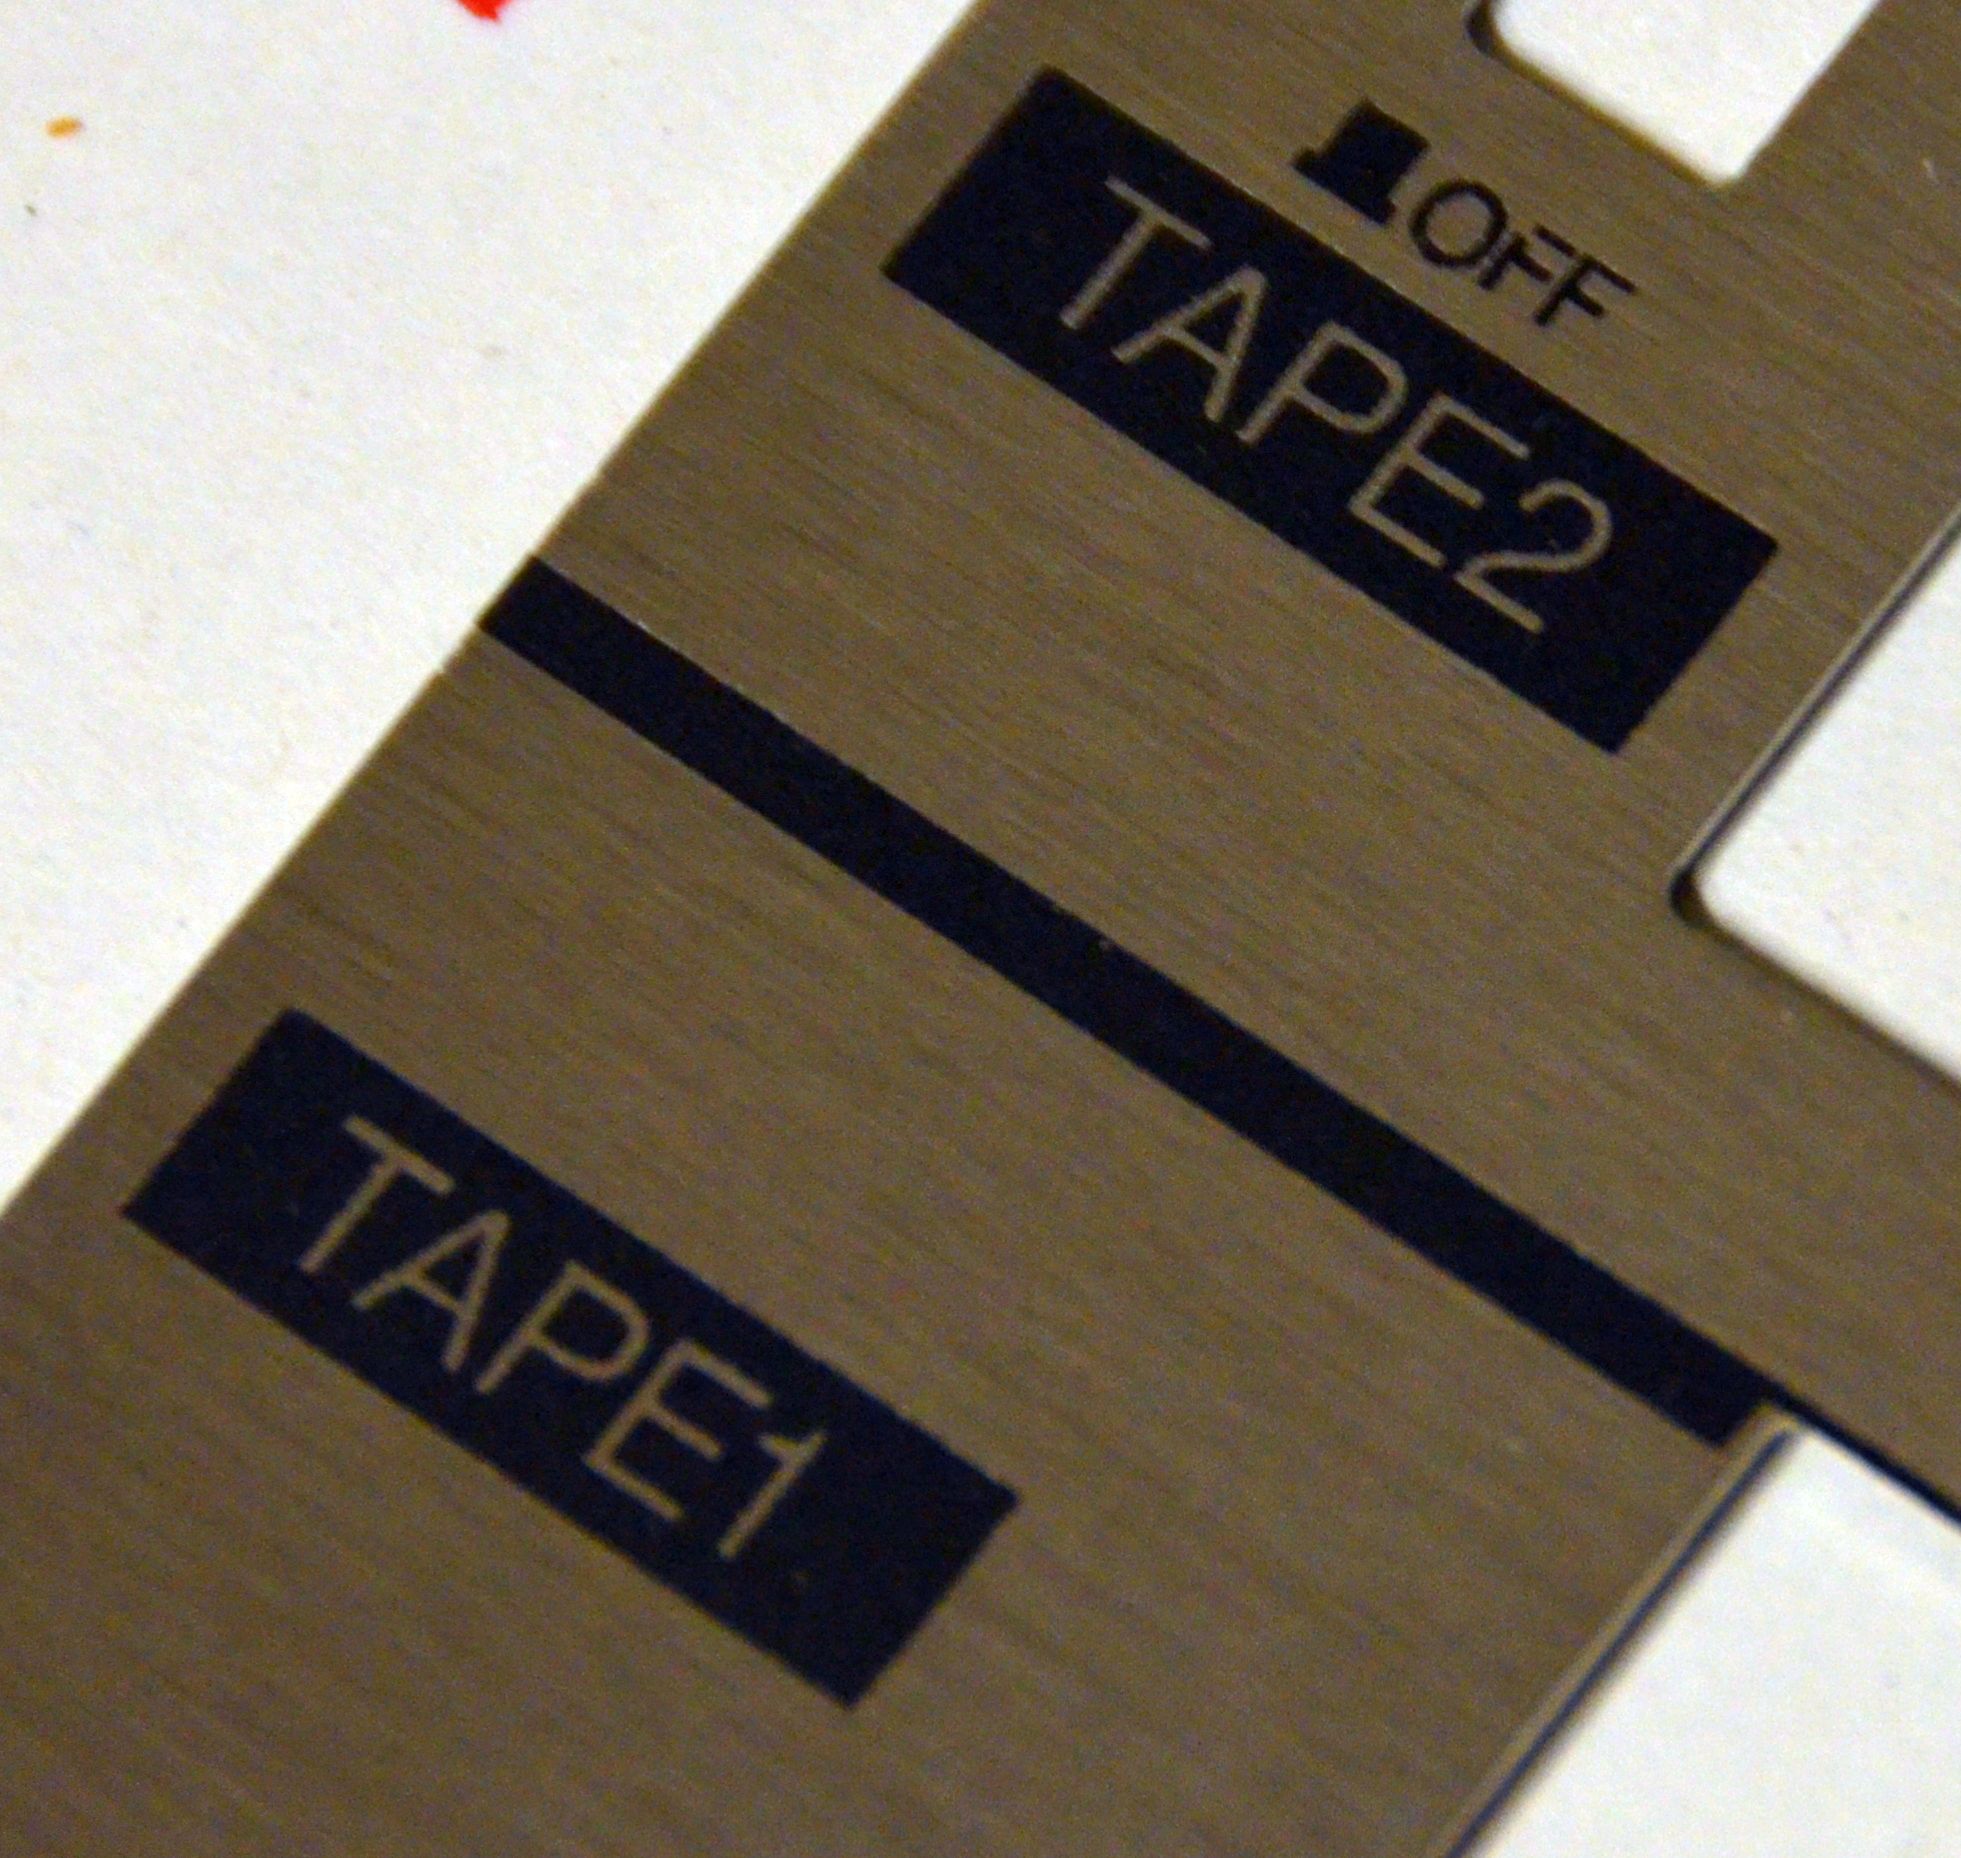
This was my first shot at applying dry transfer so I wasn't expecting perfection. It's a laquer that slowly dries out over time so even after a week it's not as sticky as it was when I got it. Brushed stainless is still pretty shiny and can be tricky getting it to stick. I had a few pieces of letters get misplaced or not at all, and even one number shifted a bit. But with a little magic those can be fixed enough to be nice. The resolution is just the same if not better than the original silkscreen.

This is amazing!!! So much work, limitless dedication and expertise like gawd knows what - MY, Oh My - I really am amazed!
I'm particularly interested in the transfers as I'd like to do this on one (or more) of my TRK-8130E's, I've one going through the paint stage at the moment. I was dreading having to use individual letters and all the stress that would entail trying to line up every character to the nth degree. Can we (ME!) have more details, please? Just how do you get Dry Transfers made of the face of a BB?
Apologies, not trying to hijack the thread but I'll start a new topic if necessary.
Thanks! MoM, you don't have to create a new thread ") You're not going to like the answer, but here goes...
You're not going to like the answer, but here goes...
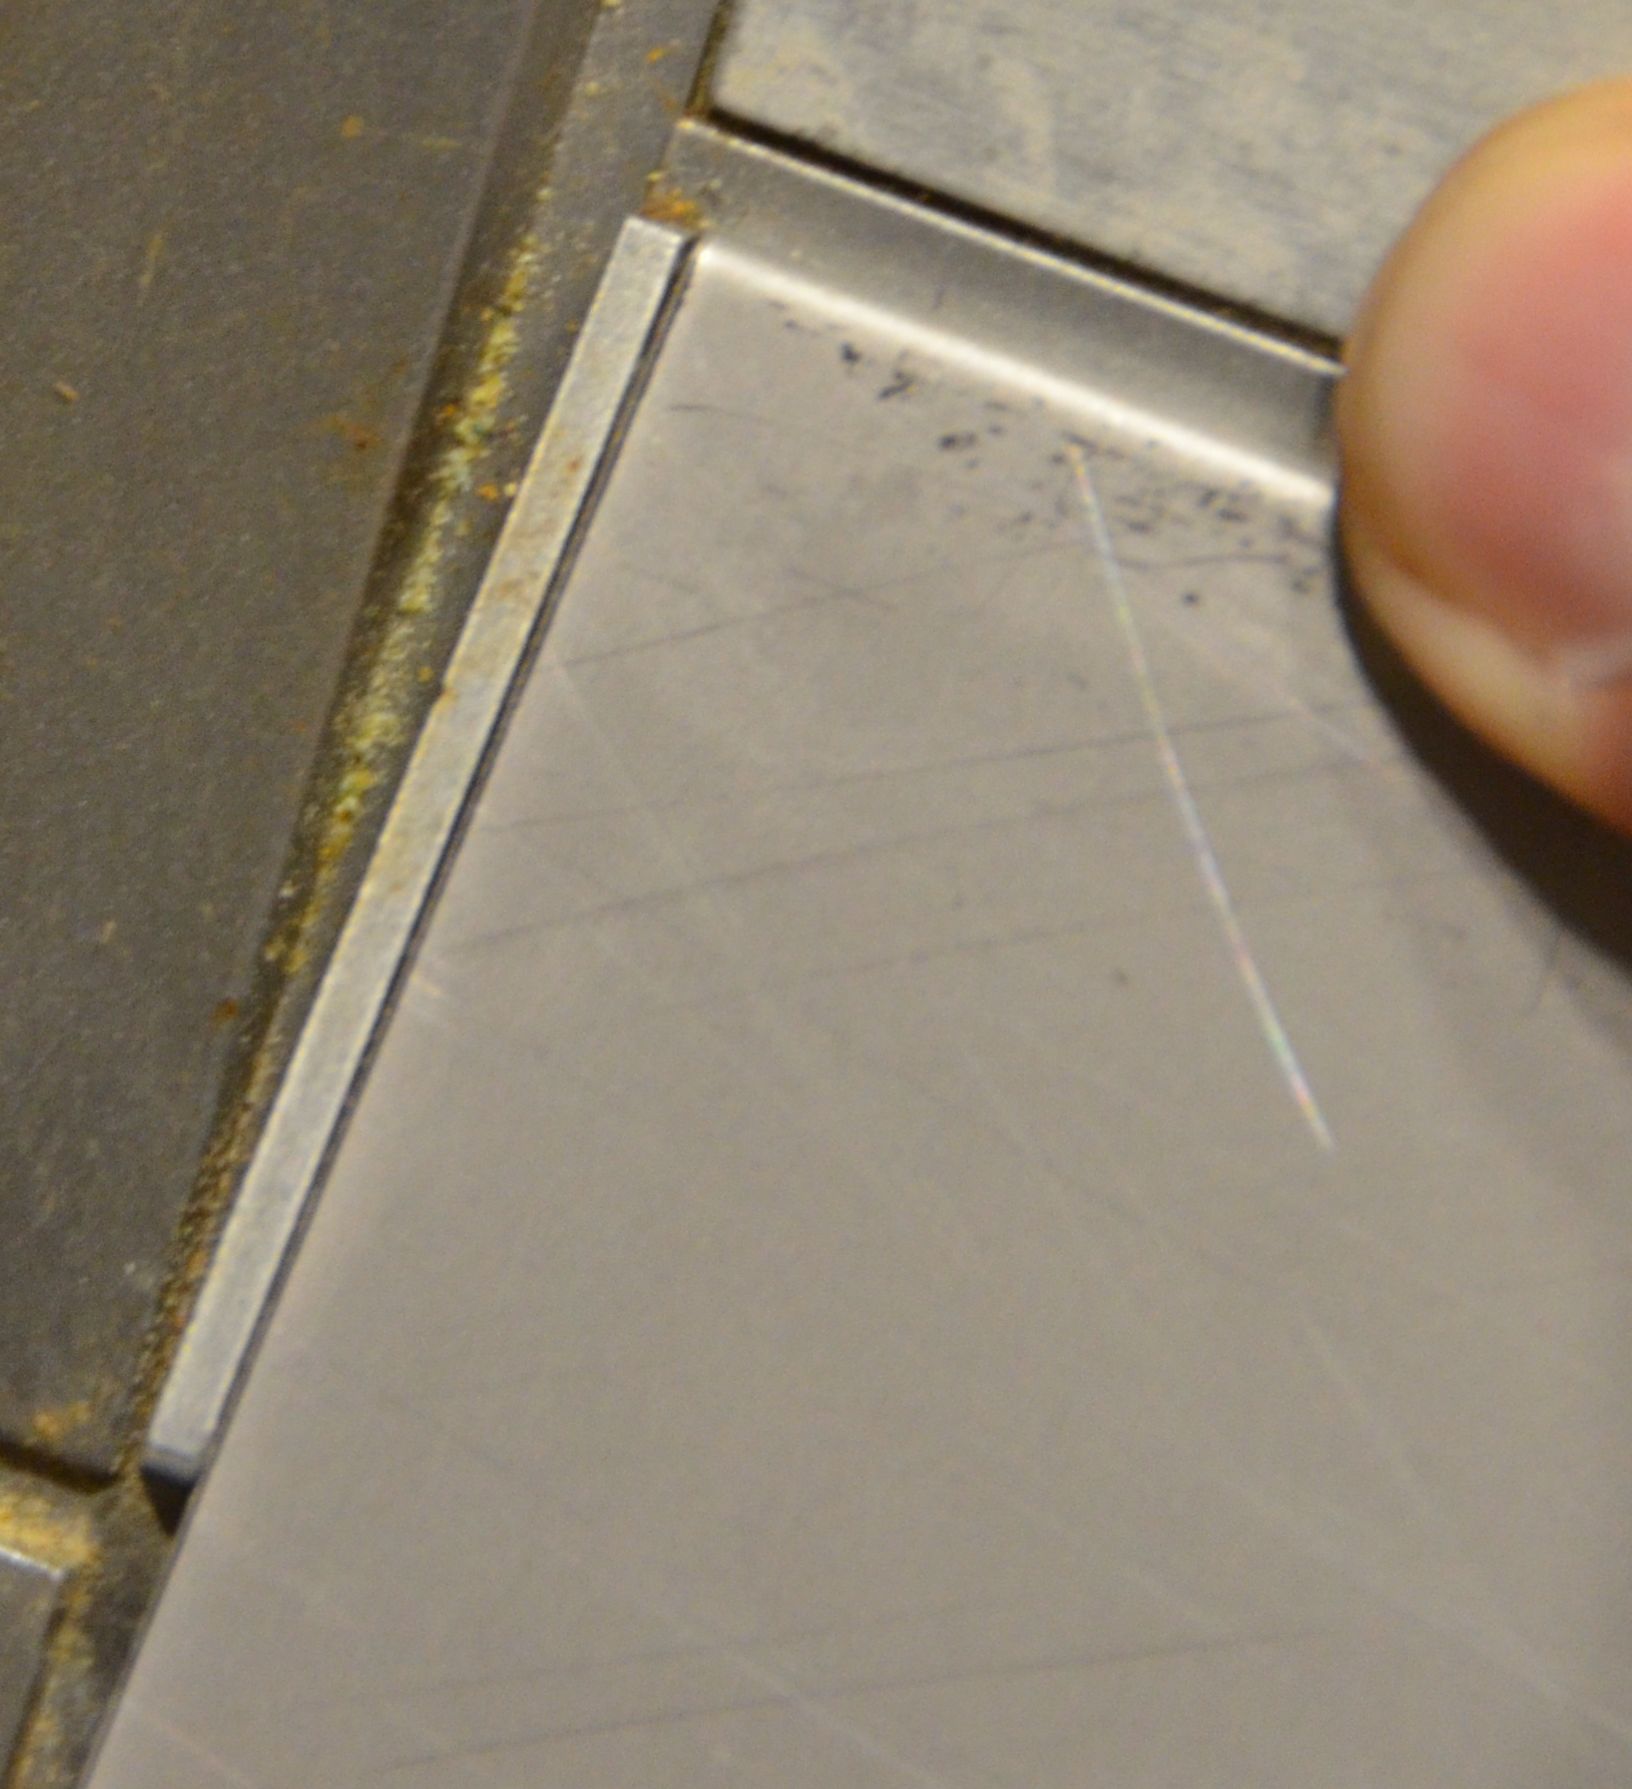
The tricky thing is that all you have is the original part. On the Conion the lettering is printed on metal trim which can be removed, so it was easy to capture with a flatbed scanner. Your Hitachi has them applied right to the case, so it might take a really good closeup picture. Thankfully in most cases the fonts are online to be pilfered. I then typed in each letter I needed into Inkscape, which then traced the letters for me, which essentially converts them from being a bitmap to a vector, which is just a fancy way of saying the letters are described in terms of an outline defined by x-y coordinates, rather than a pile of pixels spread out to create the shape of the letter. I also had to do this a few times before they were correctly scaled.
Even after you get a scan, the lettering may be all scratched up (as it was for me) so it's only useful as a positional reference. It's also hard for most tracer programs to find edges in images. It's best to start fresh with crisp original text and recreate it all by hand. It took quite a while to redraw all of the little lines, circles, dots, etc. and get them all centered on the original scan. If done right, the end result is extremely sharp and has no jags from pixels.
I did all of the graphics work in a high-end CAD tool, but I'm sure there are other tools that are equally competent like Illustrator or other CAD programs. With the original scan in the background as a reference, and a micrometer in hand to confirm things on the original part, I just redrew all the stuff and positioned my letters over the old ones.
I'm leaving out a number of steps but that's the basic rundown!
You're not going to like the answer, but here goes...The tricky thing is that all you have is the original part. On the Conion the lettering is printed on metal trim which can be removed, so it was easy to capture with a flatbed scanner. Your Hitachi has them applied right to the case, so it might take a really good closeup picture. Thankfully in most cases the fonts are online to be pilfered. I then typed in each letter I needed into Inkscape, which then traced the letters for me, which essentially converts them from being a bitmap to a vector, which is just a fancy way of saying the letters are described in terms of an outline defined by x-y coordinates, rather than a pile of pixels spread out to create the shape of the letter. I also had to do this a few times before they were correctly scaled.
Even after you get a scan, the lettering may be all scratched up (as it was for me) so it's only useful as a positional reference. It's also hard for most tracer programs to find edges in images. It's best to start fresh with crisp original text and recreate it all by hand. It took quite a while to redraw all of the little lines, circles, dots, etc. and get them all centered on the original scan. If done right, the end result is extremely sharp and has no jags from pixels.
I did all of the graphics work in a high-end CAD tool, but I'm sure there are other tools that are equally competent like Illustrator or other CAD programs. With the original scan in the background as a reference, and a micrometer in hand to confirm things on the original part, I just redrew all the stuff and positioned my letters over the old ones.
I'm leaving out a number of steps but that's the basic rundown!
I forgot to mention - the original plates created for these will be available for up to three years, so if anyone wants to try this, they will be cheaper. He also does multiple colors, something like the Korean Conion with additional red graphics would be possible too.
Thanks for that lengthy explanation, caution. I understand the basic principles of vector graphics use mathematical formulae and the difference of pixelated bitmaps/other image file formats although I've never worked on/with them (the VG's). I have three TRK-8130E's, one primed for painting so two with an option to scan.caution said:Thanks! MoM, you don't have to create a new thread
The tricky thing is that all you have is the original part. On the Conion the lettering is printed on metal trim which can be removed, so it was easy to capture with a flatbed scanner. Your Hitachi has them applied right to the case, so it might take a really good closeup picture. Thankfully in most cases the fonts are online to be pilfered. I then typed in each letter I needed into Inkscape, which then traced the letters for me, which essentially converts them from being a bitmap to a vector, which is just a fancy way of saying the letters are described in terms of an outline defined by x-y coordinates, rather than a pile of pixels spread out to create the shape of the letter. I also had to do this a few times before they were correctly scaled.
Even after you get a scan, the lettering may be all scratched up (as it was for me) so it's only useful as a positional reference. It's also hard for most tracer programs to find edges in images. It's best to start fresh with crisp original text and recreate it all by hand. It took quite a while to redraw all of the little lines, circles, dots, etc. and get them all centered on the original scan. If done right, the end result is extremely sharp and has no jags from pixels.
I did all of the graphics work in a high-end CAD tool, but I'm sure there are other tools that are equally competent like Illustrator or other CAD programs. With the original scan in the background as a reference, and a micrometer in hand to confirm things on the original part, I just redrew all the stuff and positioned my letters over the old ones.
I'm leaving out a number of steps but that's the basic rundown!
I've not used the particular image graphics software you've mentioned, would I be correct with this (partial) over-simplified summary?:
Scan the BB face/plate/area/whatever to scale then create another image layer on top in which to recreate the characters, characteristics and elements required using vector graphics required for the creation of a dry transfer?
I'm not sure if I could manage the VG's myself as it's so long since I looked into this but I'll either try again or see if it's economical enough to 'outsource'. When it comes to the dry transfer part, am I to assume that the artwork is taken to a printer to handle this? All I have is a decent multifunctional scanner/printer that handles transfer papers. (I'm a slow learner these days, the years are taking their toll !!!)

That's about it! Yeah, the graphics part can be tricky but I do CAD for a living so it wasn't anything for me. The transfers were made by drytransfer.com, which creates a high-quality screen that is used to paint the graphics onto transfer paper. I'm not sure if it's a laser printer or something better, but I'm guessing the latter. I might try doing this myself if I can find a place to make the screens.MyOhMy said:I've not used the particular image graphics software you've mentioned, would I be correct with this (partial) over-simplified summary?:
Scan the BB face/plate/area/whatever to scale then create another image layer on top in which to recreate the characters, characteristics and elements required using vector graphics required for the creation of a dry transfer?
Many, many thanks, caution.
You're a STAR for all you've done and for the help & inspiration you've given others like myself.
You're a STAR for all you've done and for the help & inspiration you've given others like myself.
 I was thinking earlier how to restore the aluminium trim, and there it is! Respect man!