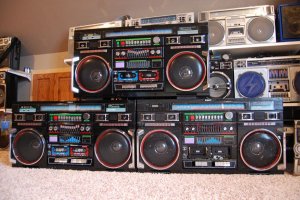
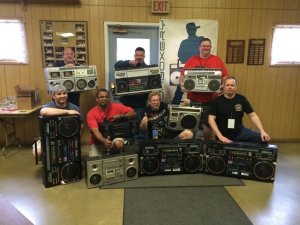
If you recently saw the thread "Restoring a BEAST! The Rexcel JCX-1000" then you saw me restore the box owned by member Dr. Dre. When I was at his house for the Boombox Meet a few weeks back I worked out a deal to take ownership of this Dynasty in part with restoring his Rexcel.
Before I get into the rebuilding details, I will say this...
There are many ways to get radio's. I have probably done most. From purchasing from eBay, finding them in the wild, trades with members, buying from members or in this case, starting with a total basket case. Lately, this seems to be the way I have been doing things. In my nearly 6 years on this site (which seems like a short time), I have read so many threads, watched members tricks, tried them and invented my own. This radio needed every trick in the "Boomboxery Big Book of Blaster Trickery" and then some.
The radio I started with was 2 stages below basket case and 3 stages below parts box. It is almost a miracle that this radio was not broken down for parts years ago. It has past through many many hands to get to me. It has been owned by members on this site and when it got to me it was in sad sad shape.
This radio's restoring is part functional and part magician's illusion. Not all of it has been restored to full working condition, not all the original parts are here and there are some things that can simply never be fixed. BUT, this is a radio that has been on my "Most Wanted" list for some time and no matter how I have tried I could not seem to find the right deal, some deals fell through and some are just priced way over my head. In the end, this is the best I can do to make the dream of owning THE BIGGEST RADIO EVER MADE come true....
Here we go!
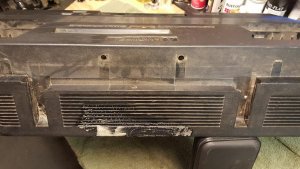
This Wheely came home in 2 halves with no screws in the case, taped together. It has been taped together many times, showing signs of packing tape and duct tape goo all over it. The grills were kicked in, missing many deck keys, missing both antenna's, both deck doors, one deck carriage, all the EQ sliders, the battery door, both spare cassette storage doors, the sticker around the clock, the tuning window was damaged beyond repair and once opened, it had many wires cut and the volume pot had broken parts in it making it none functional.
BUT!!!!
It powered up and made noise and once tested, I found that the tuner and line in worked...
So, there is hope!
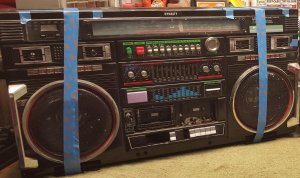
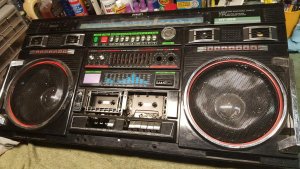
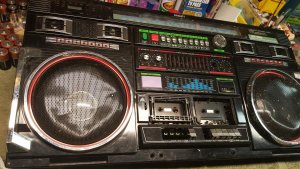
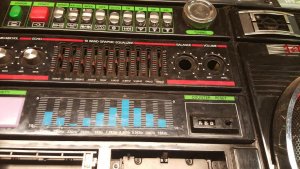
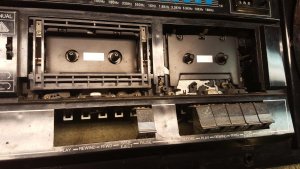
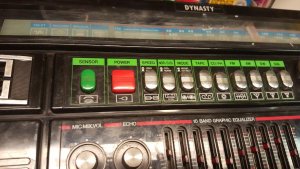
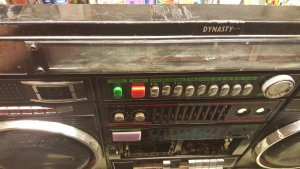
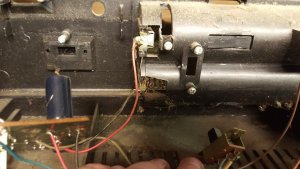
As always, the inside was a rat's nest. LITERALLY! The wiring was a mess and it was filthy. The only thing to do was a full gutting!
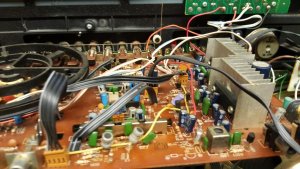
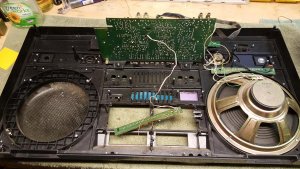
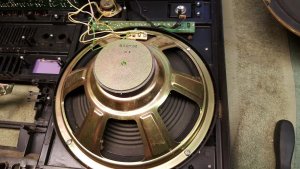
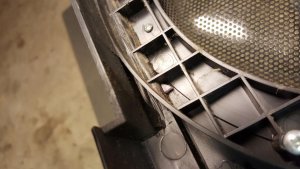
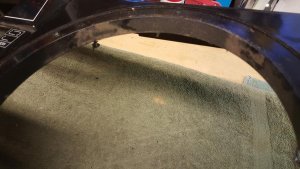
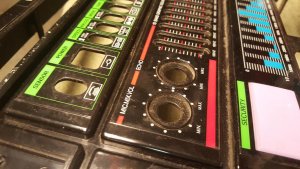
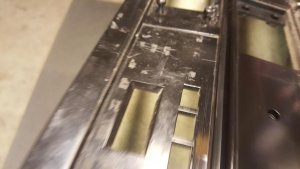
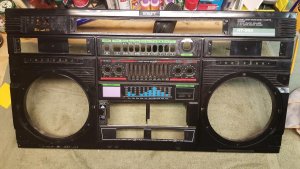
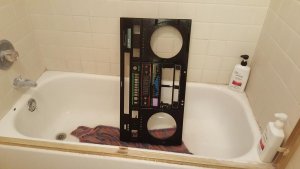
But this big beast wouldn't fit in the sink, so, it's off to the tub! I had to take the shower doors off the tub to get it in there
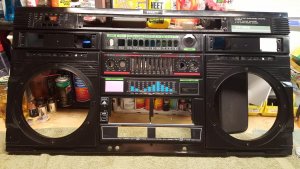
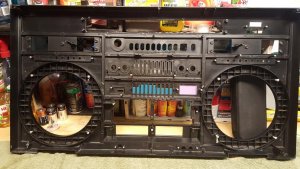
The rear case was almost worse. Grime and dirt were packed in, gooey tape residue covered it.
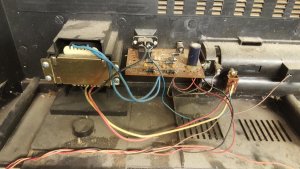
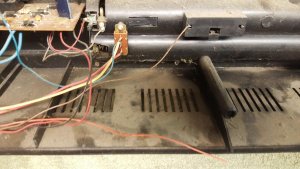
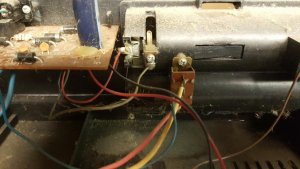
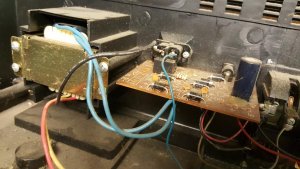
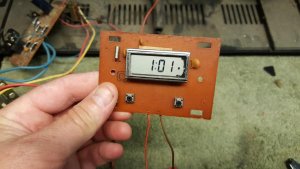
And yet through all the mess, THE CLOCK WORKED!
I took the rear case out to the driveway, laid down some bath towels (wife loves that) and hit the rear case with the garden hose. It came out really nice. I had to use some Simple Green and elbow grease to get the tape goo off, but it came out nice.
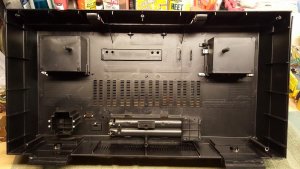
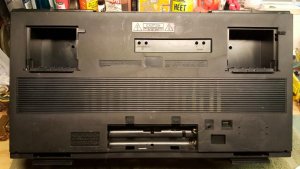
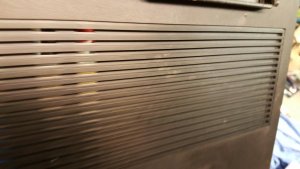
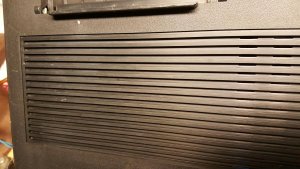
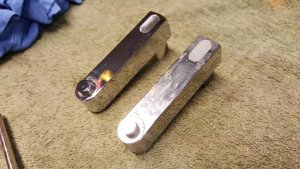
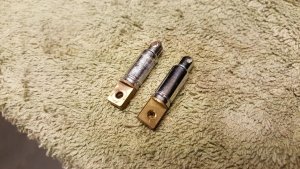
Every little bit got a scrubbing, here are the handle ends and antenna mounts, one clean, one dirty
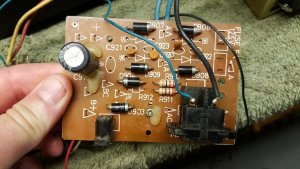
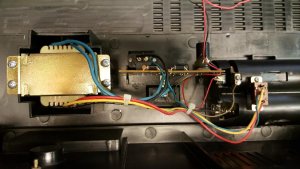
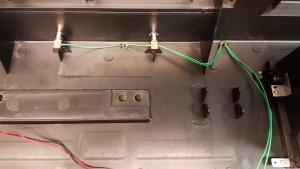
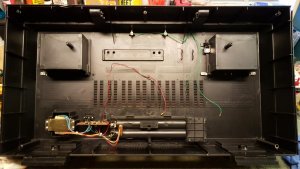
Next was to clean the power supply and power PC board and reassemble the rear case
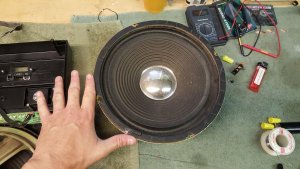
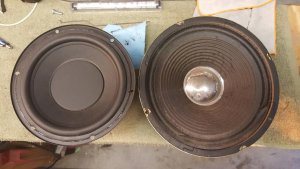
In case the old debate of whether or not the Wheely really run's 10 inch speakers or not is still floating around, I promise you, it does, here is one next to an 8 inch speaker.
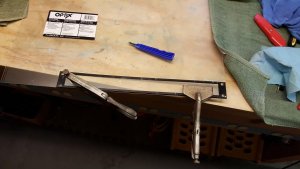
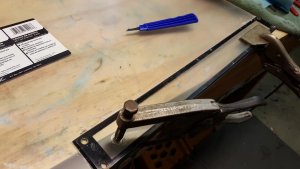
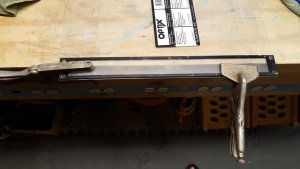
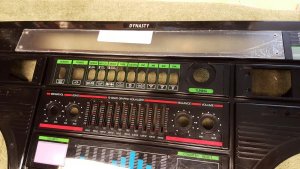
Time to deal with the tuner glass. I have never made a tuner glass before, but it was easy, especially for this model since it mounts flush with four screws from the front. I bought a sheet of Lexan Plexi glass at Lowes along with the recommended cutting tool for $25 and cut out a piece.
I only Farked up 3 of them to get one good one!
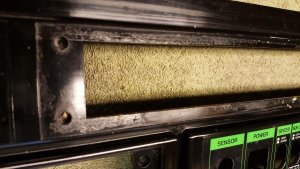
More on the finishing and installation of that later...
Time to clean LED chrome!
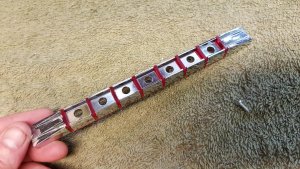
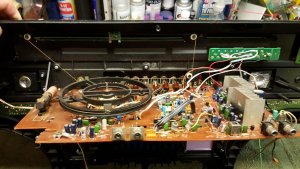
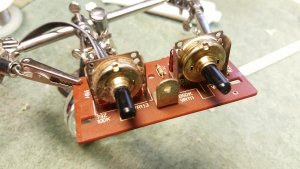
The tuning dial and main board got a full cleaning and all the switches got a full deoxit!
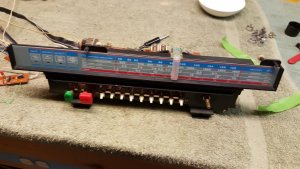
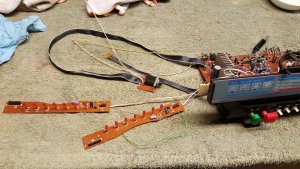
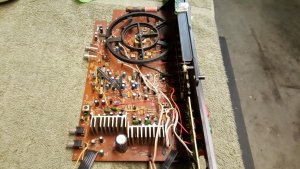
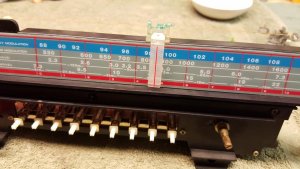
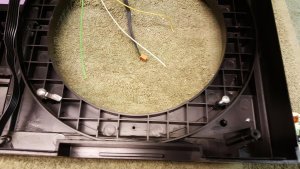
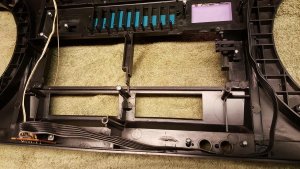
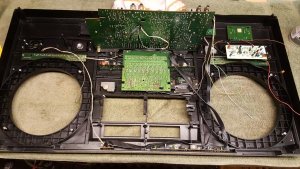
All PC boards were cleaned in 91% isopropyl alcohol and reassembled into a CLEAN front case. The EQ sliders with all cleaned with Deoxit Fader lube. I also did my typical Bluetooth mod and hid the Bluetooth module in one of the spare cassette storage bins on the back. The alarm was tested and worked perfectly.
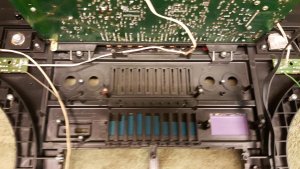
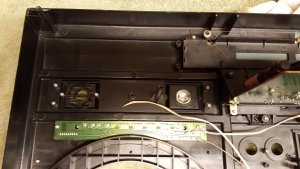
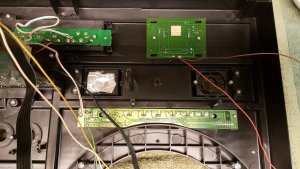
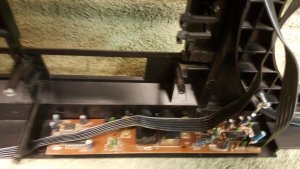
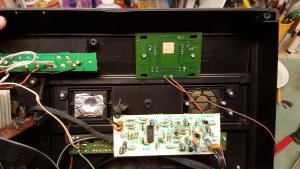
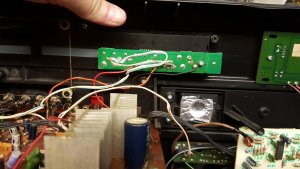
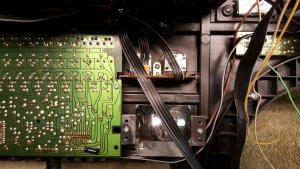
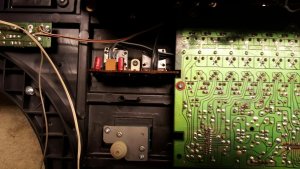
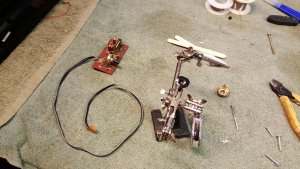
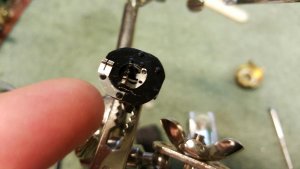
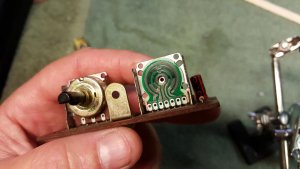
The volume potentiometer was opened, diagnosed and repaired as best I could. I ordered a new one, but it was not the same. I am on the look out for a replacement if any one has one. This one works, but who knows for how long.
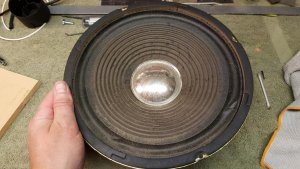
Speaker cleaning
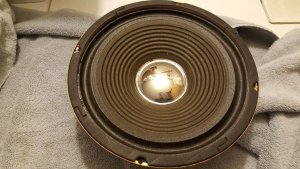
Front case mostly assembled, less decks...tuner plexi temporarily in place.
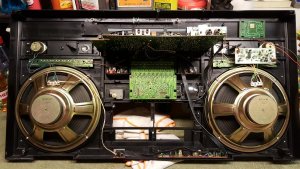
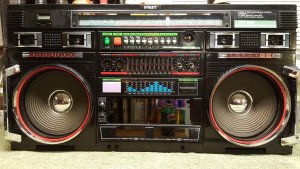
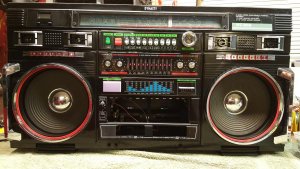
Time to swap in some different tweeters. One of the original's had a torn paper cone.
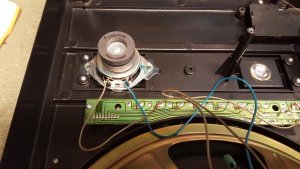
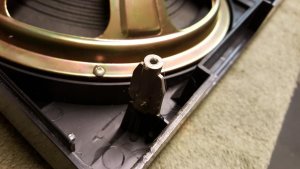
Next was to repair a broken case post. I was surprised many more weren't broken.
For this I cut the head off a screw, screwed it INTO the original post base that was busted off and then screwed another post that was broken off of another radio. Then I just screwed into it like I normally would. I secured it with hot glue gun and it worked like a charm.
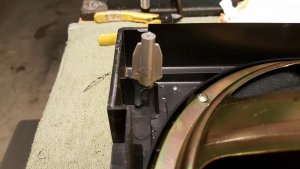
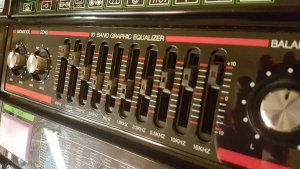
Next, I found some EQ sliders off an old EQ from a home system unit I had laying around. Worked perfectly
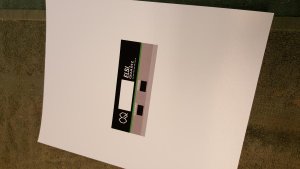
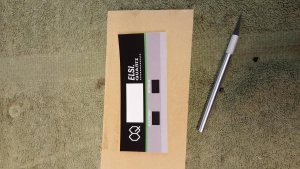
I recreated the art work for around the clock face and had it printed on card stock, glossy. Then cut it with an exacto knife and attached it with spray glue. The colors didn't come out to my liking, so I will be trying it again. But it's better then nothing for now.
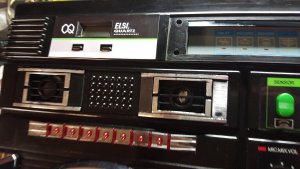
NOW, for some reason, I don't seem to have pictures of what I did regarding the decks...so I will just explain.
I believe that the decks COULD be brought back to life, but they are missing 4 keys, both doors and one chassis. Also, someone cut some of the wires to the main board. Not that big of a deal, but it will have to be dealt with. In the mean time, I realized, I had an old 3 piece Lasonic that I have had for ever, that has always been missing one speaker. I have never been able to find it and decided, THIS is the reason I have it! I pulled the decks and guess what The fit nearly PERFECTLY!
Perfectly, less the doors....So, since I still had a sheet of plexi glass, I cut out one long piece to simulate both doors, made all the art work on the computer had it printed and sandwiched the art between two pieces and PRESTO...Deck Simulation!
Well, better than a big hole in the front AND I now have a full set of deck keys!
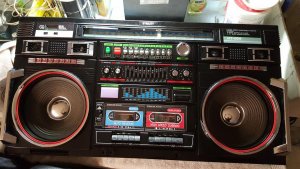
Time to install the tuner glass. Like the windshield of a car, this tuner glass is affixed with an adhesive. Originally it used a double sided tape. So I went on eBay and found this very thin tape used to install smart phone glass. It's very strong and only $5.00 shipped!
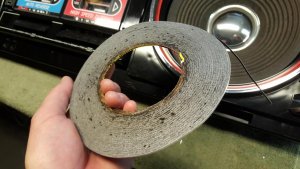
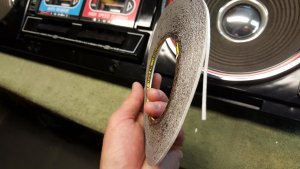
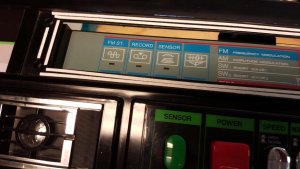
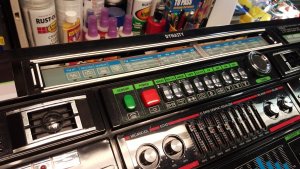
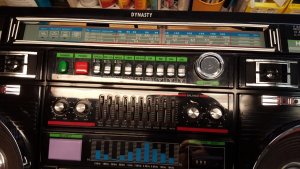
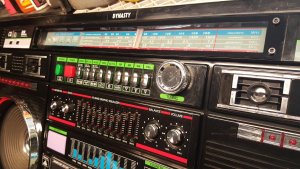
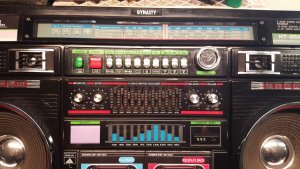
If you look closely, you can see that I had to mask and paint the outer edge of the plexi to match the original and hide the tape.
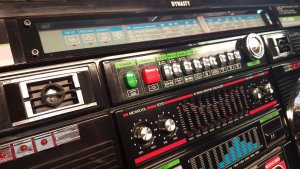
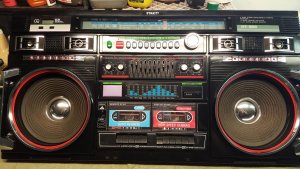
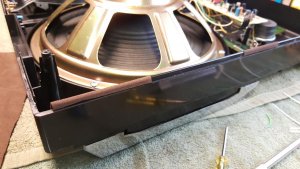
I also used some of this double sided tape to attach some material around the edge of the box seem to seal it up and prevent rattling, worked like a charm, tight as a drum!
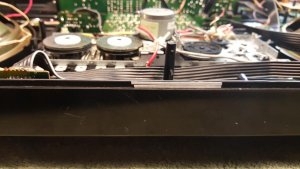
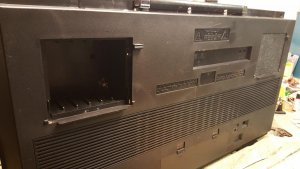
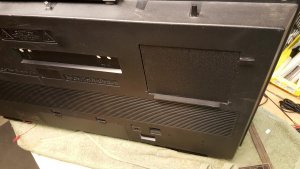
I cheated a little (for now), I was told by member Blu_Fuz that the GPX-990 used the same battery door. I actually pulled this battery door from my Trident DX-6000. Fit's perfectly. I will make a proper one down the line and put this one back on the Trident. Next I made doors for the spare cassette storage. For now, they are held in place with velcro. It prevents rattling which is good. In order to make functioning doors I will need to make springs and latches to utilize the original opening buttons. It can be done and I will get to it at some point.
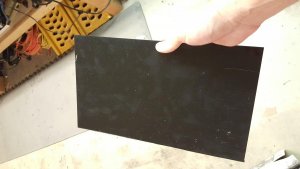
I bought a sheet of ABS plastic off eBay for $4 shipped. Worked nicely. Better then nothing.
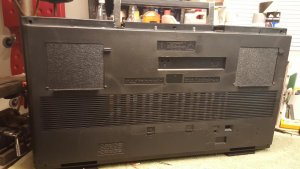
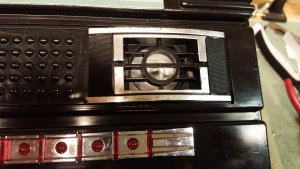
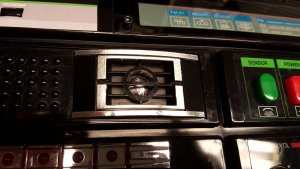
This radio really had a hard life and the chrome showed it big time. So I took a page out of member SLO's book and used chrome aluminum tape to recover the tweeter covers. See more on that HERE
Before:
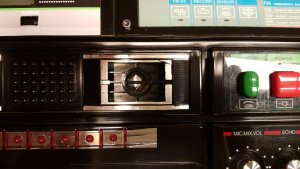
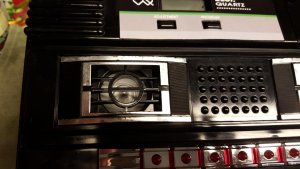
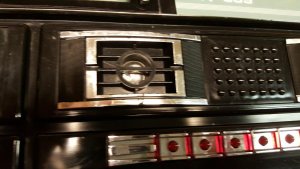
After:
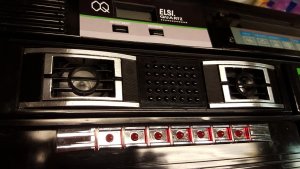
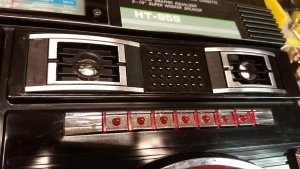
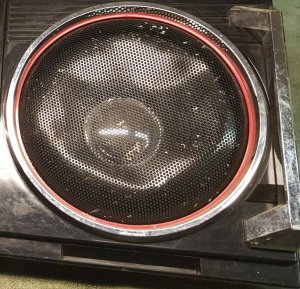
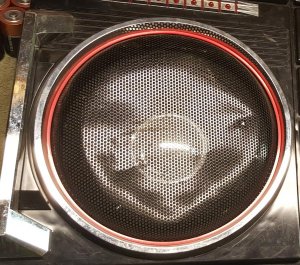
Next up....Hammer out the creased and dented grills...My body working skills were put to the test on these.
Just a reminder
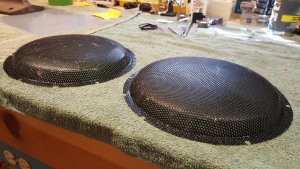
Then a respray
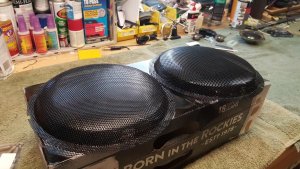
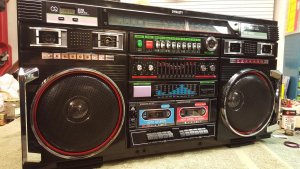
And that's it, finished!
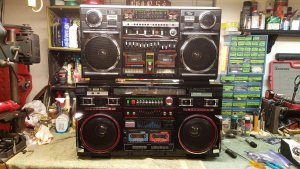
With the Rexcel JCX-1000
I'm still waiting on brand new antenna's from South Korea and I need to remake the sticker around the clock to better match the color of the factory decal.
I will be sourcing deck keys in hopes of one day getting the decks back in and working, but for now, she looks and sounds fantastic.
Sadly, there is one thing that can never be repaired and that is a big scar on the top of the radio :'-(
:'-( 
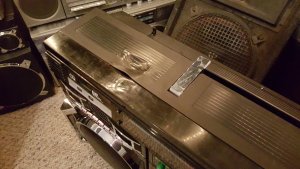
But like SLO told me, this is the story of this box. These are the sign's that it has lived hard and rocked even harder and you know what, I don't care!
I might just glue a cassette to the top and call it a day!
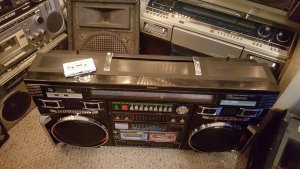
Either way....she's all mine. I might have 50 hours into this radio, maybe even more! It still needs work. But it's taken 6 plus years to get it and every skill I have learned here on Boomboxery to bring it back to this point and with that said....I FRIGGEN LOVE IT!!!!!
If you have any deck parts please PM me!
More pictures to come!
Before I get into the rebuilding details, I will say this...
There are many ways to get radio's. I have probably done most. From purchasing from eBay, finding them in the wild, trades with members, buying from members or in this case, starting with a total basket case. Lately, this seems to be the way I have been doing things. In my nearly 6 years on this site (which seems like a short time), I have read so many threads, watched members tricks, tried them and invented my own. This radio needed every trick in the "Boomboxery Big Book of Blaster Trickery" and then some.
The radio I started with was 2 stages below basket case and 3 stages below parts box. It is almost a miracle that this radio was not broken down for parts years ago. It has past through many many hands to get to me. It has been owned by members on this site and when it got to me it was in sad sad shape.
This radio's restoring is part functional and part magician's illusion. Not all of it has been restored to full working condition, not all the original parts are here and there are some things that can simply never be fixed. BUT, this is a radio that has been on my "Most Wanted" list for some time and no matter how I have tried I could not seem to find the right deal, some deals fell through and some are just priced way over my head. In the end, this is the best I can do to make the dream of owning THE BIGGEST RADIO EVER MADE come true....
Here we go!
This Wheely came home in 2 halves with no screws in the case, taped together. It has been taped together many times, showing signs of packing tape and duct tape goo all over it. The grills were kicked in, missing many deck keys, missing both antenna's, both deck doors, one deck carriage, all the EQ sliders, the battery door, both spare cassette storage doors, the sticker around the clock, the tuning window was damaged beyond repair and once opened, it had many wires cut and the volume pot had broken parts in it making it none functional.
BUT!!!!
It powered up and made noise and once tested, I found that the tuner and line in worked...
So, there is hope!


As always, the inside was a rat's nest. LITERALLY! The wiring was a mess and it was filthy. The only thing to do was a full gutting!


But this big beast wouldn't fit in the sink, so, it's off to the tub! I had to take the shower doors off the tub to get it in there


The rear case was almost worse. Grime and dirt were packed in, gooey tape residue covered it.


And yet through all the mess, THE CLOCK WORKED!

I took the rear case out to the driveway, laid down some bath towels (wife loves that) and hit the rear case with the garden hose. It came out really nice. I had to use some Simple Green and elbow grease to get the tape goo off, but it came out nice.


Every little bit got a scrubbing, here are the handle ends and antenna mounts, one clean, one dirty


Next was to clean the power supply and power PC board and reassemble the rear case


In case the old debate of whether or not the Wheely really run's 10 inch speakers or not is still floating around, I promise you, it does, here is one next to an 8 inch speaker.


Time to deal with the tuner glass. I have never made a tuner glass before, but it was easy, especially for this model since it mounts flush with four screws from the front. I bought a sheet of Lexan Plexi glass at Lowes along with the recommended cutting tool for $25 and cut out a piece.
I only Farked up 3 of them to get one good one!


More on the finishing and installation of that later...
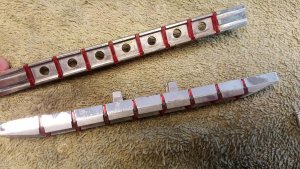
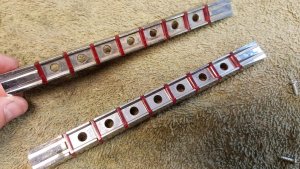
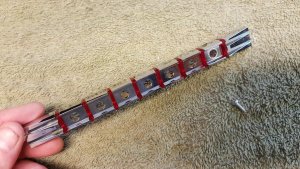
Time to clean LED chrome!


The tuning dial and main board got a full cleaning and all the switches got a full deoxit!


All PC boards were cleaned in 91% isopropyl alcohol and reassembled into a CLEAN front case. The EQ sliders with all cleaned with Deoxit Fader lube. I also did my typical Bluetooth mod and hid the Bluetooth module in one of the spare cassette storage bins on the back. The alarm was tested and worked perfectly.


The volume potentiometer was opened, diagnosed and repaired as best I could. I ordered a new one, but it was not the same. I am on the look out for a replacement if any one has one. This one works, but who knows for how long.


Speaker cleaning


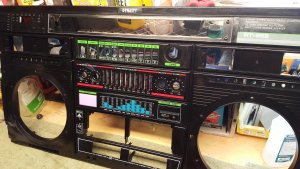
Front case mostly assembled, less decks...tuner plexi temporarily in place.


Time to swap in some different tweeters. One of the original's had a torn paper cone.

Next was to repair a broken case post. I was surprised many more weren't broken.
For this I cut the head off a screw, screwed it INTO the original post base that was busted off and then screwed another post that was broken off of another radio. Then I just screwed into it like I normally would. I secured it with hot glue gun and it worked like a charm.


Next, I found some EQ sliders off an old EQ from a home system unit I had laying around. Worked perfectly


I recreated the art work for around the clock face and had it printed on card stock, glossy. Then cut it with an exacto knife and attached it with spray glue. The colors didn't come out to my liking, so I will be trying it again. But it's better then nothing for now.


NOW, for some reason, I don't seem to have pictures of what I did regarding the decks...so I will just explain.
I believe that the decks COULD be brought back to life, but they are missing 4 keys, both doors and one chassis. Also, someone cut some of the wires to the main board. Not that big of a deal, but it will have to be dealt with. In the mean time, I realized, I had an old 3 piece Lasonic that I have had for ever, that has always been missing one speaker. I have never been able to find it and decided, THIS is the reason I have it! I pulled the decks and guess what
 The fit nearly PERFECTLY!
Perfectly, less the doors....So, since I still had a sheet of plexi glass, I cut out one long piece to simulate both doors, made all the art work on the computer had it printed and sandwiched the art between two pieces and PRESTO...Deck Simulation!

Well, better than a big hole in the front
 AND I now have a full set of deck keys!
Time to install the tuner glass. Like the windshield of a car, this tuner glass is affixed with an adhesive. Originally it used a double sided tape. So I went on eBay and found this very thin tape used to install smart phone glass. It's very strong and only $5.00 shipped!


If you look closely, you can see that I had to mask and paint the outer edge of the plexi to match the original and hide the tape.


I also used some of this double sided tape to attach some material around the edge of the box seem to seal it up and prevent rattling, worked like a charm, tight as a drum!


I cheated a little (for now), I was told by member Blu_Fuz that the GPX-990 used the same battery door. I actually pulled this battery door from my Trident DX-6000. Fit's perfectly. I will make a proper one down the line and put this one back on the Trident. Next I made doors for the spare cassette storage. For now, they are held in place with velcro. It prevents rattling which is good. In order to make functioning doors I will need to make springs and latches to utilize the original opening buttons. It can be done and I will get to it at some point.
I bought a sheet of ABS plastic off eBay for $4 shipped. Worked nicely. Better then nothing.


This radio really had a hard life and the chrome showed it big time. So I took a page out of member SLO's book and used chrome aluminum tape to recover the tweeter covers. See more on that HERE
Before:


After:


Next up....Hammer out the creased and dented grills...My body working skills were put to the test on these.
Just a reminder


Then a respray

And that's it, finished!

With the Rexcel JCX-1000

I'm still waiting on brand new antenna's from South Korea and I need to remake the sticker around the clock to better match the color of the factory decal.
I will be sourcing deck keys in hopes of one day getting the decks back in and working, but for now, she looks and sounds fantastic.
Sadly, there is one thing that can never be repaired and that is a big scar on the top of the radio
 :'-(
:'-( 

But like SLO told me, this is the story of this box. These are the sign's that it has lived hard and rocked even harder and you know what, I don't care!
I might just glue a cassette to the top and call it a day!


Either way....she's all mine. I might have 50 hours into this radio, maybe even more! It still needs work. But it's taken 6 plus years to get it and every skill I have learned here on Boomboxery to bring it back to this point and with that said....I FRIGGEN LOVE IT!!!!!
If you have any deck parts please PM me!

More pictures to come!


