So, some of you might remember my Kaboom blowed up thread.
Rather than resurrect a month old thread, starting a new one here. To refresh your memory or for those that missed out on that thread, read all about it here:
http://www.boomboxery.com/forum/viewtopic.php?f=47&t=9030

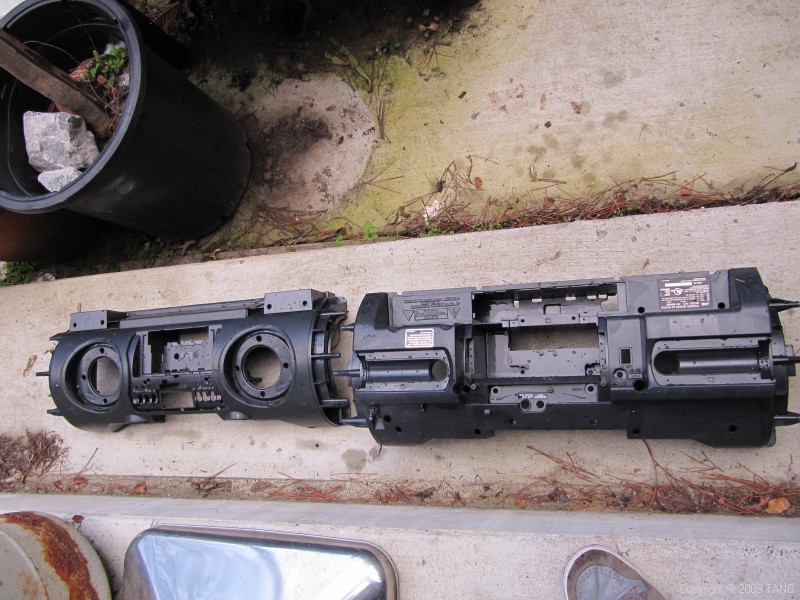
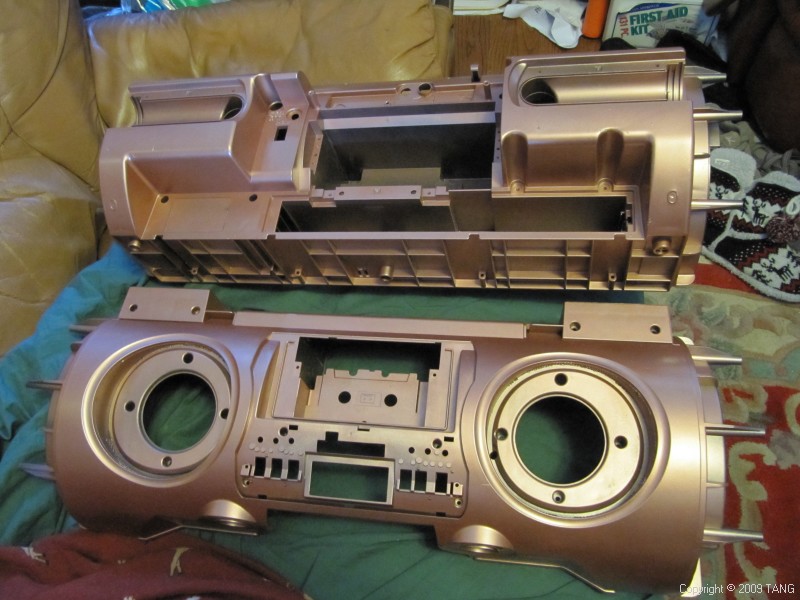
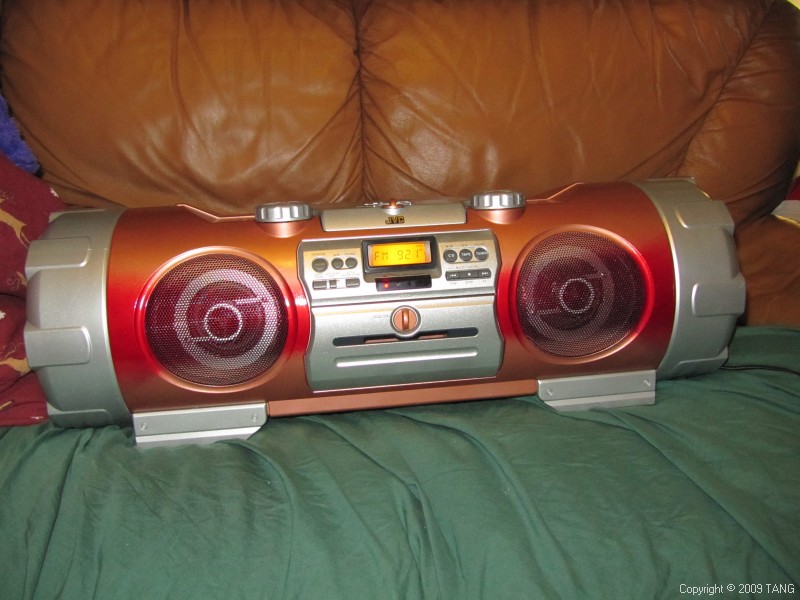
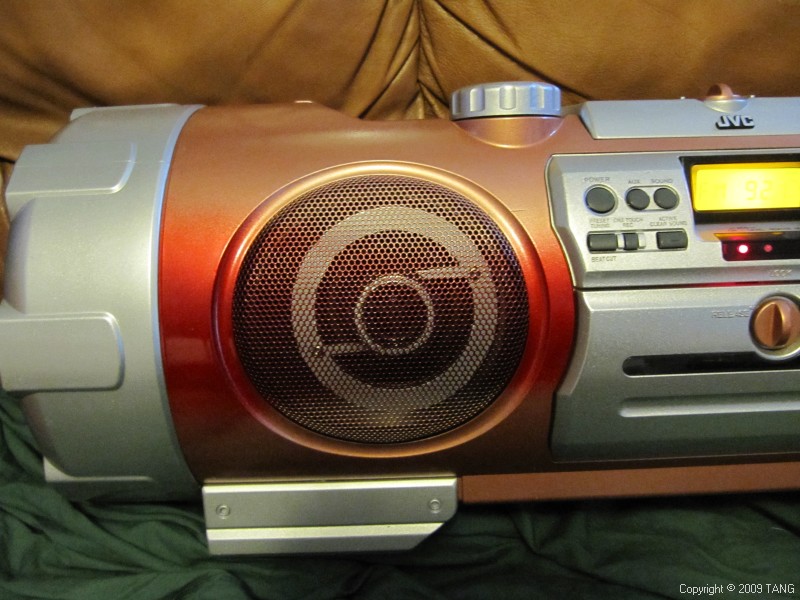
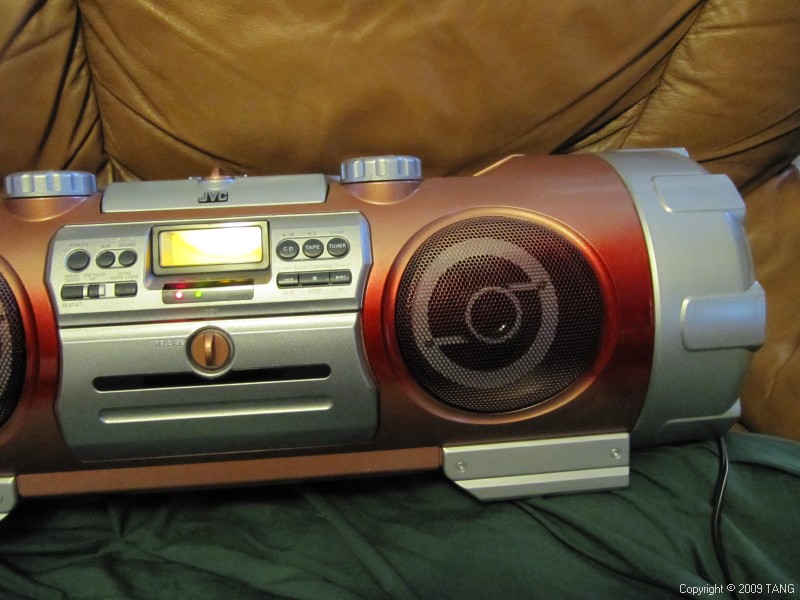
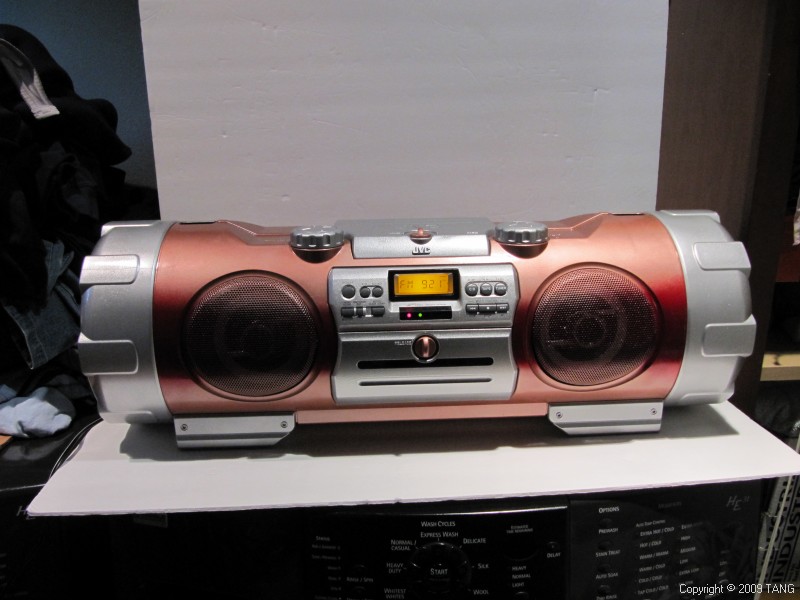
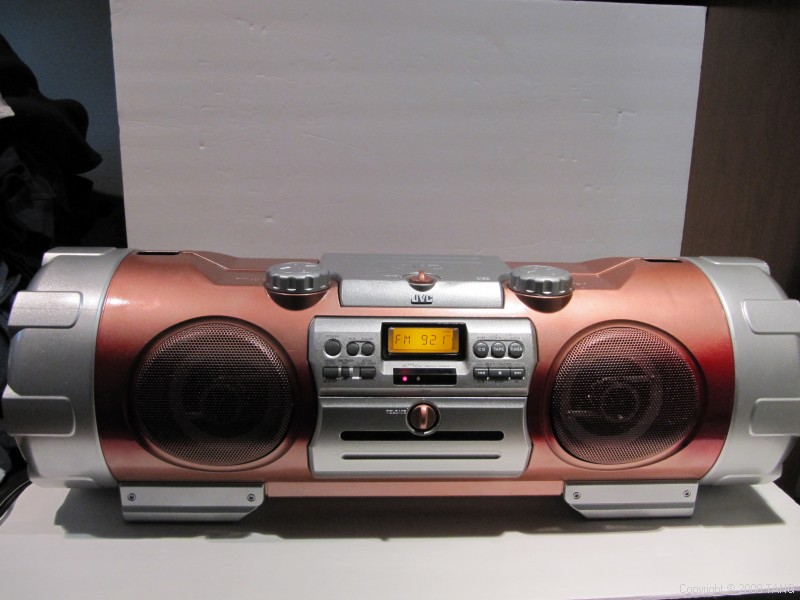
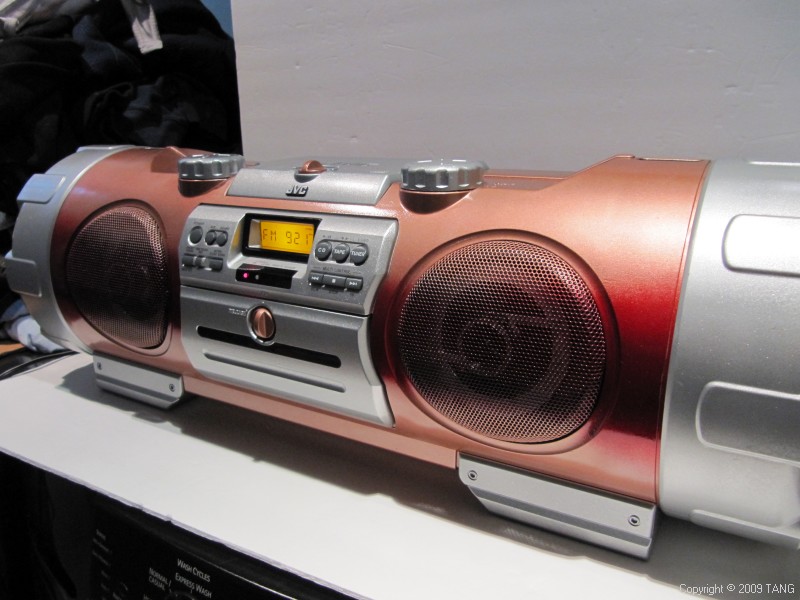
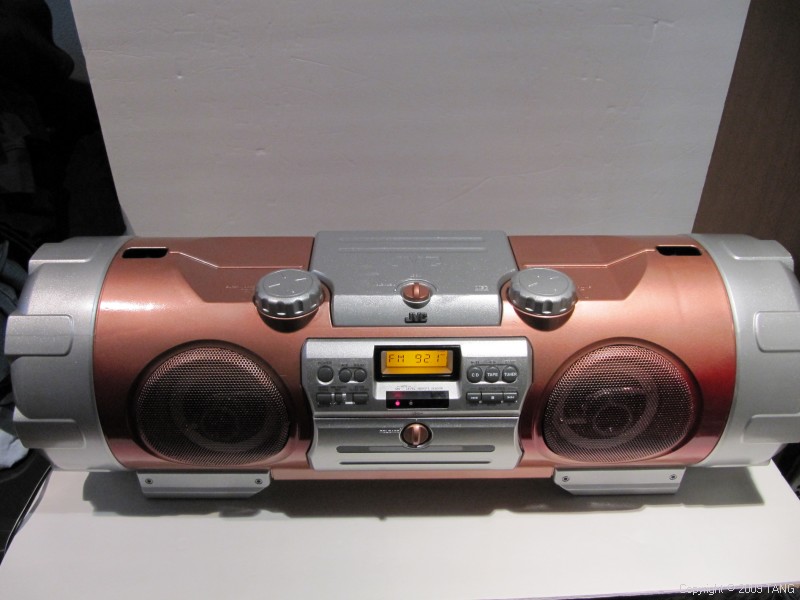
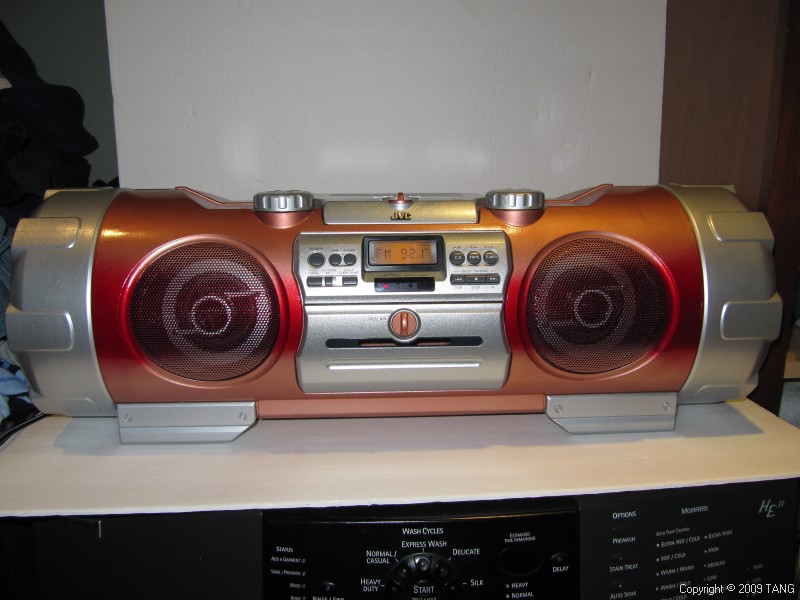
First, the parts were all stripped and bagged. All the exterior pieces were repainted. The broken antenna stub was restored by stealing the shaft from an egg, which I sacrificed. There were some cracked pieces -- those were repaired. The grills were hammered back to some semblence of it's former shape. Although the shell has numerous scratches and scrapes, I chose not to do the tedious sanding to remove all the scratches. The purpose of this restoration was to improve the appearance and give this beast a new lease on life. It was not intended to be a shelf beauty queen. The purpose was to make a fun boombox that would get used. Besides, all this started because my daughter, who never showed any interest in any of my boombox asked if she could have it. Unfortunately, 1/2 way through the work, she sorta said she didn't like the color but it was too late to redo it. If she doesn't want it, then I'll just have to put it to use or sell it. :grim:
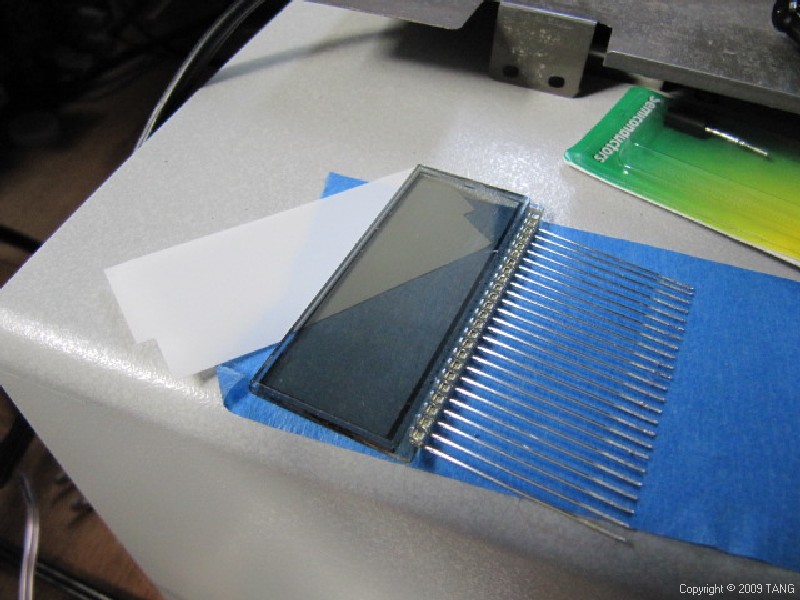
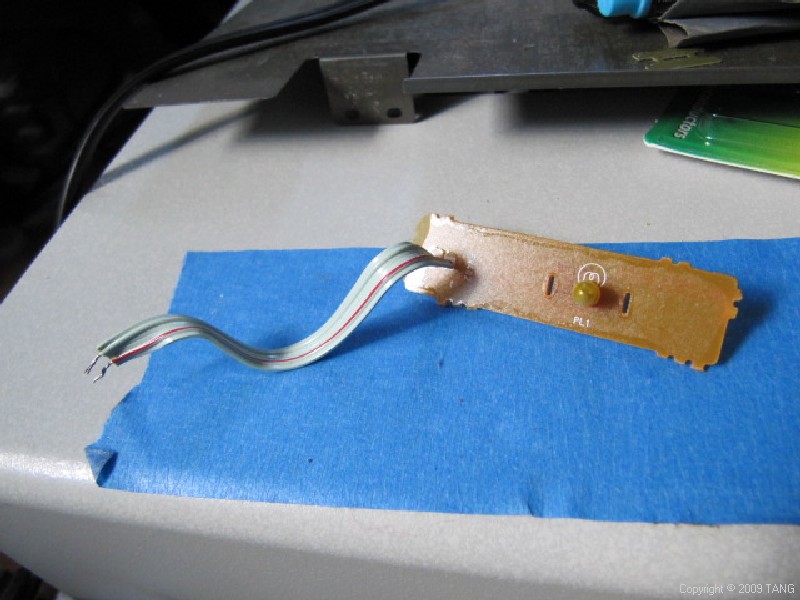
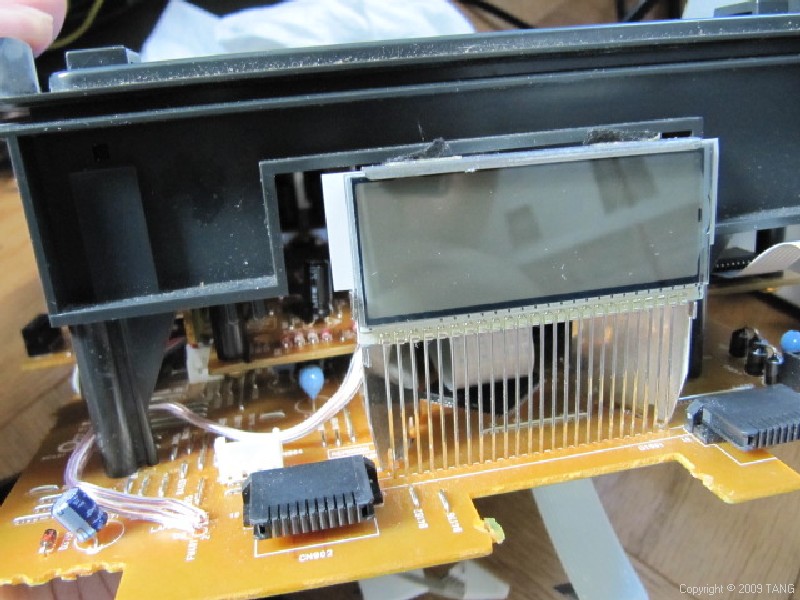
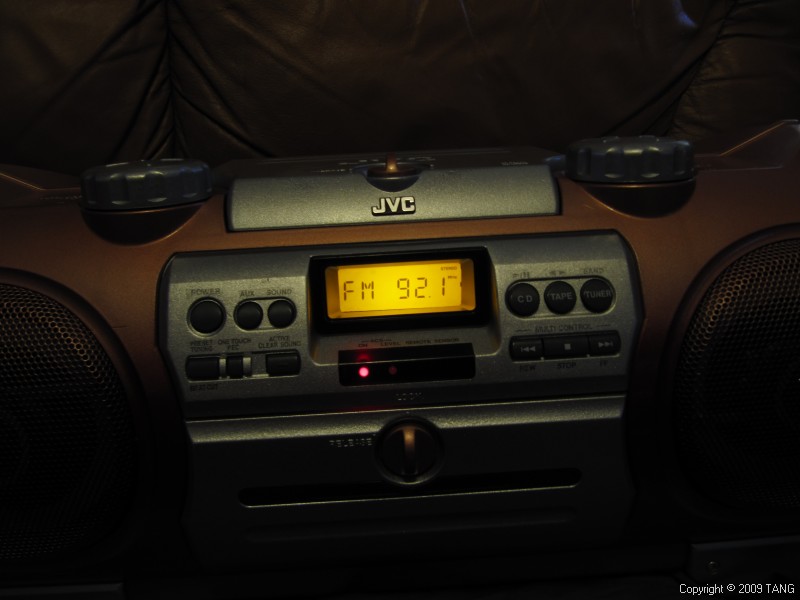
After all the exterior pieces were repainted, I began work on the internal parts. The amp board was scrubbed with soapy warm water. The cassette mechanism was cleaned and rebelted. The CD mechanism was meticulously cleaned including the laser and all contacts were treated with deoxit D100 surface conditioner and preservative. It did have some operational issues before but there is none now -- works perfectly. Also, I'm not sure what color the display was before since the bulb was burnt and it never lit. But I installed yellow/orange LED's which I like as it sorta matches the rad color of the shell.
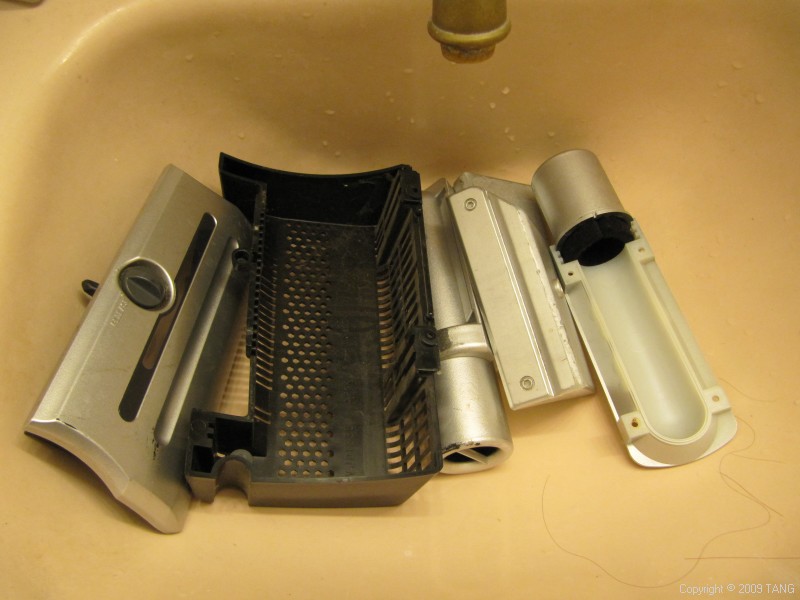
EVERYTHING IS GETTING A BATH
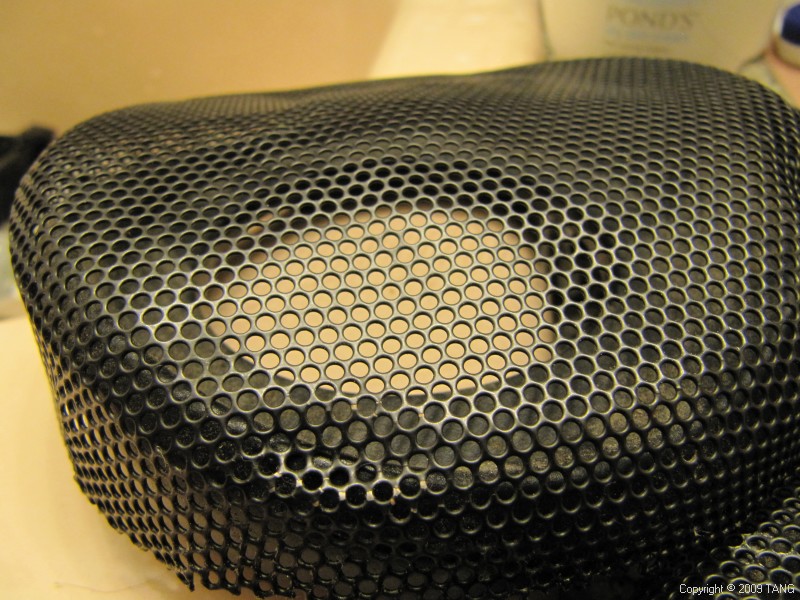
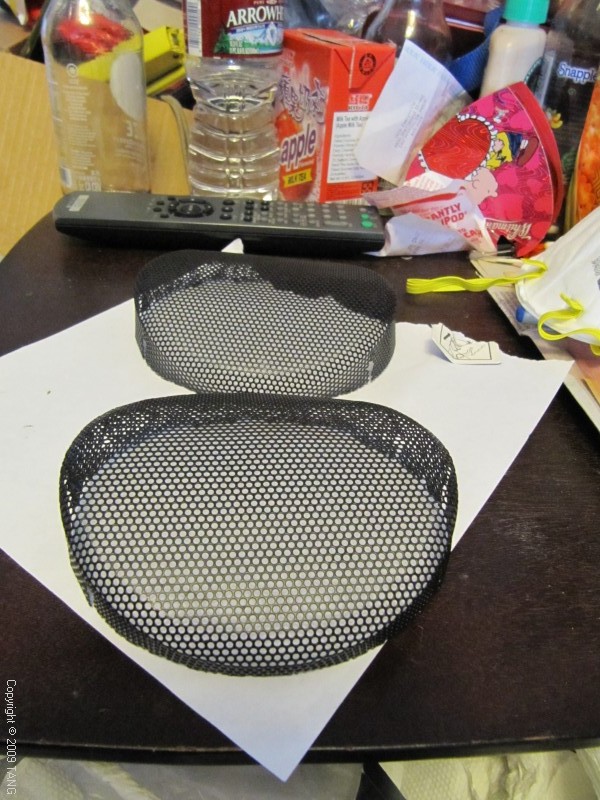
The grills AFTER I already pushed them out. Initially, they were beat all the way back. As you can see, there are STILL lots of dents remaining in some complicated curves. It will need lots of hammer/dolly work. Luckily the metal bends easily with some 4-oz tender-loving-care.


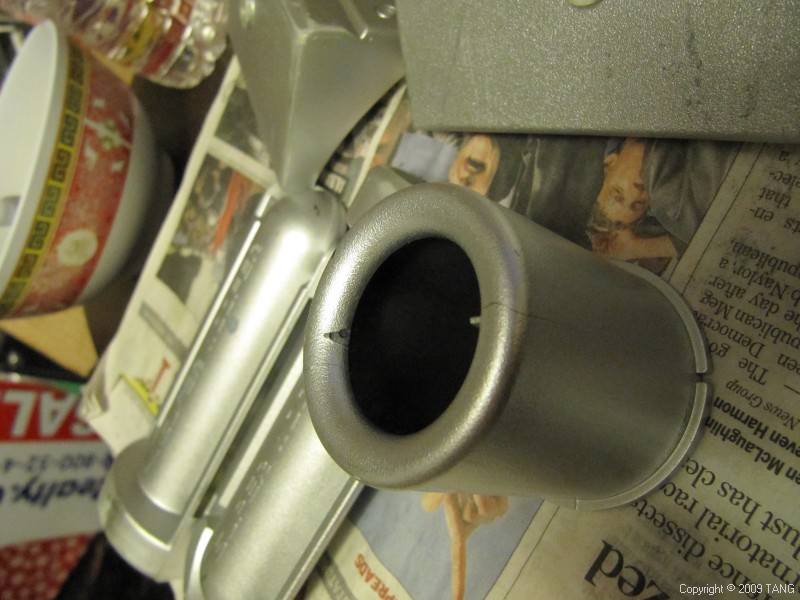
This tube lost one of it's fins. So I cut a piece of styrene about the right length and glued it in place. I got lazy and didn't patch up the voids where the new piece mates but after painting, it looked fine. I figure I can always do that later. Yes, the tube is cracked too but that has been repaired and is as strong now as it was originally.
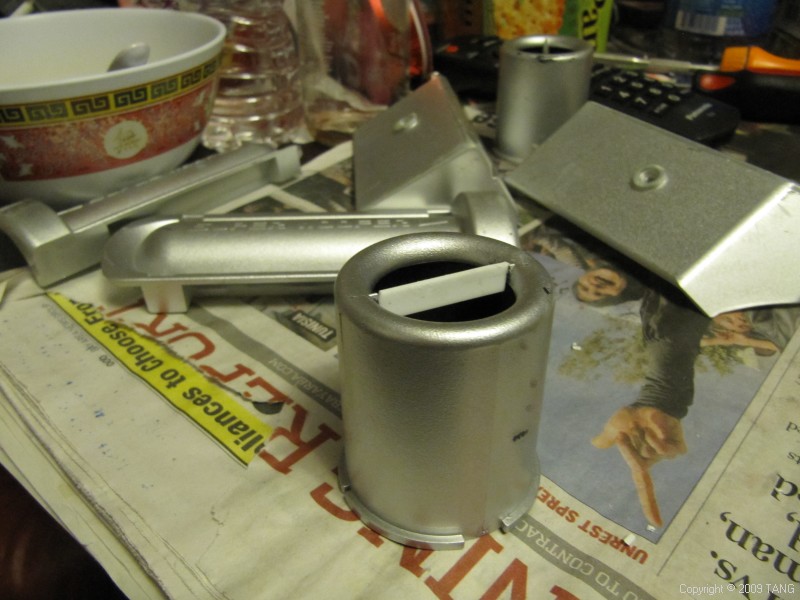
A few of the fins were broken. Luckily all the pieces remained. They were all solvent welded back. The paper you see is keeping one of the bent fins in place while it is setting.
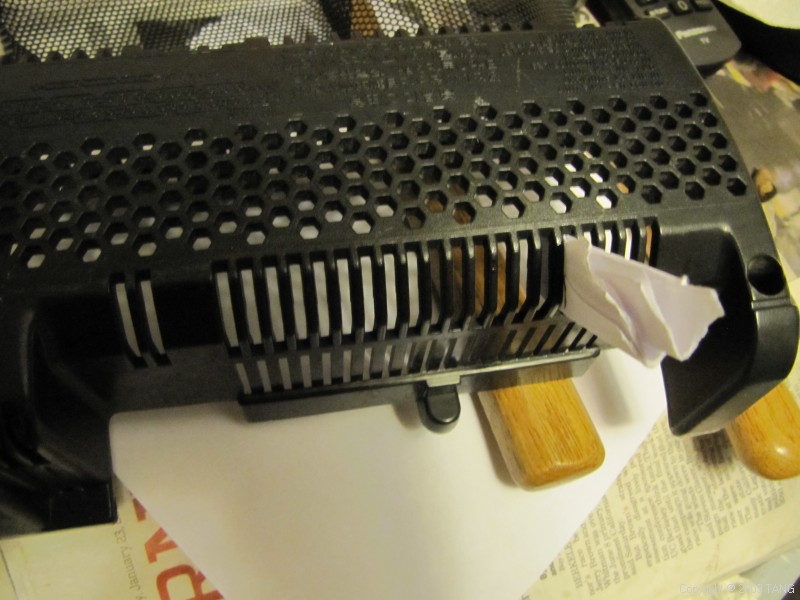
Ok, after about 1/2 hour or so of hammering, feeling, hammering, feeling..... I think it looks presentable enough. If you feel with your fingers, you can still feel some imperfections and it will never be smooth as glass again but to the eye, they look presentable so I'm calling that a day.
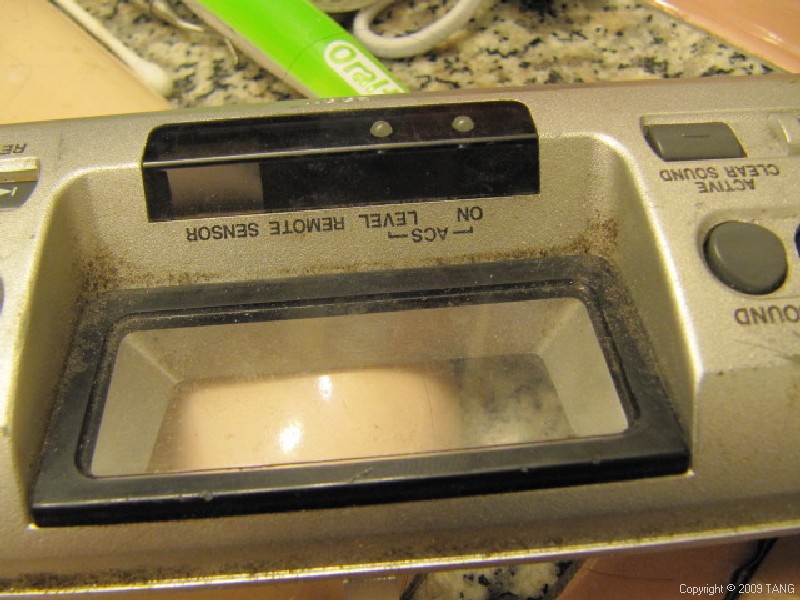
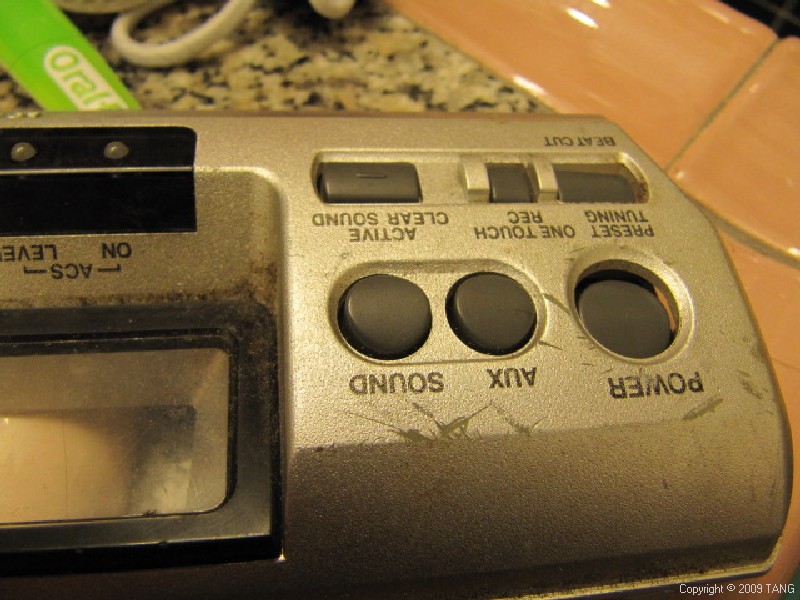
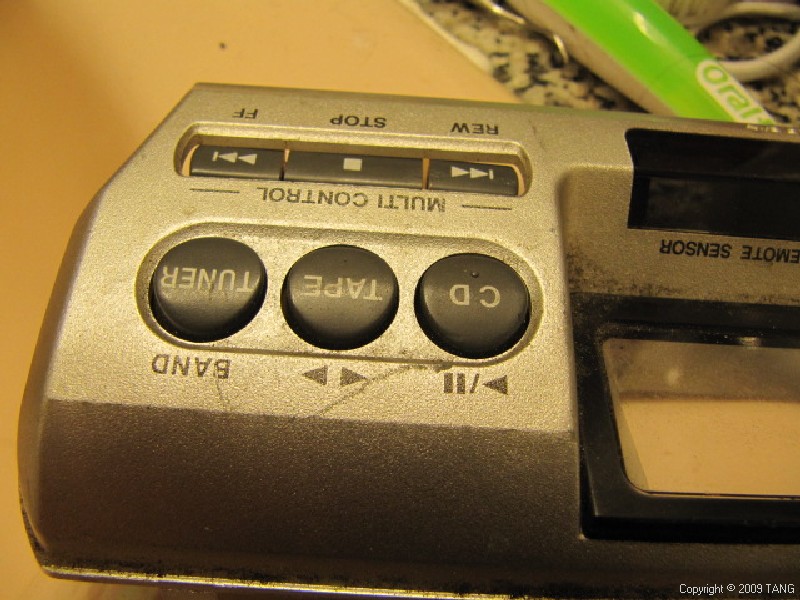
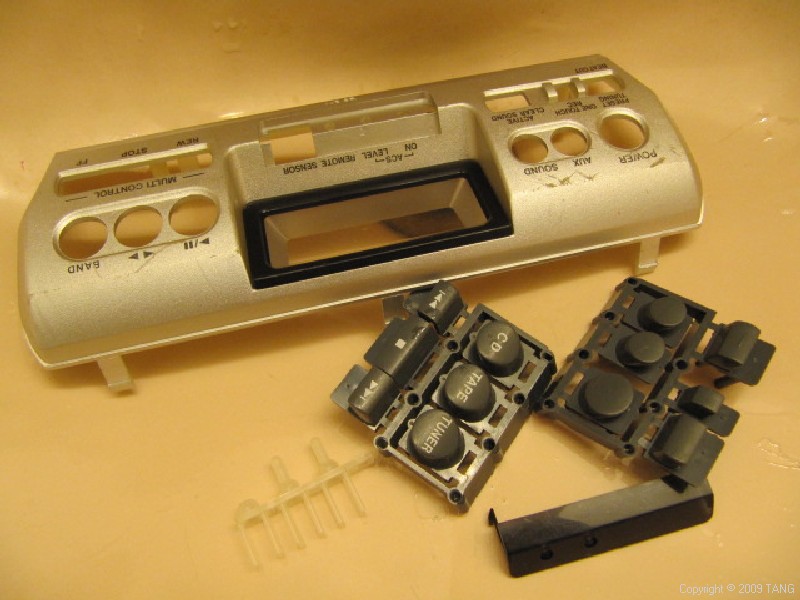
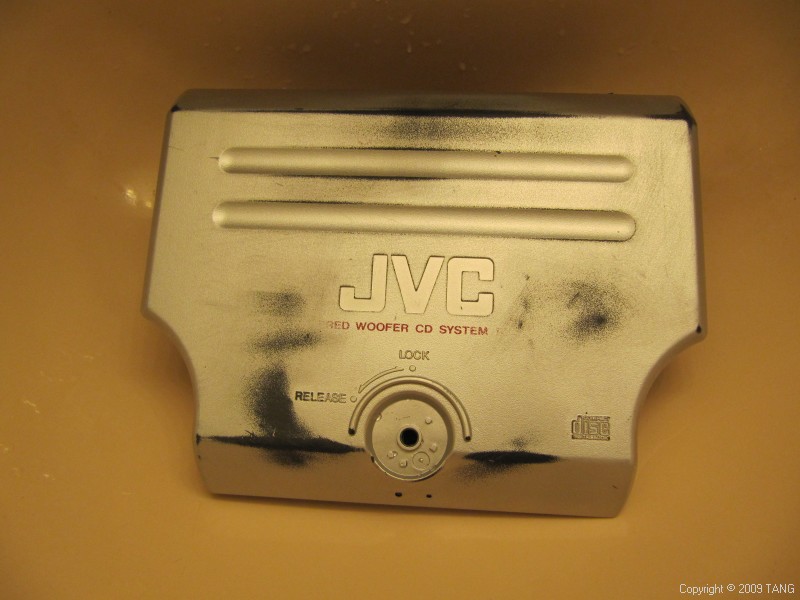
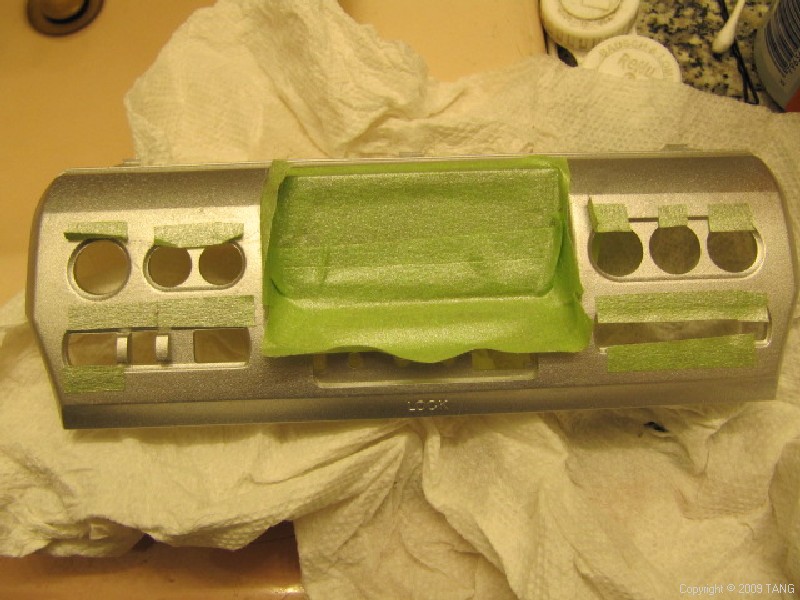
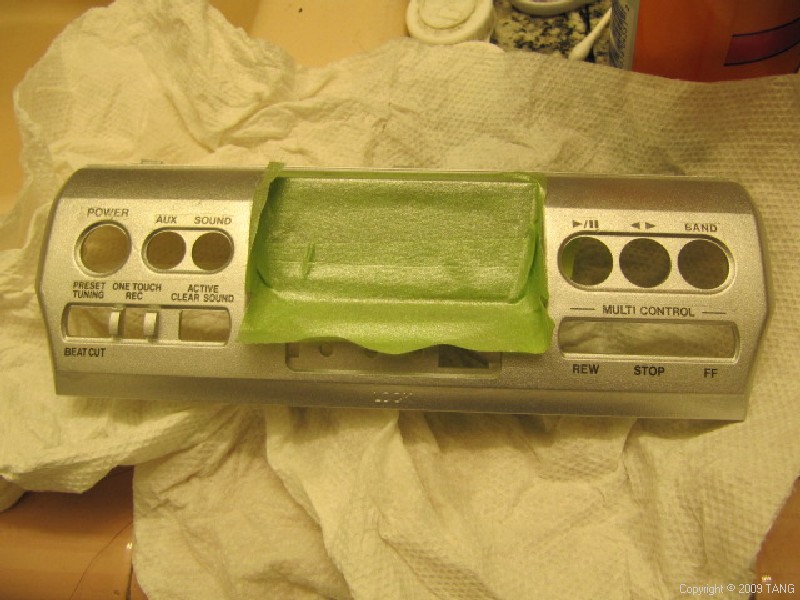
Here is the front control panel. Lots of cleaning needed. Then the panel will need some attention.
OK, more to come in next post.........
Rather than resurrect a month old thread, starting a new one here. To refresh your memory or for those that missed out on that thread, read all about it here:
http://www.boomboxery.com/forum/viewtopic.php?f=47&t=9030

First, the parts were all stripped and bagged. All the exterior pieces were repainted. The broken antenna stub was restored by stealing the shaft from an egg, which I sacrificed. There were some cracked pieces -- those were repaired. The grills were hammered back to some semblence of it's former shape. Although the shell has numerous scratches and scrapes, I chose not to do the tedious sanding to remove all the scratches. The purpose of this restoration was to improve the appearance and give this beast a new lease on life. It was not intended to be a shelf beauty queen. The purpose was to make a fun boombox that would get used. Besides, all this started because my daughter, who never showed any interest in any of my boombox asked if she could have it. Unfortunately, 1/2 way through the work, she sorta said she didn't like the color but it was too late to redo it. If she doesn't want it, then I'll just have to put it to use or sell it.
 :grim:
After all the exterior pieces were repainted, I began work on the internal parts. The amp board was scrubbed with soapy warm water. The cassette mechanism was cleaned and rebelted. The CD mechanism was meticulously cleaned including the laser and all contacts were treated with deoxit D100 surface conditioner and preservative. It did have some operational issues before but there is none now -- works perfectly. Also, I'm not sure what color the display was before since the bulb was burnt and it never lit. But I installed yellow/orange LED's which I like as it sorta matches the rad color of the shell.
EVERYTHING IS GETTING A BATH


The grills AFTER I already pushed them out. Initially, they were beat all the way back. As you can see, there are STILL lots of dents remaining in some complicated curves. It will need lots of hammer/dolly work. Luckily the metal bends easily with some 4-oz tender-loving-care.


This tube lost one of it's fins. So I cut a piece of styrene about the right length and glued it in place. I got lazy and didn't patch up the voids where the new piece mates but after painting, it looked fine. I figure I can always do that later. Yes, the tube is cracked too but that has been repaired and is as strong now as it was originally.


A few of the fins were broken. Luckily all the pieces remained. They were all solvent welded back. The paper you see is keeping one of the bent fins in place while it is setting.

Ok, after about 1/2 hour or so of hammering, feeling, hammering, feeling..... I think it looks presentable enough. If you feel with your fingers, you can still feel some imperfections and it will never be smooth as glass again but to the eye, they look presentable so I'm calling that a day.

Here is the front control panel. Lots of cleaning needed. Then the panel will need some attention.


OK, more to come in next post.........









 ) But once the artwork came back and after considering the masking effect of the tweeter, it became apparent that the S would not work. So we settled on the one you'll see below. THANKS FATDOG! Then keeping everything in the family, I commissioned BluFuz to cut me some cool metal brackets using the conceptual artwork developed by Fatdog. It took a few weeks but today, they arrived! So kaboom project back on track. They were little rough and not show quality but that's OK since I knew they were behind the grill and didn't need to be show quality. Anyhow, in order to keep costs affordable, I asked Joe not to spend time detailing them.








 Dude. You didn't pay attention to the original post. Remember the whole story, about the trip, then the guy was snoring and didn't wake up til I got back home? I eventually got it for FREE, remember?