M71 slow restoration/goldification

Status
Not open for further replies.

Stretch

Member (SA)
Hehe I'm sure you would. I was busy with school and completing my thesis so there hasn't been too much. I'm ready to primer the casing to see if it's where i like it or if it needs any minor scratches fixed etc before painting. I'll get it painted/baked by the pros at a dealership as I want a durable finish, but we'll have to see when that can happen as I'm currently jobless and looking for something in the design field thanks to my recent education :-) .

I've also been designing custom boombox concepts, not sure if you saw. They are in another thread in this section. I will build the best one, which for now is leaning towards the futuristic black box. That won't happen though until this M71 is done!

Thanks for taking up interest though buddy, it'll be a pleaser when finished I promise :cool:
eric
 

Stretch

Member (SA)
Currently spraying the case/top outside compliments of the spray can that arrived thanks to blu-fuz. You're the official forum colour match expert now :surf:

Will post pics soon.
eric
 

blu_fuz

Well-Known Member
Staff member
FINALLY! I couldn't stand to see 137 more people finish their M71 before you did :lol:


:thumbsup:
 

Stretch

Member (SA)
Heh yeah, when I said slow, I really meant it :-P .

I overcame the monetary issues that were confining me at the time, finished school, and only now had enough extra cash to order the paint and get it done.

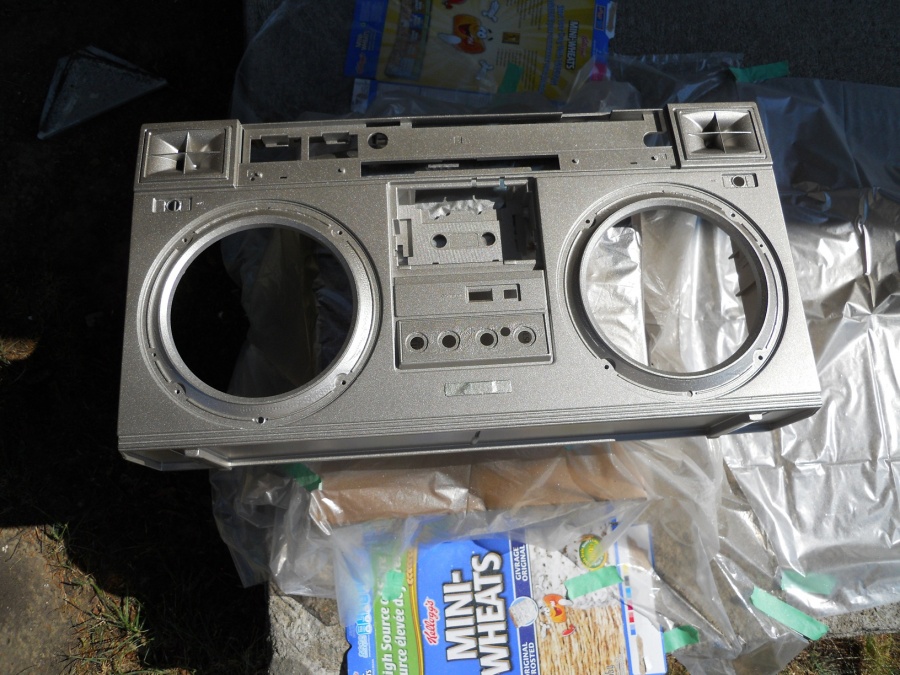
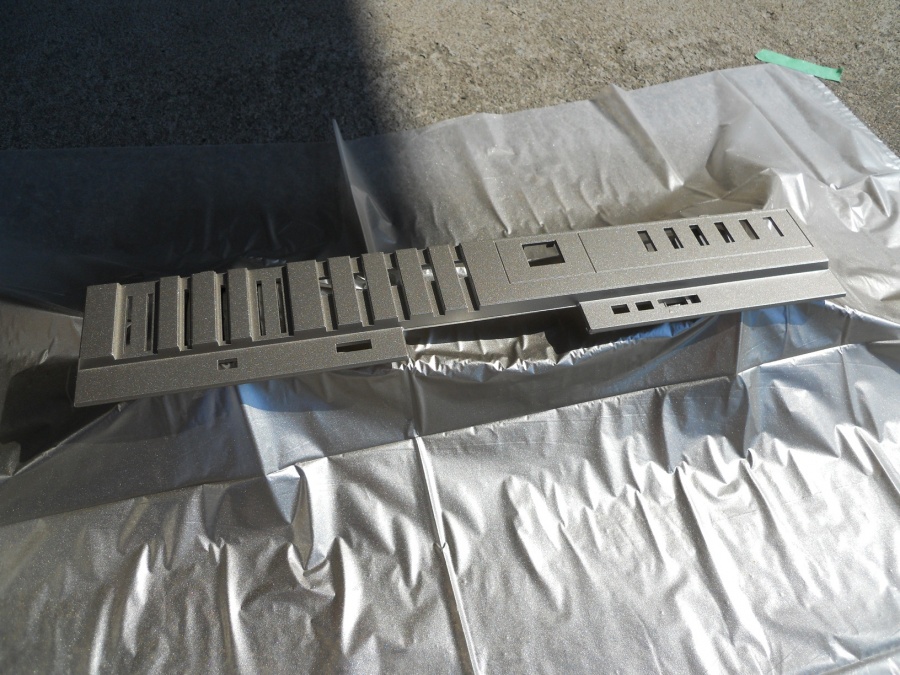
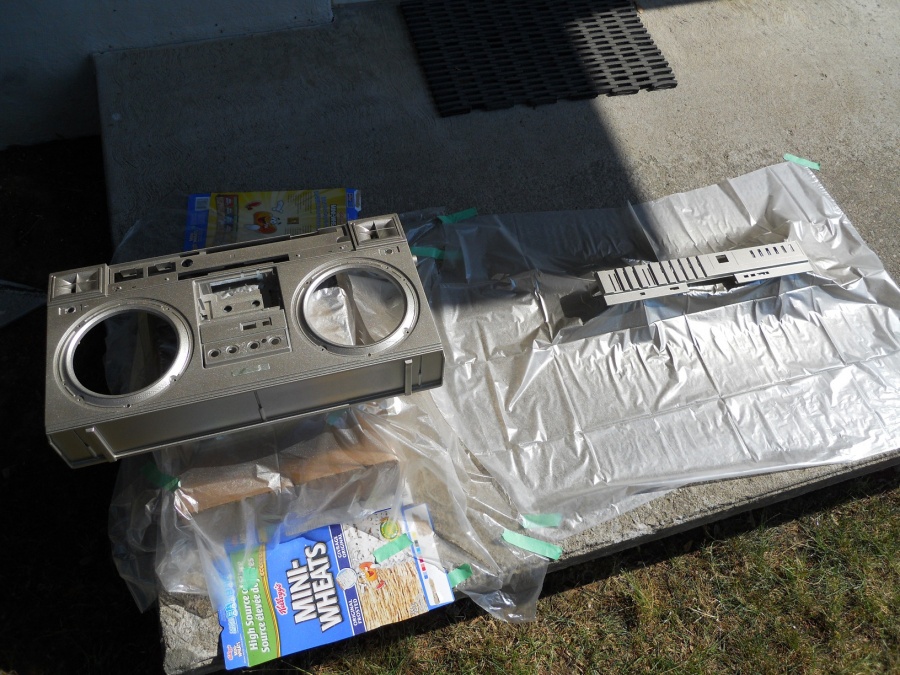
Here's my outdoor spray pics. 3 coats of paint on, now just baking in the sun a bit. It has quite a nice metal flake in it. I actually really love the sparkle. I would definitely recommend this colour for any and all resprays.
eric


freshpaint1.jpg


freshpaint2.jpg


freshpaint3.jpg
 

blu_fuz

Well-Known Member
Staff member
Paint the handle too or it will look WAY out of place because it is just tan-ish plastic :dunce: and it will stickout like a sore thumb with new paint on the other parts.
 

Stretch

Member (SA)
I was wondering about that tho. I know what you mean, and will likely paint it too, but won't a painted handle wear with use?
eric

*edit*
I am painting the handle too, you're right it will look way off I was just worried about wear. If it does wear a respray of just the handle later on is super easy tho so I've decided not to worry heh.
 

blu_fuz

Well-Known Member
Staff member
Stretch, don't worry about the wear on the handle. Keep the color coats THIN to keep the paint strong and then clear coat another 2-3 thin layers and it will be all good :yes: .
 

Stretch

Member (SA)
One last question. I have an acrylic lacquer automotive clear and want to make sure it won't fudge up the gold. Do I need an enamel clear to go over that spray you sent, or can this acrylic lacquer clear go over it ok?
Thanks,
eric
 

Stretch

Member (SA)
Good tip, and your recent M90 results were superb, so I may just go out and get a can of that :cool:
I'll give my pieces another hour or so to bake in the sun before heading out for the clear.
eric
 

blu_fuz

Well-Known Member
Staff member
I asked the guys at the paint store and they said with these "can mixes" they are designed to not have a clear for the full effect of the paint. If you want clear, any is fine and only adds to help against scratches and ships in the color. :cool:
 

Stretch

Member (SA)
I noticed that...
The clear I used was satin, and although it may protect a bit more, the paint finish alone was much better. Smoother and just better :-/
Oh Well!

Say, who's got that file with the top writing layout so it can be printed? I'm going to need that.

I also need one of the microphone chrome covers, but will buy the pair if you prefer to sell them that way, whoever's got them. I'll post a wanted ad for it too.

I had one problem when reassembling though; how do i get the tape door to glide open when the button is pressed? right now it does nothing. A rather unimpressive show :-P
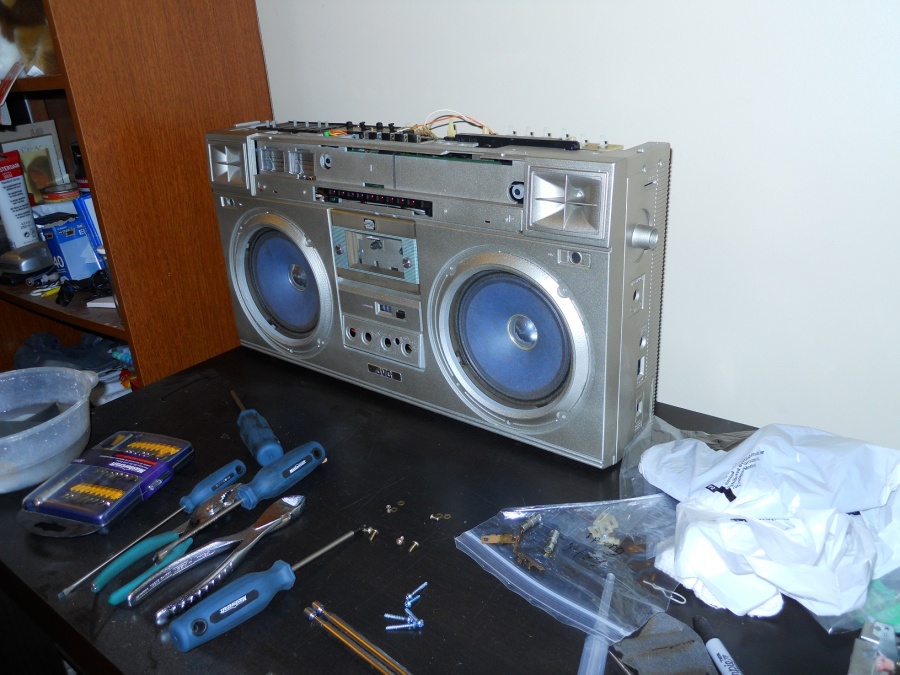
Here's a pic of the current stage. I will not be able to fully assemble until my knobs, rings, buttons get chromed and gold plated though.
eric

reassembling.jpg
 

Stretch

Member (SA)
Heh thank hemiguy!

I got discouraged though as I reassembled it :-/ . As usual, i have many extra screws, and no clue where they go except I know they came from somewhere! The radio gets nothing but static and the right speakers crackle at best. I've decided not to do the plating I was going to with this box and just put it back together as best I can and enjoy it for what it is. I'm going to get either another M71 or an M70 and do the custom work on that one instead. I need one with a front cover in excellent shape with little to no gouges tho for the plating to look decent.

One thing I must say tho is the powdercoated black gloss speaker covers look amazing! It was blu_fuz who did the work, and I can't thank him enough. I'll snap a pic sometime in the sun so you can see just how good gloss black powdercoated covers look on this box :-D

eric
 

hemiguy2006

Member (SA)
Stretch said:
Heh thank hemiguy!

I got discouraged though as I reassembled it :-/ . As usual, i have many extra screws, and no clue where they go except I know they came from somewhere! The radio gets nothing but static and the right speakers crackle at best. I've decided not to do the plating I was going to with this box and just put it back together as best I can and enjoy it for what it is. I'm going to get either another M71 or an M70 and do the custom work on that one instead. I need one with a front cover in excellent shape with little to no gouges tho for the plating to look decent.

One thing I must say tho is the powdercoated black gloss speaker covers look amazing! It was blu_fuz who did the work, and I can't thank him enough. I'll snap a pic sometime in the sun so you can see just how good gloss black powdercoated covers look on this box :-D

eric
Dont get discouraged!!! there is a service manual available for download that will show you where all the screws go.
Did it all work before you dis assembled it????
If so maybe you swapped a few connections around where they shouldn't be???
The service manual should help out there too.
Click the link below for the manual
http://www.mediafire.com/view/?5w2ol8iuuzmv8uu
Let me know if i could be of any assistance as I have had a few of these completely apart and re assembled, and I will be taking my brothers M-70 apart within the next few days.
 

Stretch

Member (SA)
Well,

Before i took it apart, the radio did get reception, but the speaker was crackly/hit-miss at that time, yet did work better than it does now. I don't know how to clean things and what to clean when it comes to this deoxit everyone is talking about, so I could use some advice.

I'll check out that manual and see if i can locate some screw holes i missed thanks man :cool:
eric
 

BoomboxLover48

Boomus Fidelis
Eric,

:-D Always take pictures when you open up the box, remove screws or connectors.

Take a picture of the rear side of the box, print it. Lay it on a thin paper board, make holes in it and place all the screws in such a way that one can easily locate them. I'm getting old and nowadays I use this method. . :yes: :yes:

At your age I had photographic memory! :lol: :lol:

There are 3 screws for the top plastic panel to the chassis. There is one screw next to the transformer and a hidden screw in the middle close to the cassette door. I'm pretty sure you might have missed it. :yes: :yes:

M90 also got one hidden screw that is hard to locate.
 

Stretch

Member (SA)
The funny thing is I did take pics, just not clear enough showing where each screw came from :dunce:
I think I missed that hidden screw next to the cassette though so thanks for that tip! I also like your idea of printing the picture and putting the screws in place on it, very clever and foolproof ;-)
eric
 
Status
Not open for further replies.