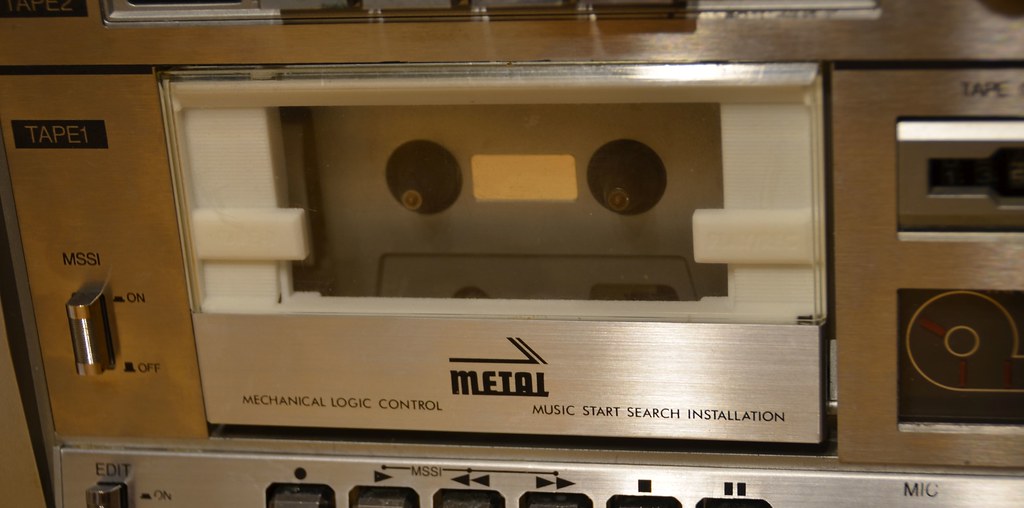
Eric,
Fantastic job, as always. I can't even begin to fathom the amount of hours invested in making the file, I also use the same software but you've far eclipsed anything that I've tried to make up. About the deck door, I'm sure there's dozens of opinions but here's my 2 cents:
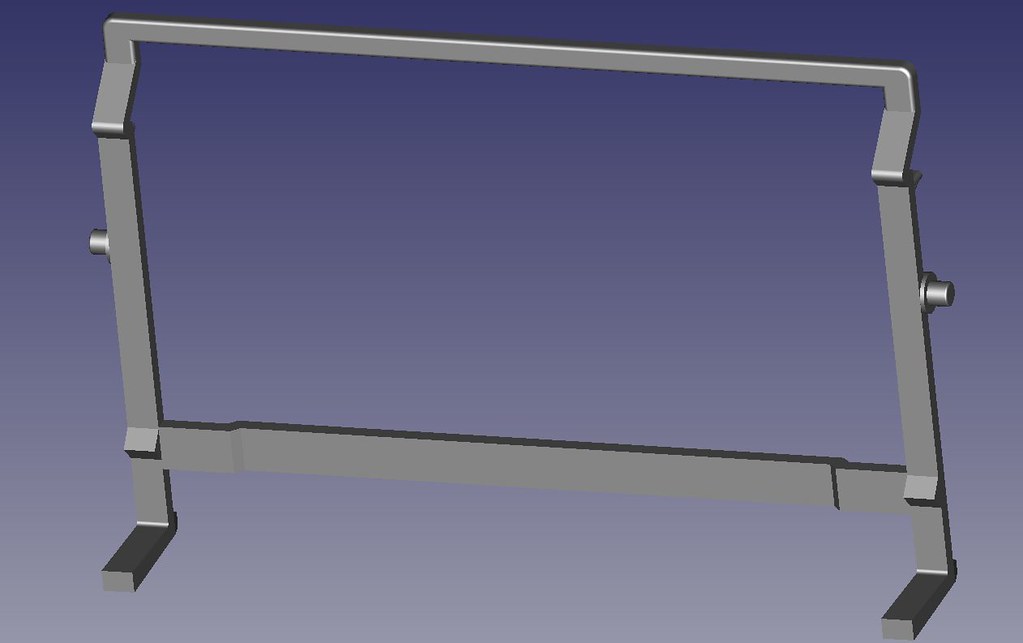
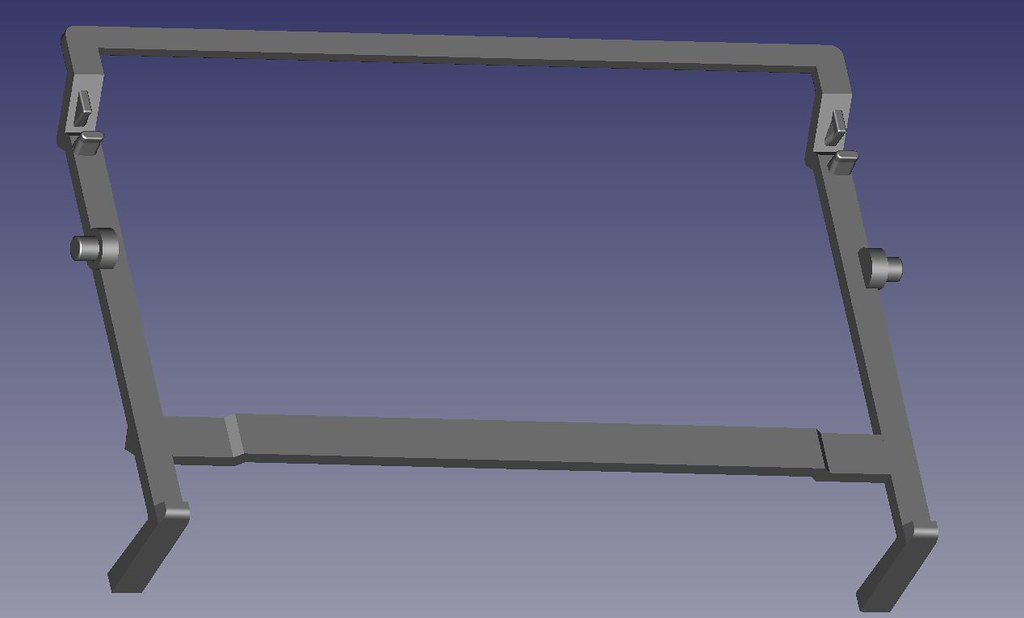
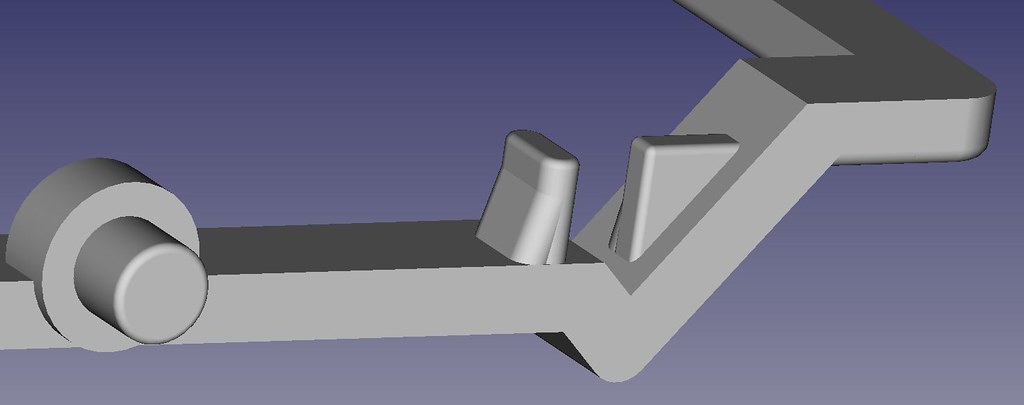
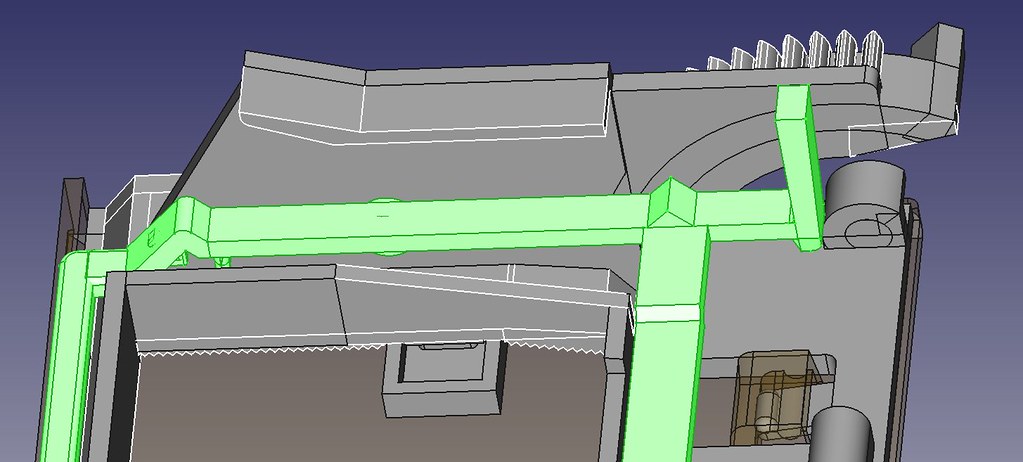
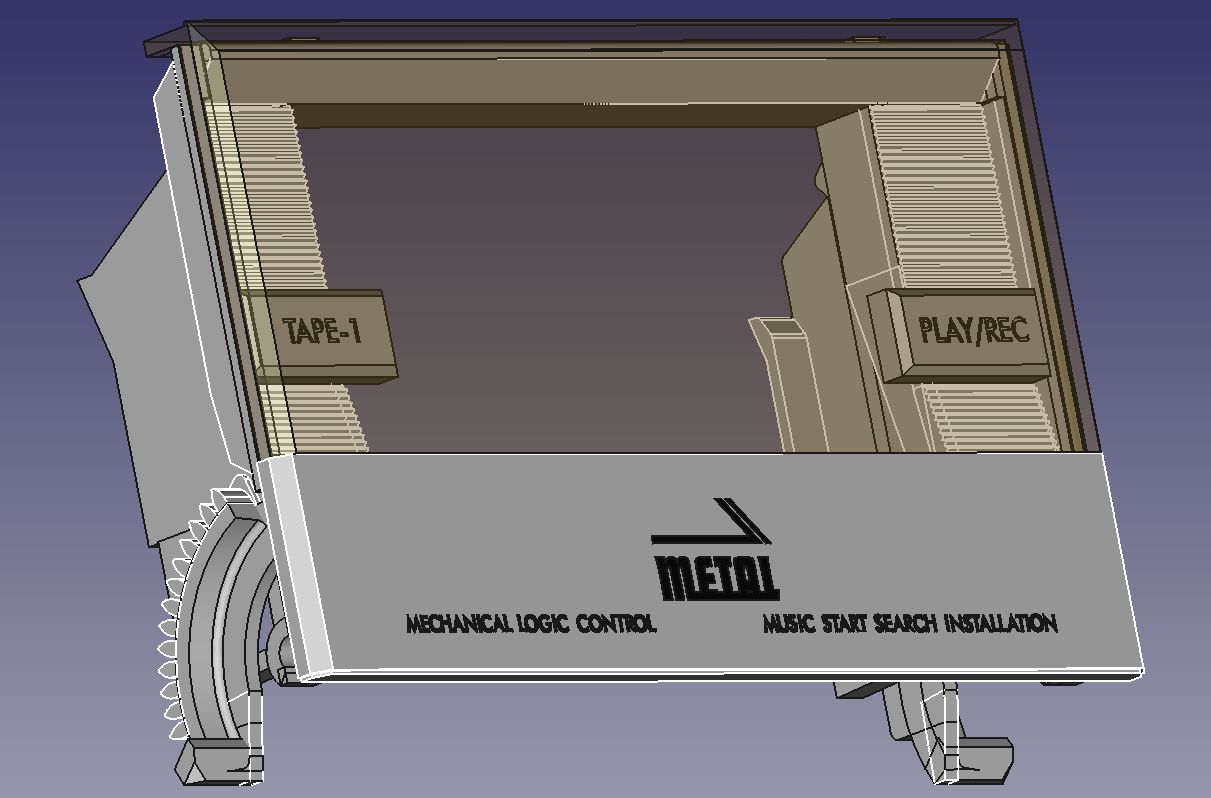
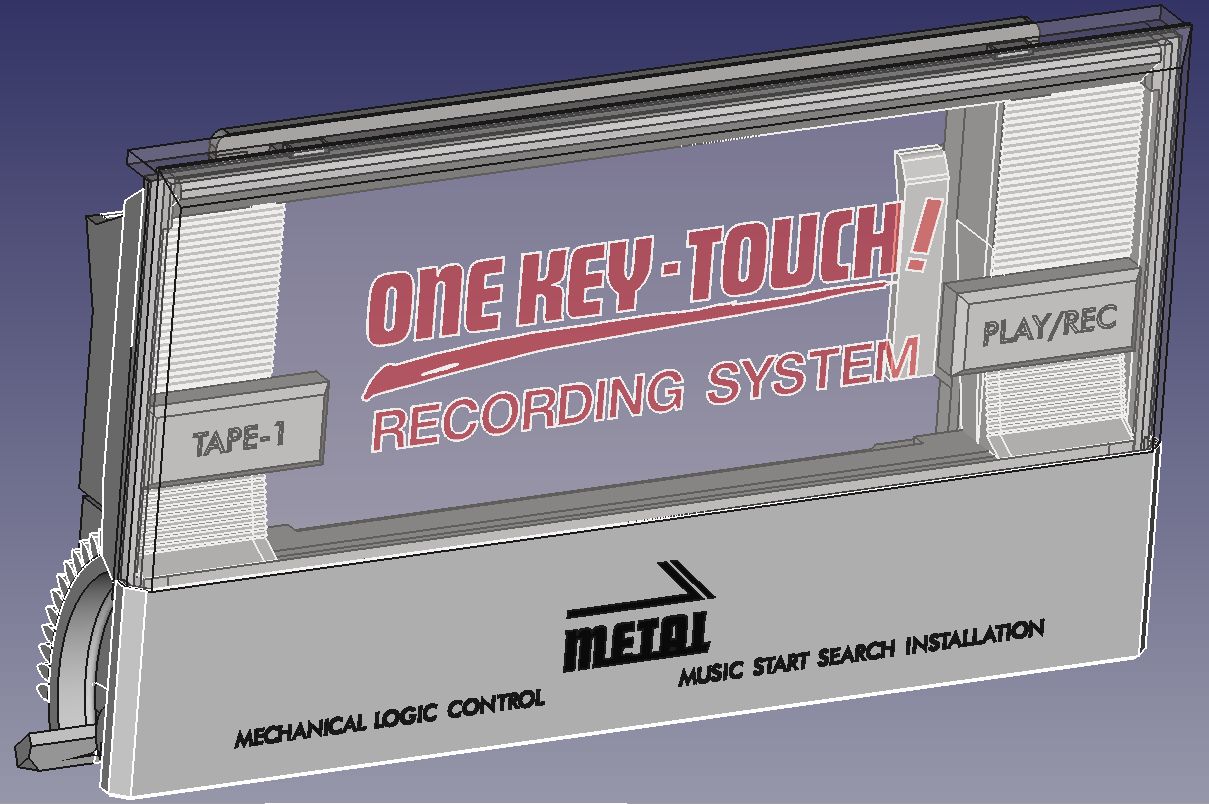
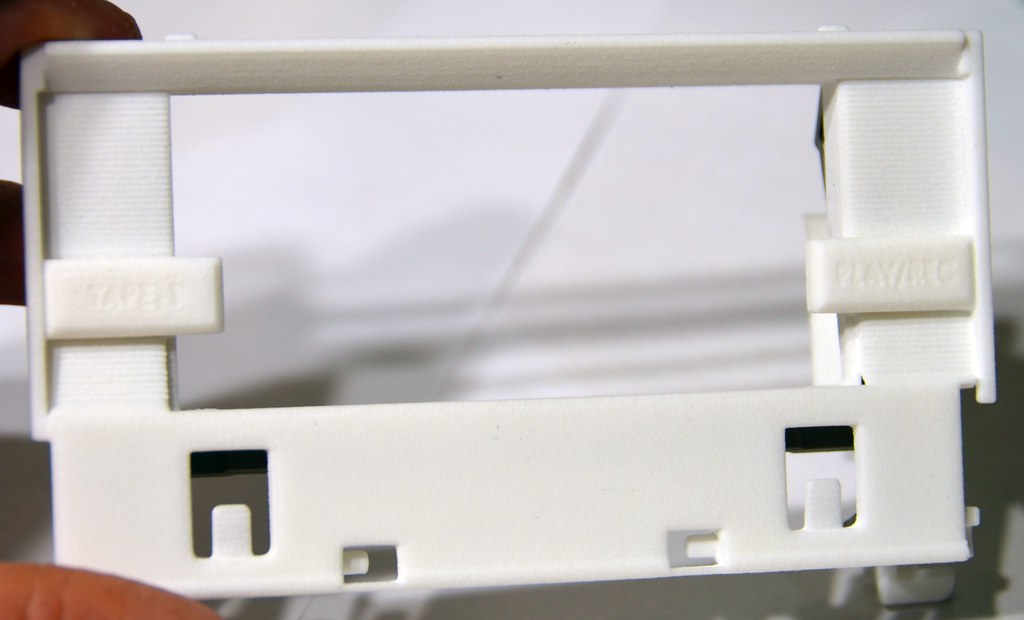
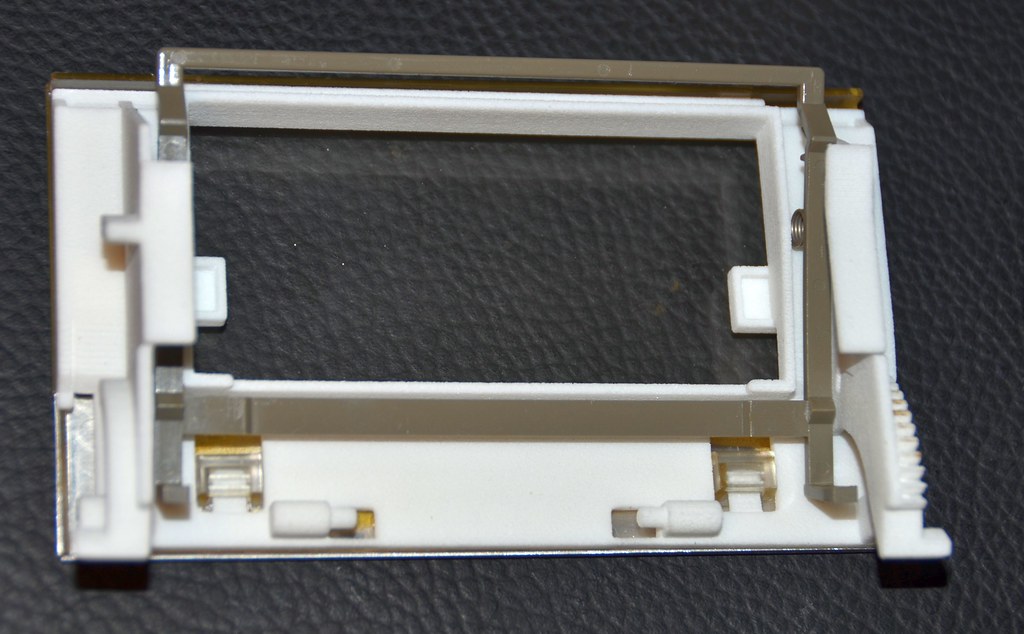
The deck door will never be an original, it will always be a replacement because, well, it IS in fact a replacement. The texture of the originals finish likely couldn't ever be reproduced accurately on a 3D hobby printer today, perhaps someday, but not today. But you know what, if I had a C100 that was missing a door or had a broken non-functional door, I would be ecstatic to have an attractive fully functional replacement. To me, it wouldn't even have to be 100% identical, as long as it looked proper and was functional. That means that it could be designed slightly different to accommodate a 3D printed method so that a clear fitting piece of plexiglass could be installed for the window. For example, the clear window is impossible to print to my understanding with todays materials. All the "clear" pre-printed filaments I'm aware of will print cloudy or translucent at best. Then the print process itself results in a "texture" that is not smooth as glass. If the print material could be made clear, it would still require sanding and polishing to remove all texture and given all the complex (tiny) curves, angles, etc in the sample depicted above, I doubt that it would be practical or possible. So an example of a "modified" door might involve adding a small perimeter frame so that a flat clear piece of plexiglass could be fitted onto it and the bottom portion of the door where the clear part hooks onto could be printed without the rectangular openings and raised enough so that a piece of aluminum could be affixed to be flush with the design. This would be a more practical method of making a replacement so that the door fits and functions properly and has a clear glass, yet still look attractive although not 100% identical. Still, even with such changes, I doubt the average Joe could tell that it was a replacement and not original.
Or.... while the clear glass like the one above isn't really possible yet to "print" a ready-made reproduction, there is another possible alternative to 3D printing. This would be making it by "molding" the glass. Clear lucite or other pour mold materials already exists that can make perfectly clear parts. The only thing necessary is to create a working mold and acquire the mold making tools including a vacuum degassing chamber (since any bubbles in a clear part would instantly be obvious). An original could be used to make the mold to create new ones. This method (making the glass), combined with the 3D printed door might be the ideal way to create a reproduction door. But I have to ask, how much would something like this be worth and is there enough interest to make it. happen? With Erics file, a commercial 3D print service could have that door delivered to the house in a week (production and shipping time included), but as the door is fairly large, it would be fairly costly (I would need to upload it to the print service for them to quote). (Eric, email me the file if you wish me to get a quote just to see what it would cost to print that sucker). Then there is the glass portion... again, another added cost.


