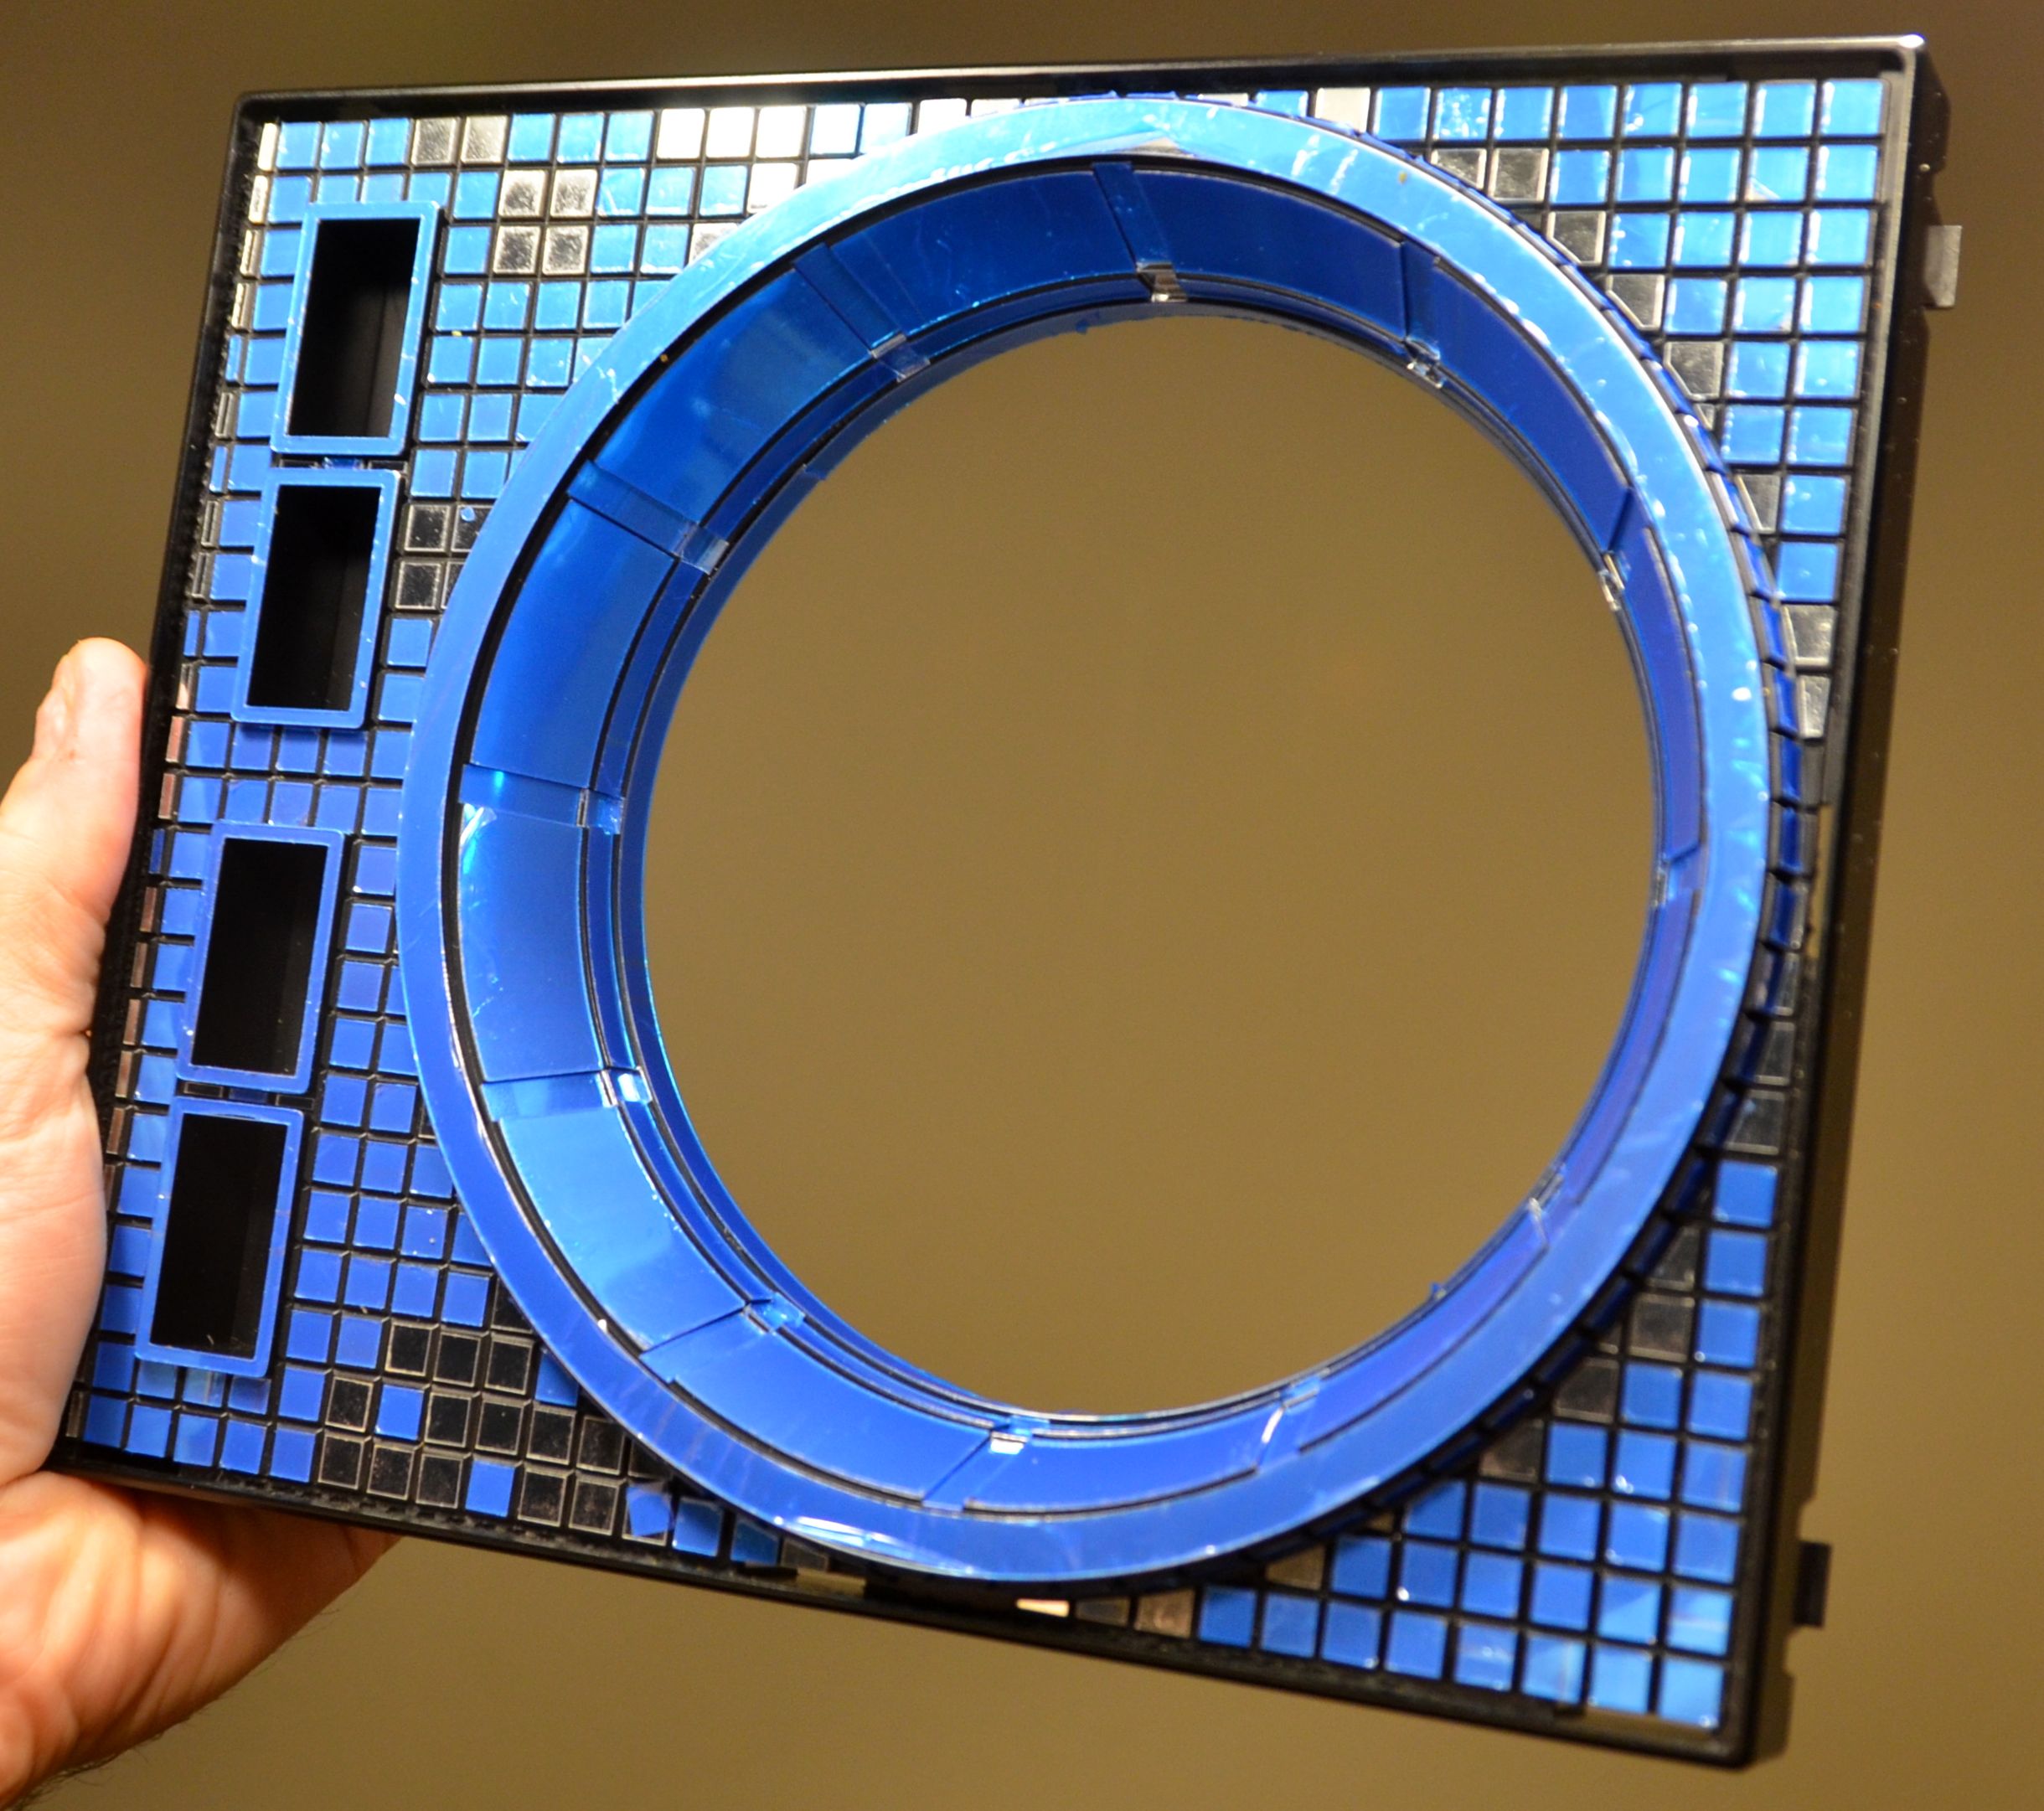
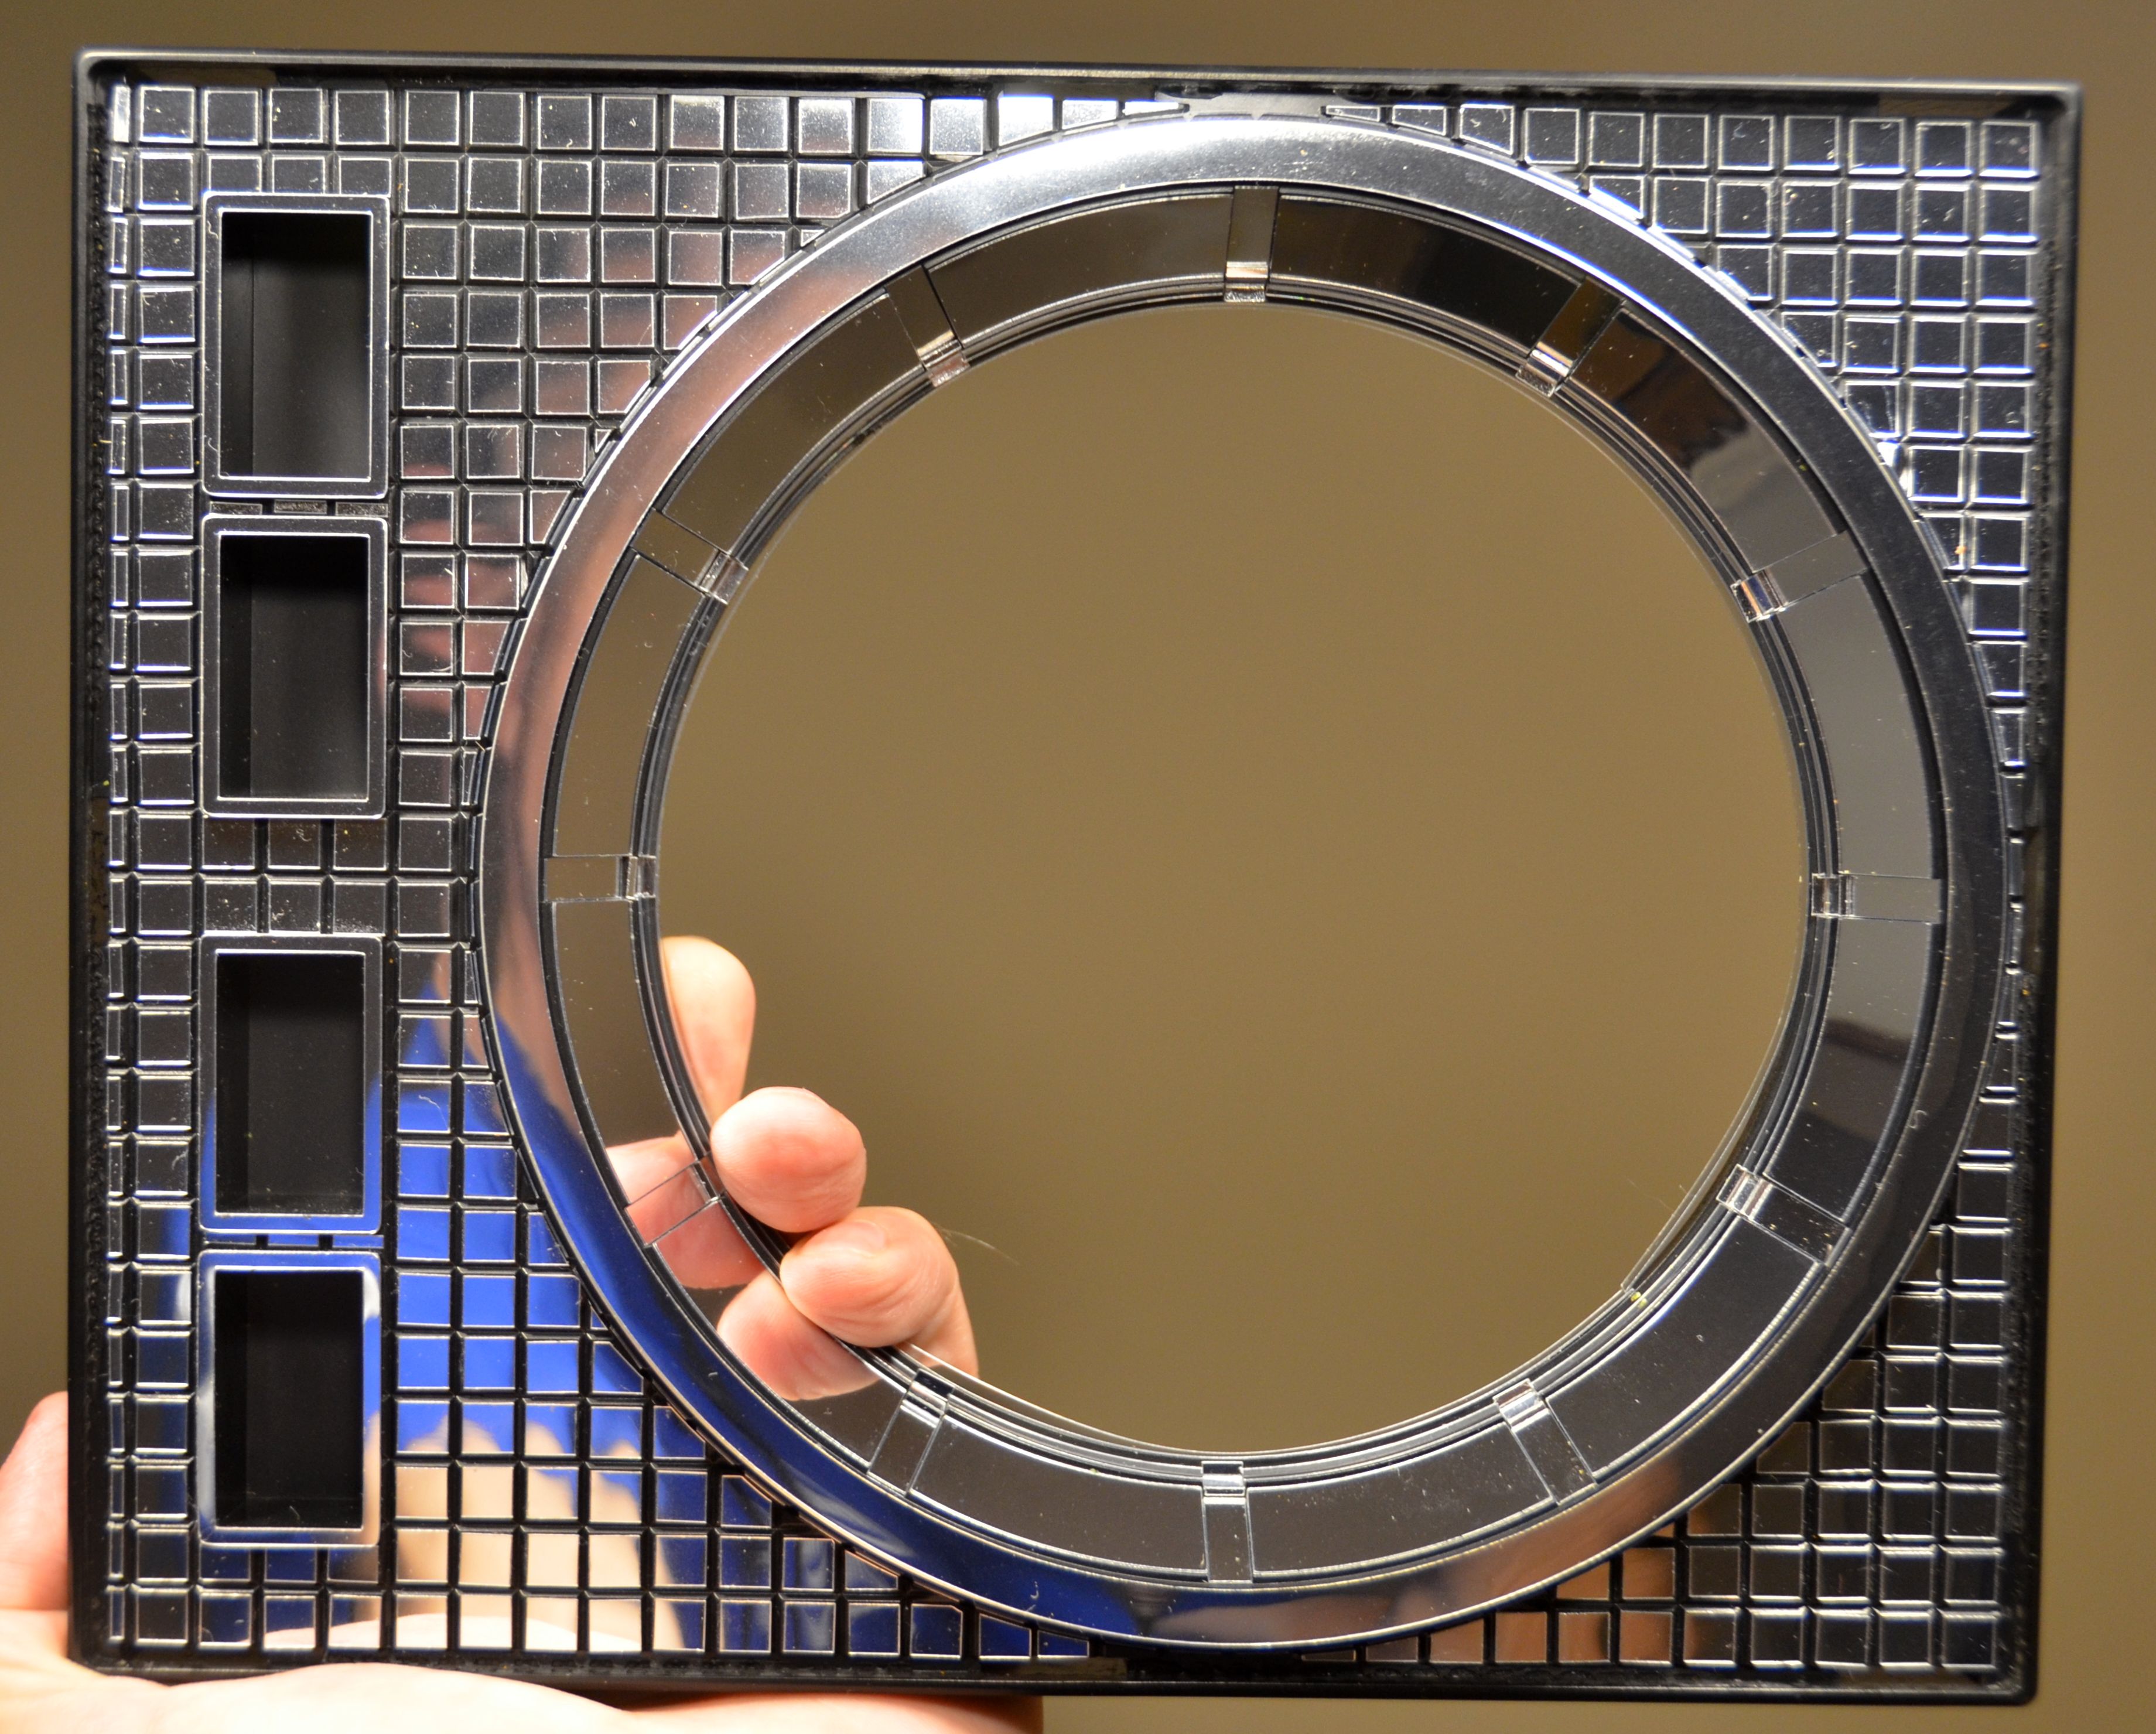
Well, my local source for chrome dried up but I found a source in China, but it took two months for the stuff to arrive, so I sort of had to put this on hold for a while. Plus, it comes in metric dimensions, so it must be cut in half. And added bonus, it comes with a scratch protectant film that sort of stayed on, which was nice, so I could remove them after completion.
I wanted to try doing the other speaker with a 300% thicker material to achieve a better mirror effect. If you compare my pictures below with the first one in post #17 of this thread, you can see how that rippling effect has disappeared. It turned out great, although some of the smallest pieces are so thick now they're almost bricks, so they have a hard time staying put. My cutter also had such a hard time that I had to double-cut everything, and just scratches the even thicker stuff I bought. I'm hoping you won't be able to tell the difference between the two thicknesses once the grills are back on.
I overhauled the cut design and created the exact shapes of the squares partially cut off around the woofer ring. I also designed four more elements - a woofer ring, the strips between the cone panels, the strips below the cone panels, and the ring around the deepest part of the woofer cone, made of two strips. The new design has only a few extras of each type, and some have no extras at all, like the woofer ring and inner strip.
236 full-size squares - 104 around the woofer, 60 around the ports, 72 around the outside of the woofer ring
30 highly trimmed squares - 24 along the very top and six between the ports
4 port stickers
1 woofer ring
6 slightly trimmed squares - 3 along the outside of each outer port
50-60 partially cut squares around the woofer ring
12 cone panels
12 cone panel divider strips
12 cone panel under-strips
12 facet panels at the bottom of the cone panel divider strips
12 square facts below those
12 facet panels below those
1 inner cone ring (two individual strips)
About 410 stickers, so a non-trivial amount of time would be required if you try this
Now I can put it back together!


I wanted to try doing the other speaker with a 300% thicker material to achieve a better mirror effect. If you compare my pictures below with the first one in post #17 of this thread, you can see how that rippling effect has disappeared. It turned out great, although some of the smallest pieces are so thick now they're almost bricks, so they have a hard time staying put. My cutter also had such a hard time that I had to double-cut everything, and just scratches the even thicker stuff I bought. I'm hoping you won't be able to tell the difference between the two thicknesses once the grills are back on.
I overhauled the cut design and created the exact shapes of the squares partially cut off around the woofer ring. I also designed four more elements - a woofer ring, the strips between the cone panels, the strips below the cone panels, and the ring around the deepest part of the woofer cone, made of two strips. The new design has only a few extras of each type, and some have no extras at all, like the woofer ring and inner strip.
236 full-size squares - 104 around the woofer, 60 around the ports, 72 around the outside of the woofer ring
30 highly trimmed squares - 24 along the very top and six between the ports
4 port stickers
1 woofer ring
6 slightly trimmed squares - 3 along the outside of each outer port
50-60 partially cut squares around the woofer ring
12 cone panels
12 cone panel divider strips
12 cone panel under-strips
12 facet panels at the bottom of the cone panel divider strips
12 square facts below those
12 facet panels below those
1 inner cone ring (two individual strips)
About 410 stickers, so a non-trivial amount of time would be required if you try this

Now I can put it back together!


 Nice work man!!