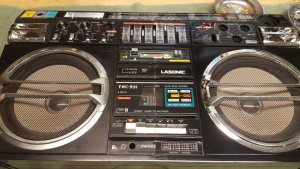
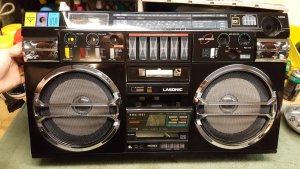
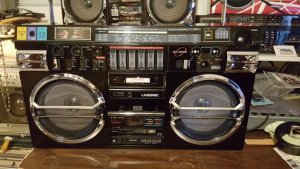
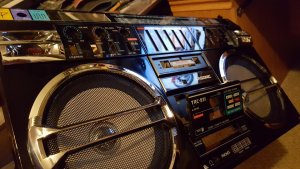
Shifting this thread from "Collections" to here, the restoration of the $99.00 2nd generation Lasonic TRC-931 has begun.
As previously mentioned, this radio came from Florida and was rough. All the chrome was pitted, overall the box was filthy, the function switch was inoperable, the controls scratchy and very low volume with FM playback.
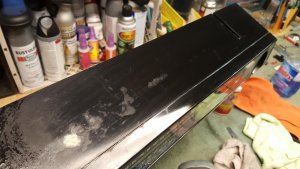
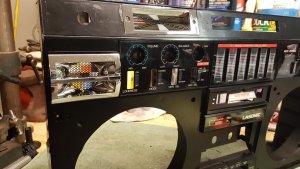
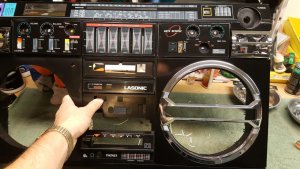
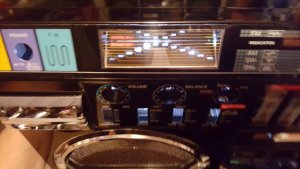
So, we are starting with a half polished radio, why, I don't know, I polished half to test my polish!
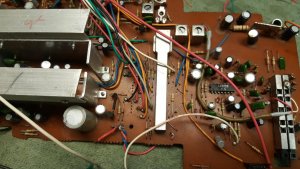
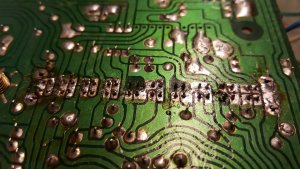
To start with, as has been documented many times, when Lasonic built these (let me choose my words wisely), they took an inexpensive manufacturing path. The PB boards are layered into the radio one at a time and the wires between them were then soldered in by hand. It's not a bad way to make a product, it just makes it very difficult to work on and take apart. There are lots of chances to screw this up. But it's not impossible to do if you take a ton of pictures and tag the wires as you go. The other issue with these radios are, they made many different versions throughout their multi year production run and in typical Lasonic fashion, they evolved all the way through. So when you open up your 931, you may not see the same exact lay out.
HOWEVER, if you do and you want to use my pictures as a reference, you can access the full tear down in order here.
OK, let's get started...
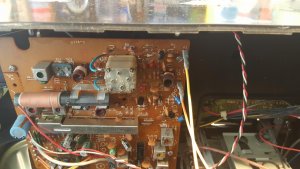
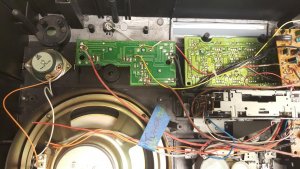
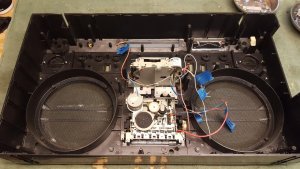
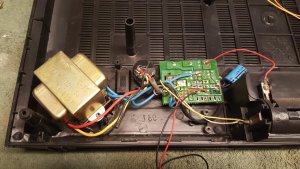
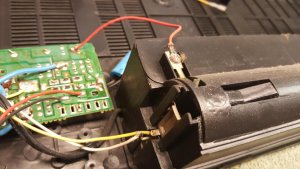
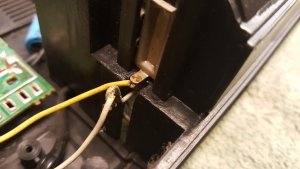
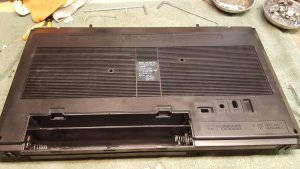
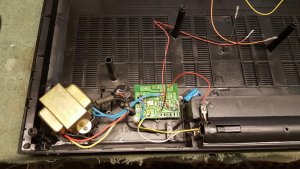
Case open, Antenna wires and power wires need to be disconnected to remove rear case.
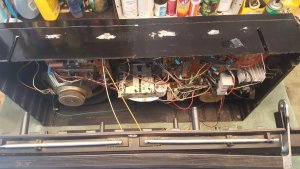
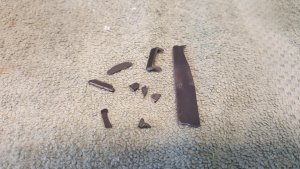
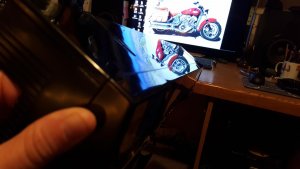
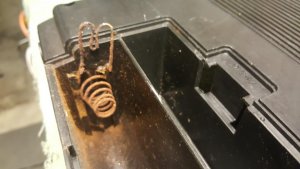
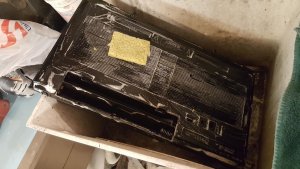
And here is what was rattling around inside!
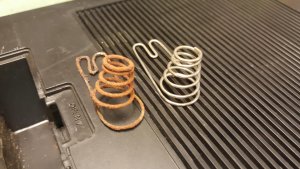
Some busted case parts...
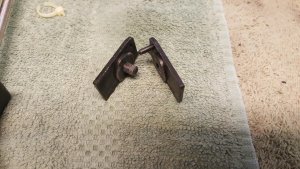
And the missing handle clip...
In the link I provided to my dropbox are all the pictures I took on the inside. I photographed all the speaker connection points, all the wiring connection points (that I could see) and then started on removing the Radio Receiver board with it still connected to the chassis that holds the dial string. I'm not going to post all those pictures here, because there are around 130 of them. I took them for my own reference.
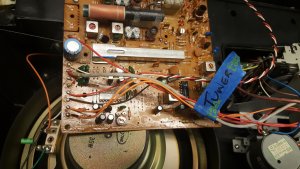
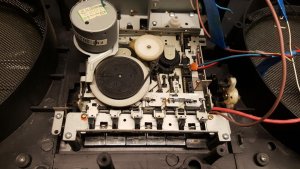
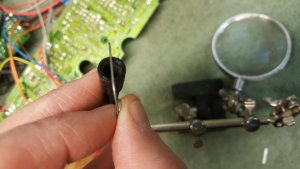
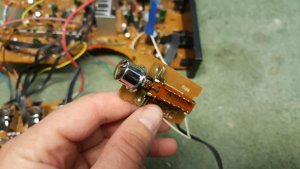
Tuner out.
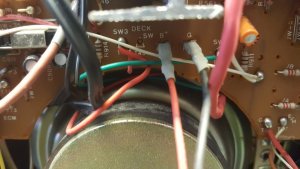
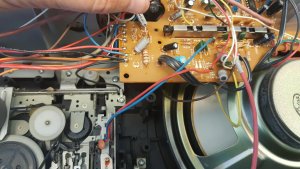
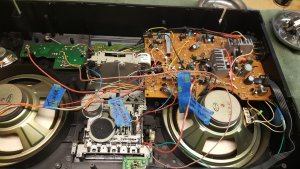
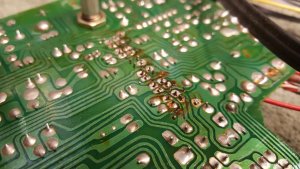
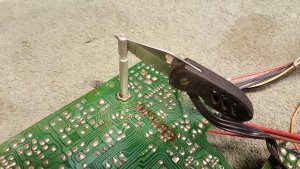
I unsolder the speaker wires from the main board. These are located on the right lower side of the main board.

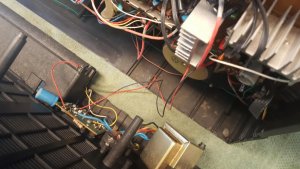
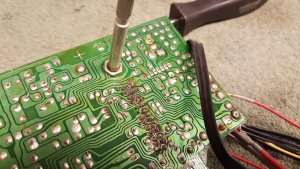
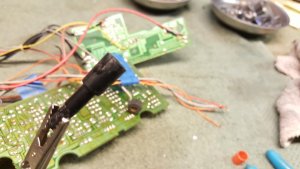
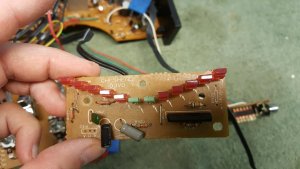
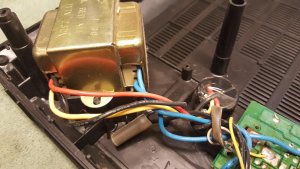
The next to be unsoldered and tagged were the deck wires. Of which there are many. Again, before I unsoldered any wires, I took up close pictures and then tagged the wires. I only unsoldered what I had too.
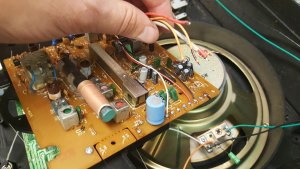
Again, this is a very simplified description, I probably unsoldered 25-30 wires to get to this point and if I had disconnected every wire that separates all these PC boards it would have probably been closer to 45 wires. So to make it easier, I just removed all the boards while they are attached. Again, you'll need to download all the pictures to see the whole process.
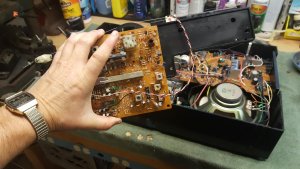
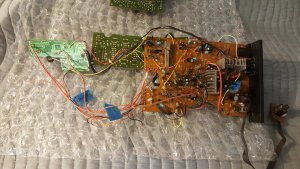
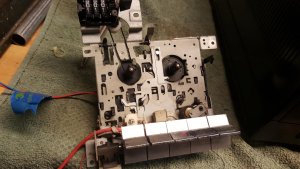
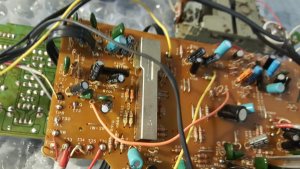
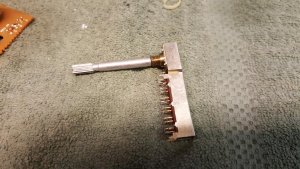
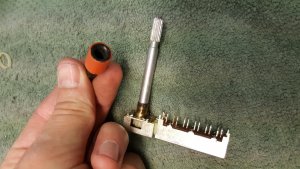
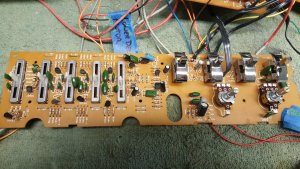
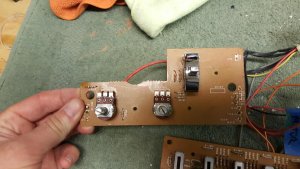
The "Guts" removed. These boards include all the switches, volume knob ect. All these will need to be cleaned with deoxit.

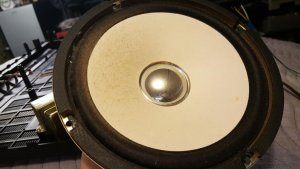
The speakers are dusty, but not too bad. I think they will clean up nicely.
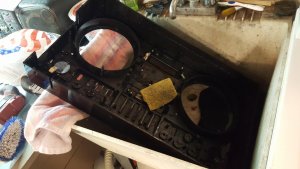
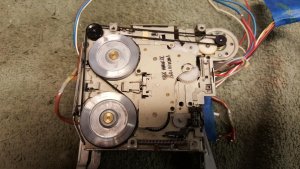
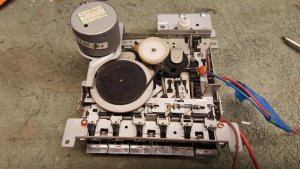
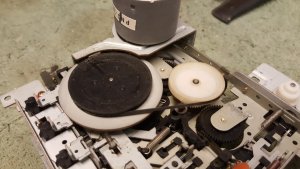
It's emptying out! Time to pull them decks.
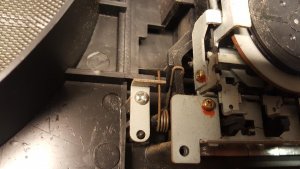
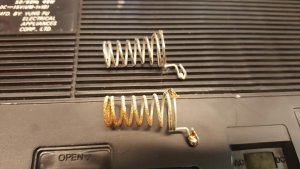
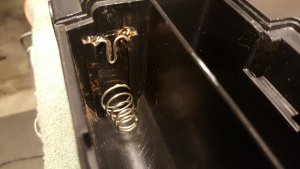
Keep track of how the door spring attaches!
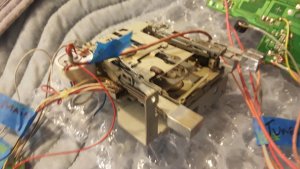
Both deck out.
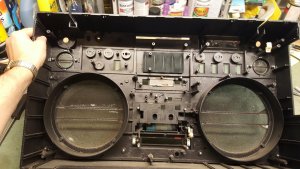
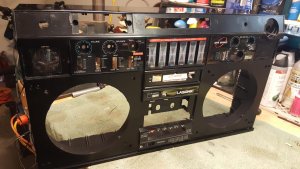
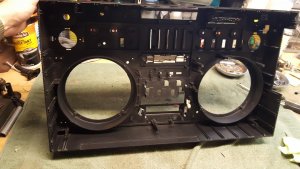
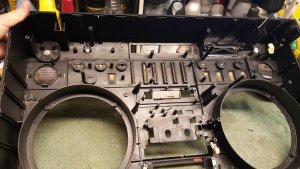
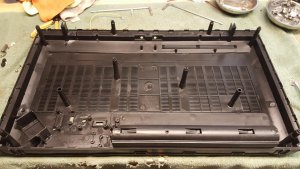
Inside, STRIPPED! I put all the screws that hold the decks and door back into the case to make it easier to remember where they went.
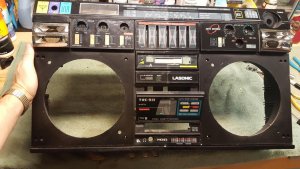
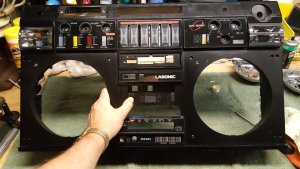
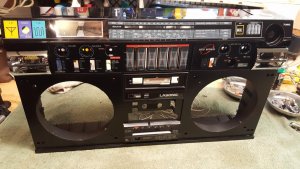
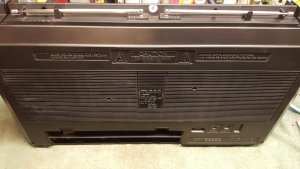
Outside without the crash bars and grills
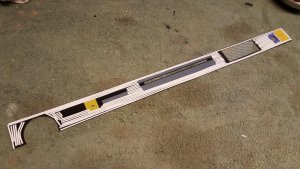
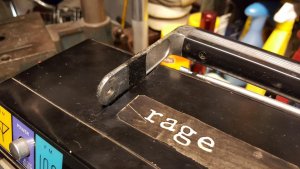
Now it's time to address those stickers on the top! They had been on there for so long, that simply removing them didn't get rid of the pattern left behind, so I'm just going to GO FOR IT!

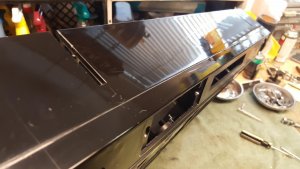
POW, much better! Although there are still issues on the top of this box that I can not fix, it's better than some old stickers.
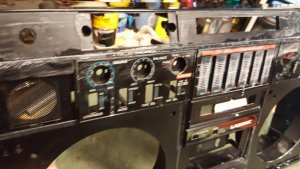
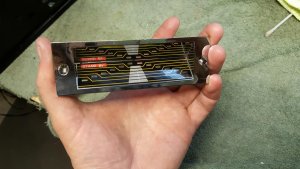
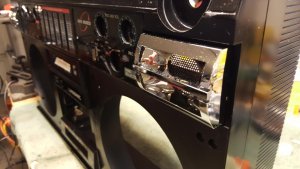
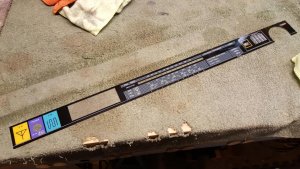
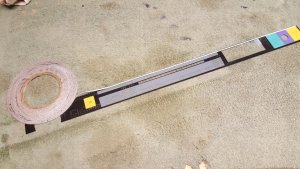
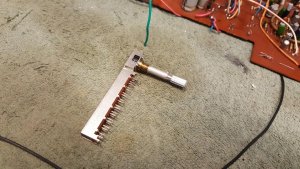
I carefully removed the tuner decal to clean all the wax residue
And I'm glad I did as the LED runway light assembly was loose and would have been a rattling nightmare. You can only access the screws from under the decal. It also got a nice polishing of the mirror which will bring back the LED's luster.
Into the sink!
And just like magic, the inside is spotless. The truth is, it took twenty minutes of scrubbing. There was a fine layer of film with dust attached to it. I used an air compressor to dry it out after.
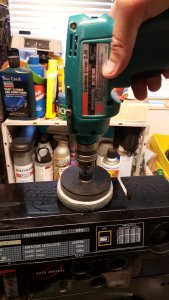
Time to polish the jewelry!
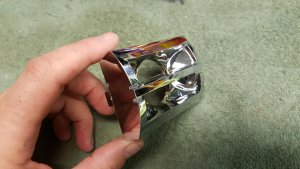
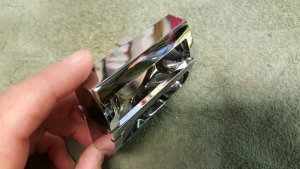
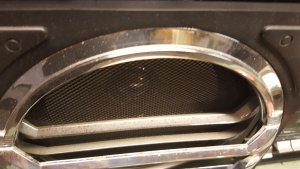
These were horribly pitted, but here's a little tip, when you polish up these chrome bits, speaker rings ect, put them back on UPSIDE DOWN. This way any left over pits that couldn't be removed or scrates or other marks are now pointing down away from the field of view.
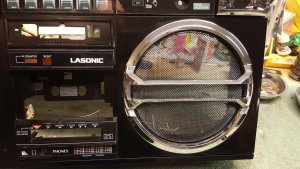
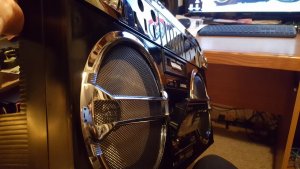
Reinstalled on the clean front case. From 3 feet back, they look fantastic!
Time to reattach the tuner decal. For that I am using cell phone screen tape. YES, there is such a thing and it's cheap on eBay. It is designed to attach smooth clean materials to other smooth clean materials. It works perfectly for this job. Although they sell it in various widths, I have the very thin stuff, so that's what I'll be using. I start by cleaning the adhesive side of old glue and dirt with alcohol.
It's on as strong or stronger then from the factory.
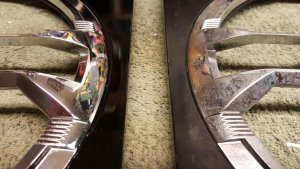
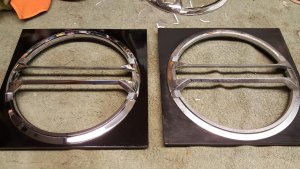
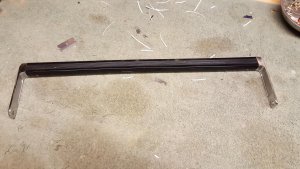
Next up is to address these nasty crash bars and speaker rings.
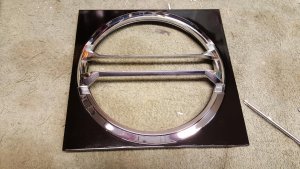
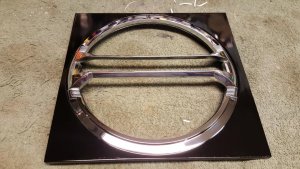
Boomboxery member Dr DER was kind enough to hook me up with a set of rings from a 975 that are in amazing condition. It's details like this that are going to make this project pop!
Time to handle the grills. Since these are set back into the box and since Lasonic put on crash bars, the grills didn't have any dents, only need a fresh dusting of paint.
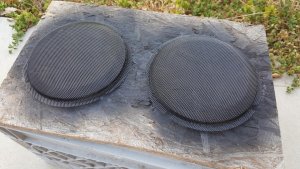
Freshly painted grills always bring back the look of an old box.
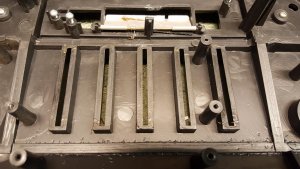
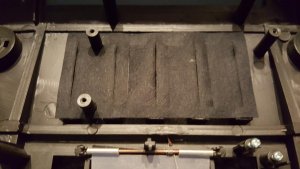
I cleaned the felt that goes behind the EQ, it was gross, filled with trash and droopy. So I used the same cell phone tape on the edges of the case and adhered the felt to the box. This fixed the droop.
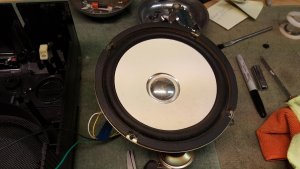
The speakers got a light dusting, I cleaned the chrome dust covers and they went back in the box.

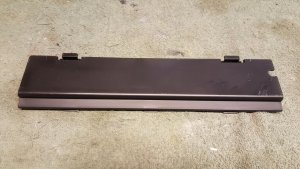
Next was the lower deck door.
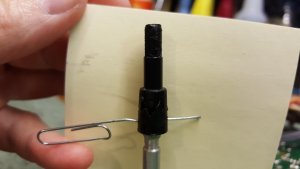
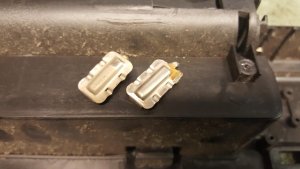
When this radio showed up, the handle was all farked up. The clip that holds it in place was missing too.
I found the clip, it was rattling around inside. I also found a bunch of broken pieces...and now I know where they all came from.
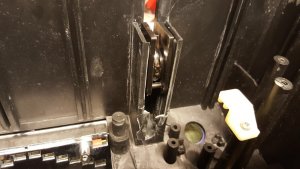
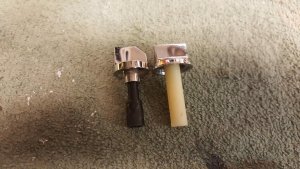
It's suppose to look like this. I will have to address that!

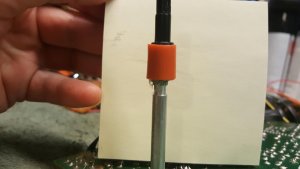
But first, need to clean up the handle parts
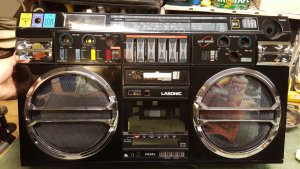
Well, that's how far I have gotten so far. I think she's coming along nicely!
As previously mentioned, this radio came from Florida and was rough. All the chrome was pitted, overall the box was filthy, the function switch was inoperable, the controls scratchy and very low volume with FM playback.
So, we are starting with a half polished radio, why, I don't know, I polished half to test my polish!
To start with, as has been documented many times, when Lasonic built these (let me choose my words wisely), they took an inexpensive manufacturing path. The PB boards are layered into the radio one at a time and the wires between them were then soldered in by hand. It's not a bad way to make a product, it just makes it very difficult to work on and take apart. There are lots of chances to screw this up. But it's not impossible to do if you take a ton of pictures and tag the wires as you go. The other issue with these radios are, they made many different versions throughout their multi year production run and in typical Lasonic fashion, they evolved all the way through. So when you open up your 931, you may not see the same exact lay out.
HOWEVER, if you do and you want to use my pictures as a reference, you can access the full tear down in order here.
OK, let's get started...
Case open, Antenna wires and power wires need to be disconnected to remove rear case.
And here is what was rattling around inside!
Some busted case parts...
And the missing handle clip...
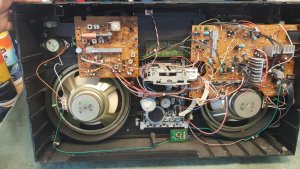
In the link I provided to my dropbox are all the pictures I took on the inside. I photographed all the speaker connection points, all the wiring connection points (that I could see) and then started on removing the Radio Receiver board with it still connected to the chassis that holds the dial string. I'm not going to post all those pictures here, because there are around 130 of them. I took them for my own reference.
Tuner out.
I unsolder the speaker wires from the main board. These are located on the right lower side of the main board.
The next to be unsoldered and tagged were the deck wires. Of which there are many. Again, before I unsoldered any wires, I took up close pictures and then tagged the wires. I only unsoldered what I had too.
Again, this is a very simplified description, I probably unsoldered 25-30 wires to get to this point and if I had disconnected every wire that separates all these PC boards it would have probably been closer to 45 wires. So to make it easier, I just removed all the boards while they are attached. Again, you'll need to download all the pictures to see the whole process.
The "Guts" removed. These boards include all the switches, volume knob ect. All these will need to be cleaned with deoxit.
The speakers are dusty, but not too bad. I think they will clean up nicely.
It's emptying out! Time to pull them decks.
Keep track of how the door spring attaches!
Both deck out.
Inside, STRIPPED! I put all the screws that hold the decks and door back into the case to make it easier to remember where they went.
Outside without the crash bars and grills
Now it's time to address those stickers on the top! They had been on there for so long, that simply removing them didn't get rid of the pattern left behind, so I'm just going to GO FOR IT!
POW, much better! Although there are still issues on the top of this box that I can not fix, it's better than some old stickers.
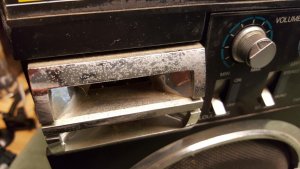
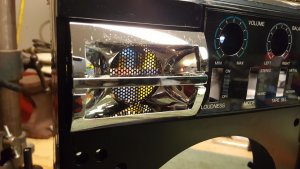
I carefully removed the tuner decal to clean all the wax residue
And I'm glad I did as the LED runway light assembly was loose and would have been a rattling nightmare. You can only access the screws from under the decal. It also got a nice polishing of the mirror which will bring back the LED's luster.
Into the sink!
And just like magic, the inside is spotless. The truth is, it took twenty minutes of scrubbing. There was a fine layer of film with dust attached to it. I used an air compressor to dry it out after.
Time to polish the jewelry!
These were horribly pitted, but here's a little tip, when you polish up these chrome bits, speaker rings ect, put them back on UPSIDE DOWN. This way any left over pits that couldn't be removed or scrates or other marks are now pointing down away from the field of view.
Reinstalled on the clean front case. From 3 feet back, they look fantastic!
Time to reattach the tuner decal. For that I am using cell phone screen tape. YES, there is such a thing and it's cheap on eBay. It is designed to attach smooth clean materials to other smooth clean materials. It works perfectly for this job. Although they sell it in various widths, I have the very thin stuff, so that's what I'll be using. I start by cleaning the adhesive side of old glue and dirt with alcohol.
It's on as strong or stronger then from the factory.
Next up is to address these nasty crash bars and speaker rings.
Boomboxery member Dr DER was kind enough to hook me up with a set of rings from a 975 that are in amazing condition. It's details like this that are going to make this project pop!
Time to handle the grills. Since these are set back into the box and since Lasonic put on crash bars, the grills didn't have any dents, only need a fresh dusting of paint.
Freshly painted grills always bring back the look of an old box.
I cleaned the felt that goes behind the EQ, it was gross, filled with trash and droopy. So I used the same cell phone tape on the edges of the case and adhered the felt to the box. This fixed the droop.
The speakers got a light dusting, I cleaned the chrome dust covers and they went back in the box.
Next was the lower deck door.
When this radio showed up, the handle was all farked up. The clip that holds it in place was missing too.
I found the clip, it was rattling around inside. I also found a bunch of broken pieces...and now I know where they all came from.
It's suppose to look like this. I will have to address that!
But first, need to clean up the handle parts
Well, that's how far I have gotten so far. I think she's coming along nicely!


")
