Another fun project! Ever since knowing about this model's existence, which is actually only since a couple of months  I wanted one. They seem to be pretty rare, but a month ago or so there was one on ebay which I snagged.
It was relatively cheap, but it certainly has suffered a great deal. First of all it was completely dead. It also must have been stored for many years in a damp cellar as it was very rusty on several metal parts, and all openings were covered with some white film. This turned out to be spider silk, and there were several dead spiders and a whole bunch of spider eggs in the box!
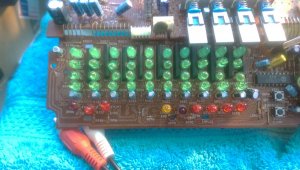
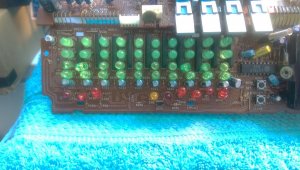
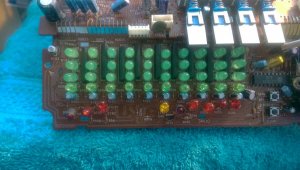
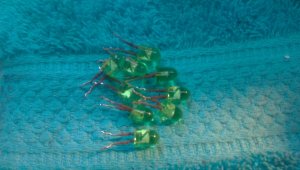
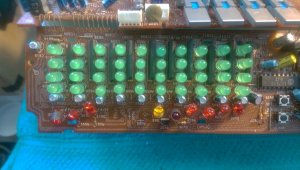
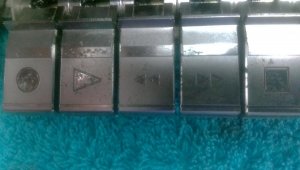
The rust didn't seem so bad at first, just some surface rust of non-important parts at first glance and some green oxidation here and there. Most parts I could easily take off and soak in a vinegar bath to get the rust off. I couldn't save the chrome keys from the tape decks though; while trying to polish those, the chrome came off in several parts. also, while all the components leads are rust free, *ALL* the leds' legs in the box have rusted! That doesn't seem so bad, but this also applies for the matrix of leds that make up the graphical analyzer. Oof, that will be a fun job replacing all of those. They do still work, but they will have to be replaced.
All connector sockets are also rusted, and I have to replace all of those with something else. The antenna broke off (my own stupid fault trying to straighten it). Both tape decks are also up for a good cleaning, lubing and rebelting. Didn't try the radio yet.
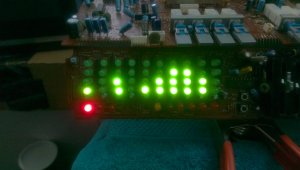
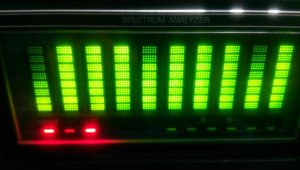
But..at least, after a couple of weeks sporadically attending to it, I have brought it back to life! I'm super impressed with its sound. Its highs sound very clear, and it has more punch than the giant Conion. Plus, of course, the awesome graphical equalizer!
You can see it in action here, although it's still in pieces and will be for some time to come:
https://www.youtube.com/watch?v=f1j7F9H0GFI&feature=youtu.be
 I wanted one. They seem to be pretty rare, but a month ago or so there was one on ebay which I snagged.
It was relatively cheap, but it certainly has suffered a great deal. First of all it was completely dead. It also must have been stored for many years in a damp cellar as it was very rusty on several metal parts, and all openings were covered with some white film. This turned out to be spider silk, and there were several dead spiders and a whole bunch of spider eggs in the box!
The rust didn't seem so bad at first, just some surface rust of non-important parts at first glance and some green oxidation here and there. Most parts I could easily take off and soak in a vinegar bath to get the rust off. I couldn't save the chrome keys from the tape decks though; while trying to polish those, the chrome came off in several parts. also, while all the components leads are rust free, *ALL* the leds' legs in the box have rusted! That doesn't seem so bad, but this also applies for the matrix of leds that make up the graphical analyzer. Oof, that will be a fun job replacing all of those. They do still work, but they will have to be replaced.
All connector sockets are also rusted, and I have to replace all of those with something else. The antenna broke off (my own stupid fault trying to straighten it). Both tape decks are also up for a good cleaning, lubing and rebelting. Didn't try the radio yet.
But..at least, after a couple of weeks sporadically attending to it, I have brought it back to life! I'm super impressed with its sound. Its highs sound very clear, and it has more punch than the giant Conion. Plus, of course, the awesome graphical equalizer!
You can see it in action here, although it's still in pieces and will be for some time to come:
https://www.youtube.com/watch?v=f1j7F9H0GFI&feature=youtu.be


