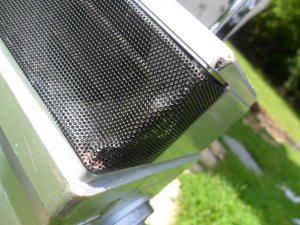
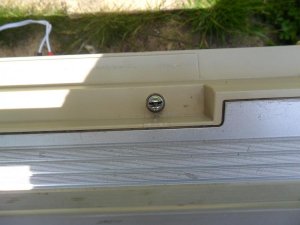
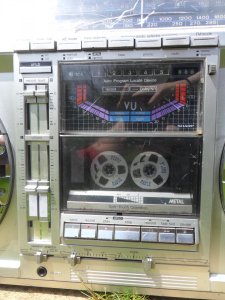
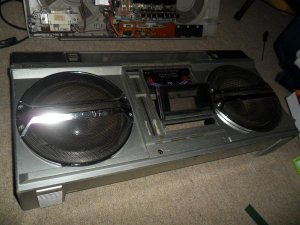
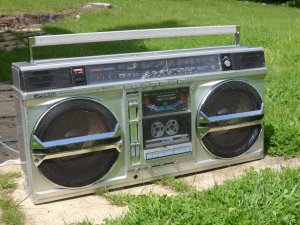
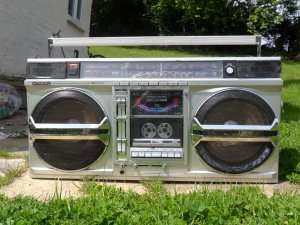
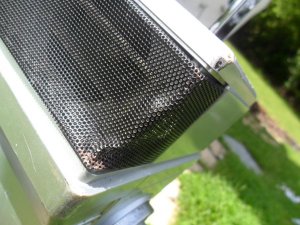
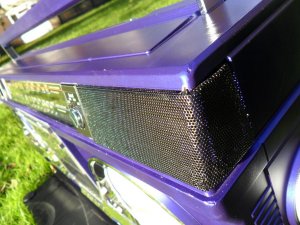
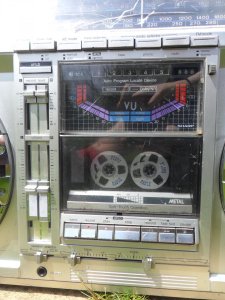
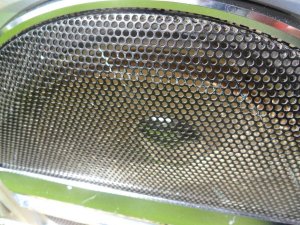
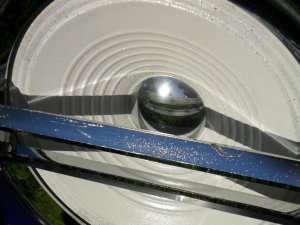
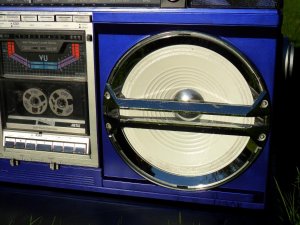
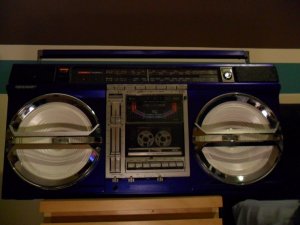
Restored purple Sharp GF-9000 :D

Status
Not open for further replies.

SpaceLobster

Member (SA)
Hello,

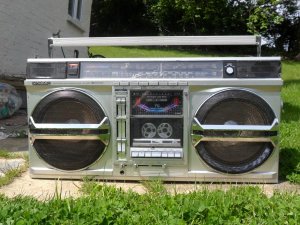
I would like to present to you my biggest project so far, an extensive restoration of a beaten up Sharp GF-9000 !

I've always wanted one of these because of the looks. So when I found one of German Ebay for 175 Eur BIN I hit buy instantly. It looked rough on the pics and I thought I could paint it in some exciting colour, because let's face it, silver/white-ish boomboxes are a dime a dozen. So it arrived and it was as expected not in the best shape but working except deck..

Main problems:
- missing antenna and band selection knob
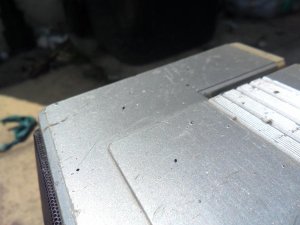
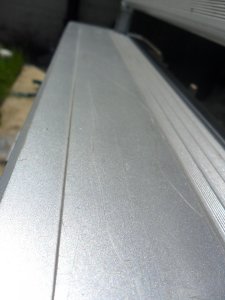
- scratched case
- dented and rusty grillz
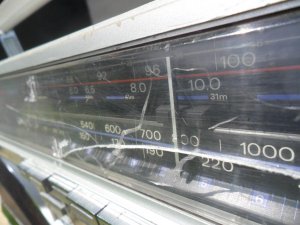
- heavily scratched tuner glass
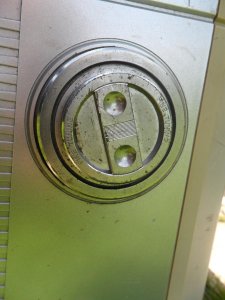
- worn tuning knob & sharp logo
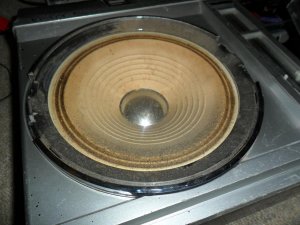
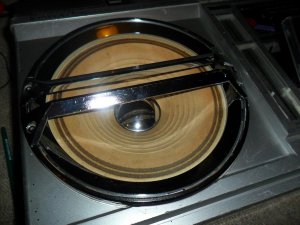
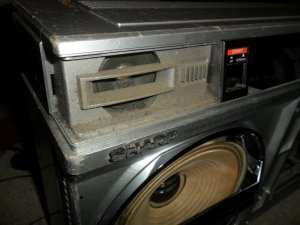
- dirty speakers and chrome behind speaker grillz
- slightly scratched and dirty cassette door

Some of these were an easy fix, some were a massive pain. Took me two weeks to complete it.
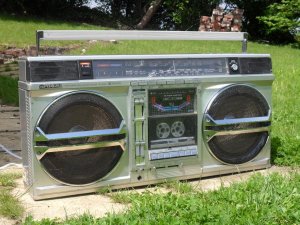
Here are some before pictures:
SAM_1917.JPG
Overall decent condition

SAM_1895.JPG
some scratches on those beautiful chrome bars though..
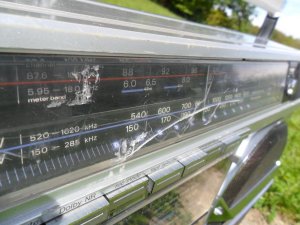
SAM_1897.JPG
bad scratches that go really deep..

SAM_1906.JPG
worn case

SAM_1908.JPG
tuning knob

SAM_1912.JPG

SAM_1899.JPG
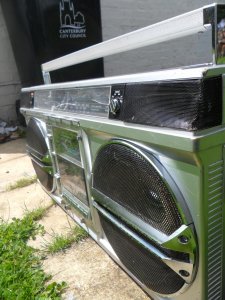
dents and miscolouring

SAM_1914.JPG
no antenna

SAM_1920.JPG
minor scratches but overall nice condition of this part
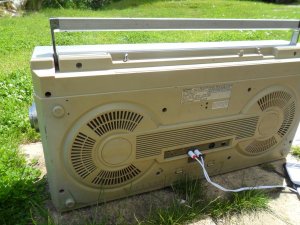
SAM_1910.JPG
back looks alright though


Keep updated to see how I transformed this from a worn meh-box to an absolute stunner and jewel of my collection :-D
 

JustCruisin

Member (SA)
im_alan_partridge said:
Good luck SL, cant wait to see the results. One member (teisco i think) has done a red one these and its the nuts :yes:
*2 members... ;-) I did mine red first.. :-D

Where's the after (purple) pics!! :morepics:
 

Gluecifer

Member (SA)
Whats with GF-9000/535 tuner windows always getting damaged?
I've seen this much more often than any other radio, I reckon. It's odd.. maybe the angle of the tuner?
Or the plastic used? Bizarre how many of these end up with some kind of issue.

Best of luck restoring it up, Space Lobster!


Rock On.
 

SpaceLobster

Member (SA)
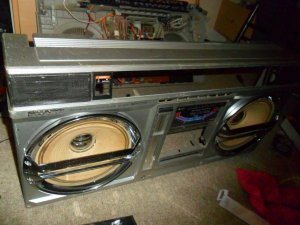
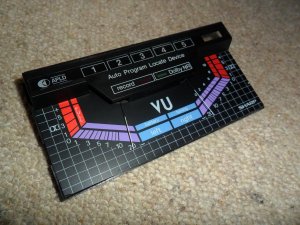
The restoration started with a good outside cleaning using water, washing-up liquid, sponge and a toothbrush. The front was then removed. After that the speakers were cleaned, the chrome under the grillz really cleaned up nicely with just a sponge and water, it was just covered in dust like the dustcap. The actual speakers also cleaned up nice using a fine paintbrush to remove dust and yuck. The cassette door and VU-meters were removed and cleaned with a rag. The glass of the door and the glass covering the VU-meter was polished using a simple glass polisher for £10, apply the liquid scratch-remover and then rub with a cloth. Worked fine and removed most of the scratches. For heavier scratches the glass was sandpapered first. This however didn't work on the tuner glass as that was cracked all the way through.. Behind the tweeter grills was also lots of shiat so that was removed.
By now I had decided upon a colour: deep candy blue. This would be matched by white speakers WITHOUT grillz, because I couldn't bare to hide all that chrome behind speaker grillz :-D .

Next post will be of the painting process !

SAM_1922.JPG
Front removed

SAM_1927.JPG
nasty-looking speakers

SAM_1930.JPG
CLEAN speakers :clap:

SAM_1939.JPG
looks even better without flash

SAM_1941.JPG
cassette door cleaned

SAM_1943.JPG
tuner window removed and speakers cleaned

SAM_1947.JPG
The famous VU-meters with colours intact ;-)

SAM_1949.JPG
This was cleaned :yes:

Peace
 

BoomboxLover48

Boomus Fidelis
Love to see the final pics! :yes:

I know cleaning will never make it anywhere near perfection because it had lots of surface abrasion and scratches all over, even on the knobs and transport buttons. :nonono: :no:

Love to see the magic you have done to it. :yes: :-D
 

SpaceLobster

Member (SA)
So here are some pictures of the process:

The front was removed from the body with ease, the cassette door, VU-meters, tweeter grillz and speakers came off without trouble. I can see why people have painted this one in the past :yes: .
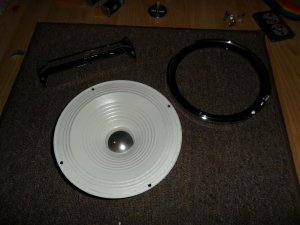
The speakers were painted first. I bought a nice satin white on Ebay but the f**g can that arrived didn't work. So I just went down to a local hardware store and got some white. Couldn't be bothered and I don't think I'd notice any major difference. Well the speakers were cleaned, a lid of another spraycan placed over the chrome caps and 3-4 layers of white was applied. Took that much to get them white, it possibly affected the sound but it still sounds good to me. Unfortunately the lid didn't seal it 100% so there are tiny white dots on the caps. So not mirror-like anymore but hard to detect unless you are 5cm from them.
Then the tuning knob and the Sharp logo were painted silver. Didn't really succeed on the knob, sure it looks better but also kind of plastic. The Sharp logo turned out alright.
Next, the body was sanded with 3 different gratings of sandpaper and washed before ofc but not in a tub :-P.
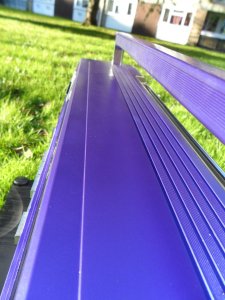
It was painted with 5-6 layers of deep candy blue after 3 layers of white-ish primer. In reality, this looked more like purple, but it's still good. Handle was painted as well.
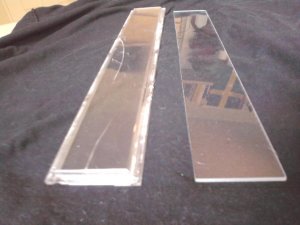
Also a new tuner glass was ordered for 10 quid I think from an online cut-to-size plastic shop. Fits really well and looks brand new :clap: .
I painted the speakers grillz black and hammered out some dents with a hammer against a soft surface. Worked fine and they look almost perfect.
A new antenna was taken from a shitty Sharp QT 250 I got for a tenner :-D .

SAM_2148.JPG
Speaker after painting with Chrome accessories

SAM_2149.JPG
Looks really good I'd say

Photo0048.jpg
Body ready for painting

Photo0053.jpg
New tuner glass


The next set of pics will be of the finished product !
 

Northerner

Boomus Fidelis
Looking good! Shouldn't have spray painted the speakers all the way to the edge tho...the cone stays rigid but the ridged bits flex so they'll now be much stiffer than they should be which will affect the sound. The 9000 benefits from a speaker upgrade anyway so if its noticeable you can always stick some new woofers in. Looking forward to seeing the blue casing! :-)
 

BoomboxLover48

Boomus Fidelis
Northerner said:
Looking good! Shouldn't have spray painted the speakers all the way to the edge tho...the cone stays rigid but the ridged bits flex so they'll now be much stiffer than they should be which will affect the sound. The 9000 benefits from a speaker upgrade anyway so if its noticeable you can always stick some new woofers in. Looking forward to seeing the blue casing! :-)
I agree with Northerner! Yuck! :nonono: At least I would have stayed away from painting the corrugated surrounds (upper suspension). Flexibility at that upper suspension will be affected by the applied film thickess and how stiff the paint is.

Worse case: Depending on how rigid you made that flexible part, the voice coil might pop out and make a hole if you play at higher volumes.

I am not a big fan of painting speakers for the looks, but it is all individual options and taste.

A sprayable low solids (low NVM) dye with a film former in a fast solvent would be an option.

I worked on UV formulation and application for years. I would say an ultra thin spray applied 100% UV ink coating would be the best option. The UV cure time is in seconds.

Mass of the cone paper with the dust cap, flexibility of surrounds (upper suspension), spiders and a lot of other factors and variables affect the tone quality.
 

Northerner

Boomus Fidelis
Don't get me wrong...I usually paint stained speakers but I use a thin dryish coat of artists acrylic paint and I never paint the flexible ridges. This way there is no perceptible change in sound.

:-)
 

SpaceLobster

Member (SA)
thx guys, I now know how NOT to paint speakers for next time :-P . I might change them as you say Northerner but honestly it sounds fine to me.

Peace
 

SpaceLobster

Member (SA)
Well I won't keep you waiting any longer, here are the final pics with before pics !

SAM_1916.JPG

SAM_2067.JPG

SAM_1895.JPG

SAM_2087.JPG

SAM_1901.JPG

SAM_2073.JPG

SAM_1903.JPG

SAM_2074.JPG

SAM_1899.JPG

SAM_2072.JPG

SAM_1920.JPG

SAM_2070.JPG

SAM_1907.JPG

SAM_2090.JPG

Some for eyecandy

SAM_2089.JPG

SAM_2131.JPG

SAM_2134.JPG

Also props to Teisco for giving me the idea !

Peace
 

Beosystem10

Member (SA)
It's one of the bluest things I've ever seen since I owned a Datsun Sunny that colour in 1985. :yes:
I like the contrast between the blue and the white.
 
Status
Not open for further replies.