When Norm posted his topic regarding an LED upgrade kit for the M70, I immediately set out to get one for my M70. Here is his original thread:
viewtopic.php?f=47&t=11873
I told him that there was absolutely no big rush on getting it shipped out because I still needed to get new belts for the M70, but his kit still arrived in about a week. Well, I went over to mom & dad's house yesterday and used their bigger space to work on installing the kit and doing a little bit of overall restoration.
The kit was very easy to install - even for me - using Norm's very detailed instructions. The biggest pains were experienced while changing the main flat belt and boombox reassembly. I only have two words for those of you who plan on opening a JVC RC-M70: "magnetic screwdriver".
Also, there are three places inside an M70 where the manufacturing date, for that part, can be found:
1) the front casing
2) the back casing
3) the top plate
The dates for mine are:
1) September 10, 1980 - Front
2) September 25, 1980 - Back
3) July 28, 1980 - Top
You can see that it will be difficult to narrow it down to one particular day for an official birthday, although a general time of year can be deduced.
Anyway, let's get started...
Be careful when removing the switch caps (not to be confused with the slider caps). They have compression tabs that hold them in place and if you pop the caps off too quickly you stand a chance in breaking the tabs.
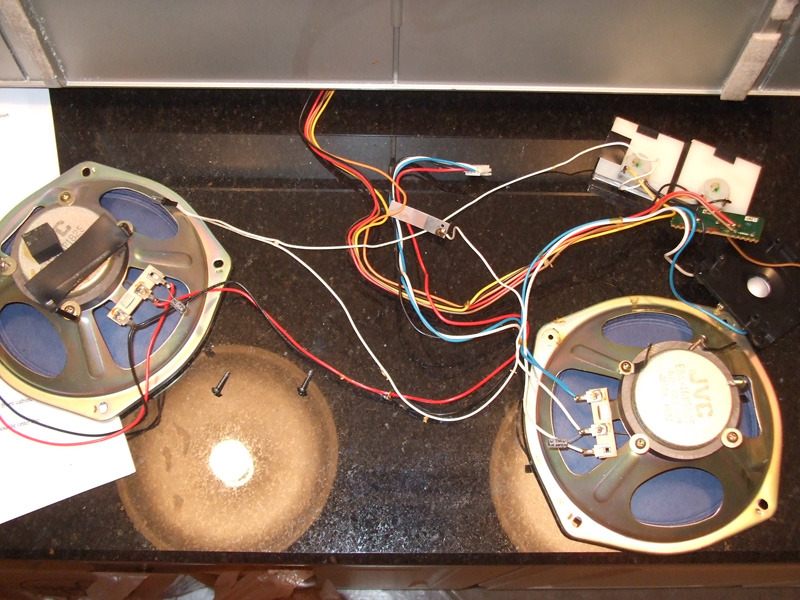
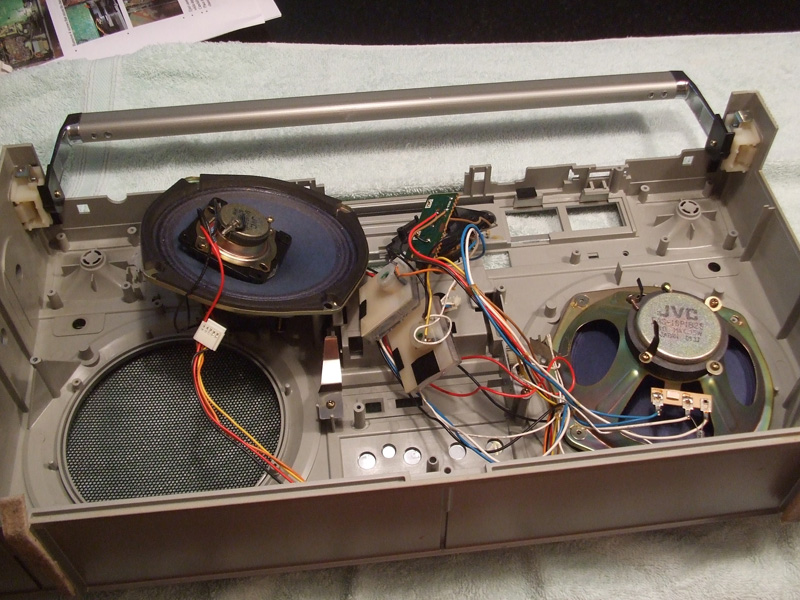
Finally got to the speakers and removed them.
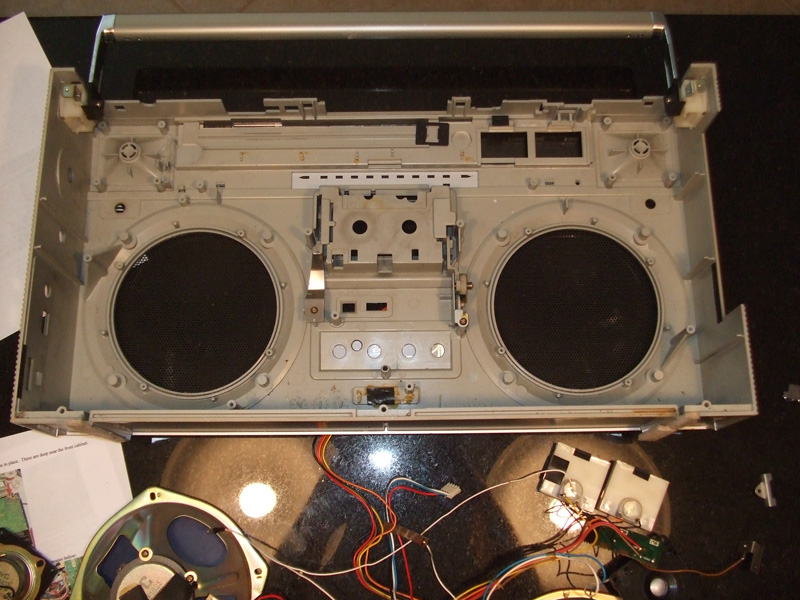
The front casing is empty and ready for the Full Patron.
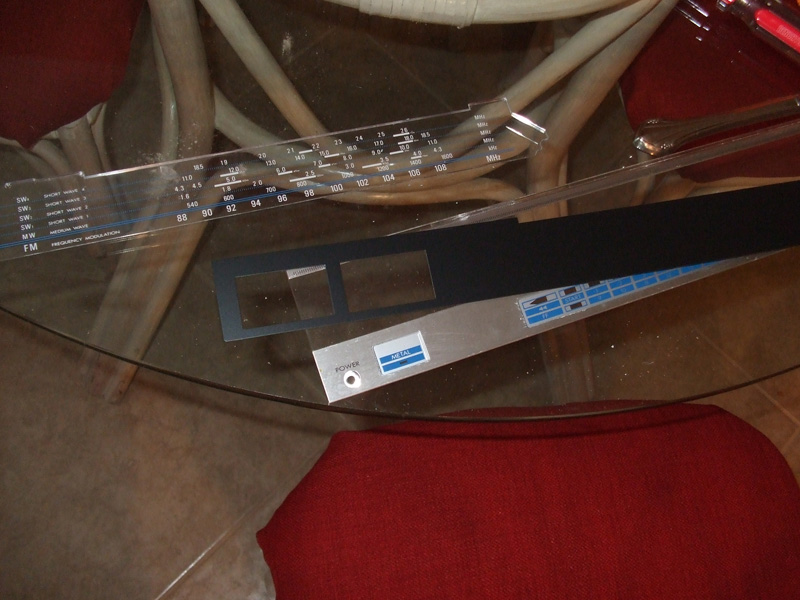
The dial window and inner dial plastic are off and ready for cleaning and polishing. Be extremely careful when removing the dial window! It is prone to cracking. I cracked mine, but luckily the crack remained on top and won't be visible.
Bath time!!
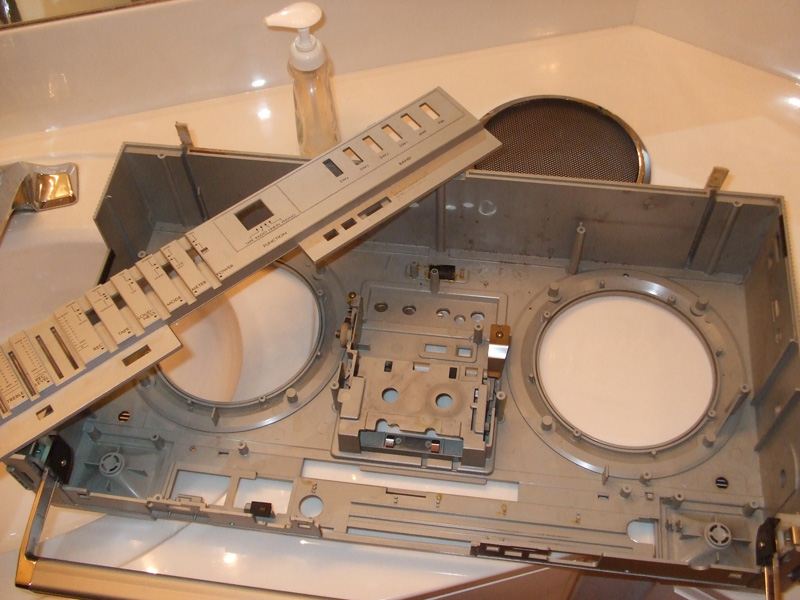
Ooh, bubble bath.
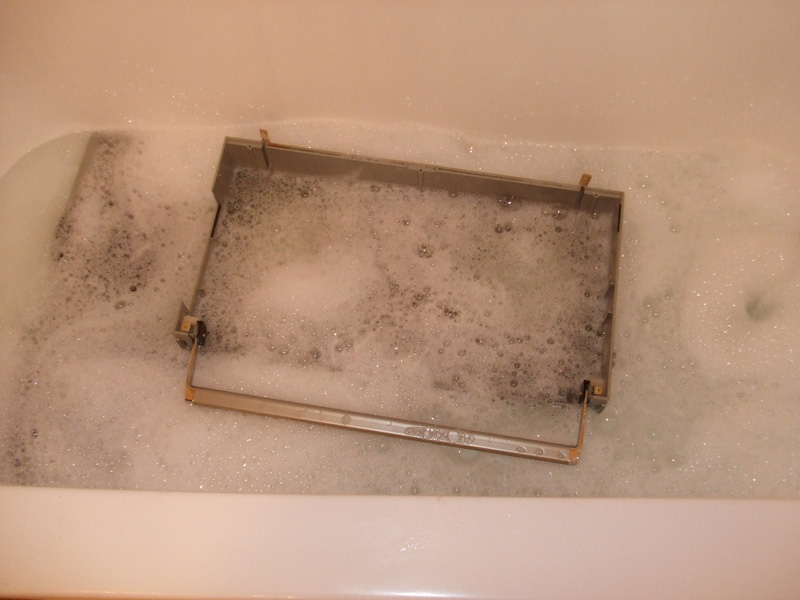
Feel the warm water cascading over your body, washing away all of your worries and bringing a new glow to your tired soul.

Soak it, baby! Soak it!
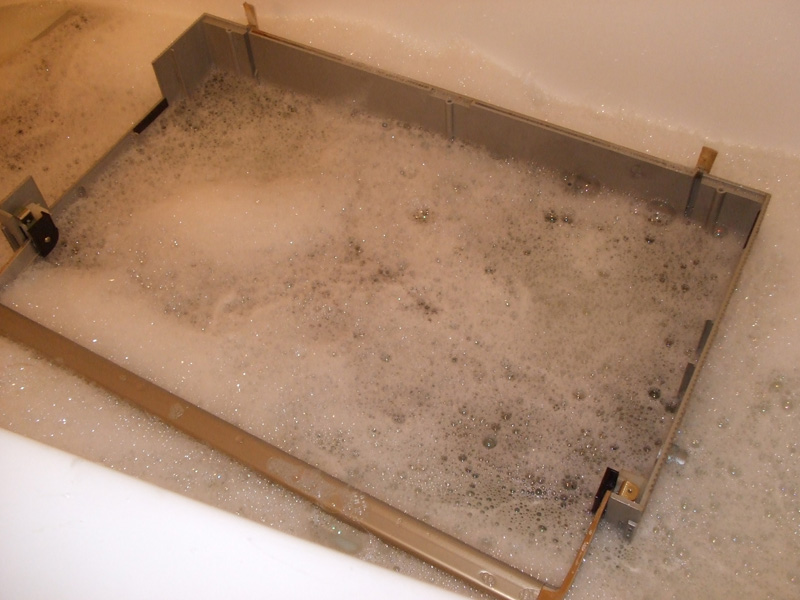
Ahhh, I love the way your body glistens with wet diamonds.
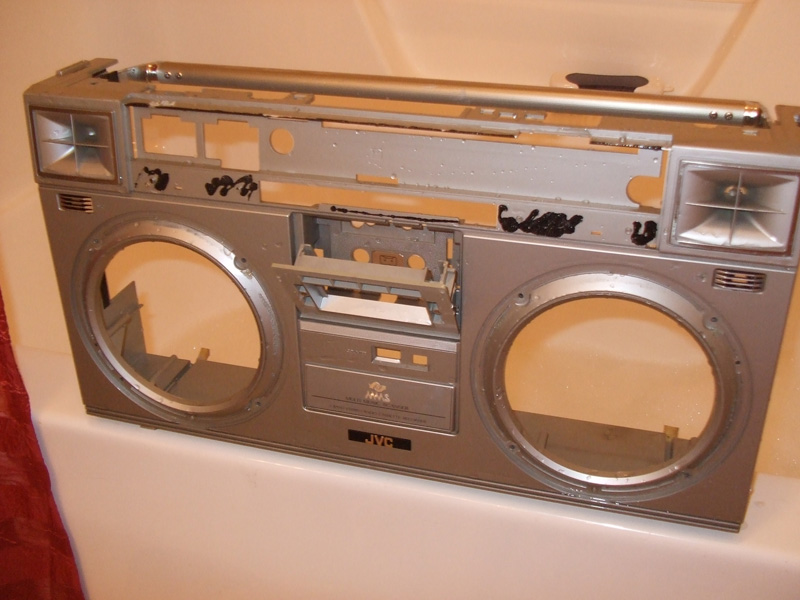
Shiny!
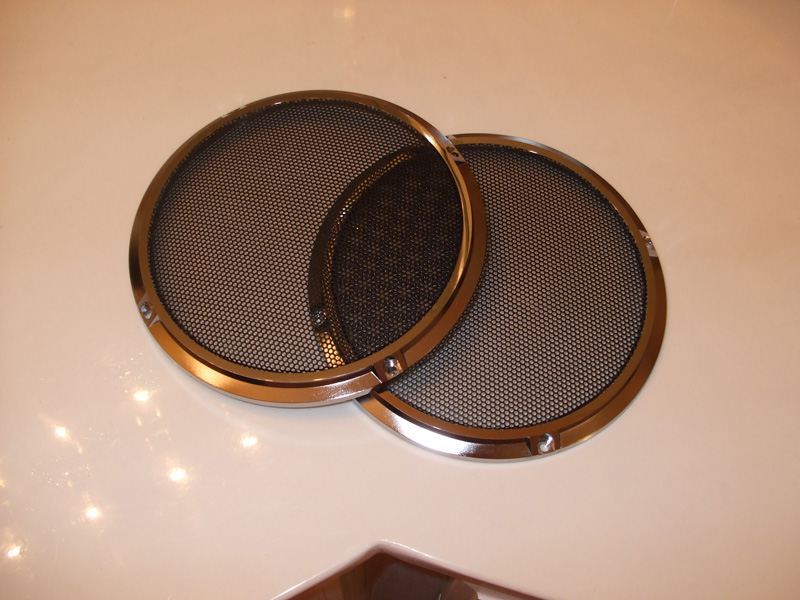
The grilles had some scuffs and some of the paint had worn off. They definitely need a new paint job.
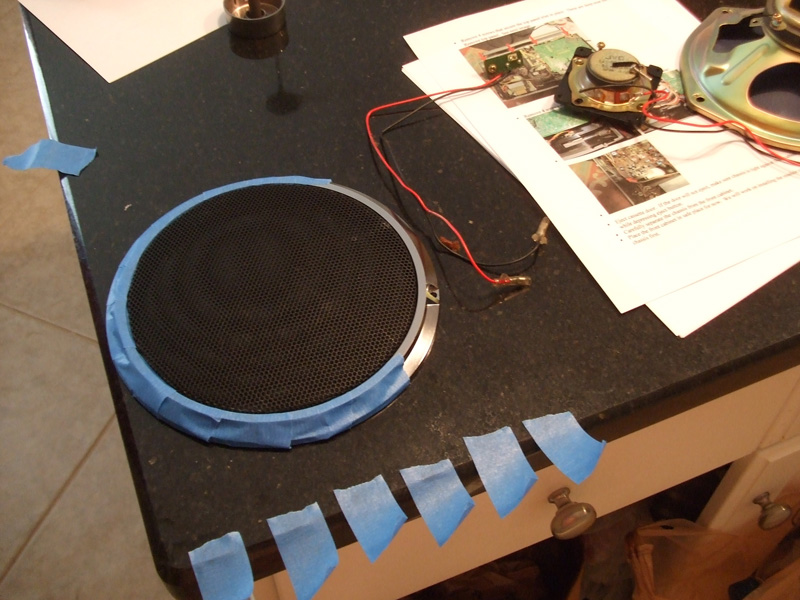
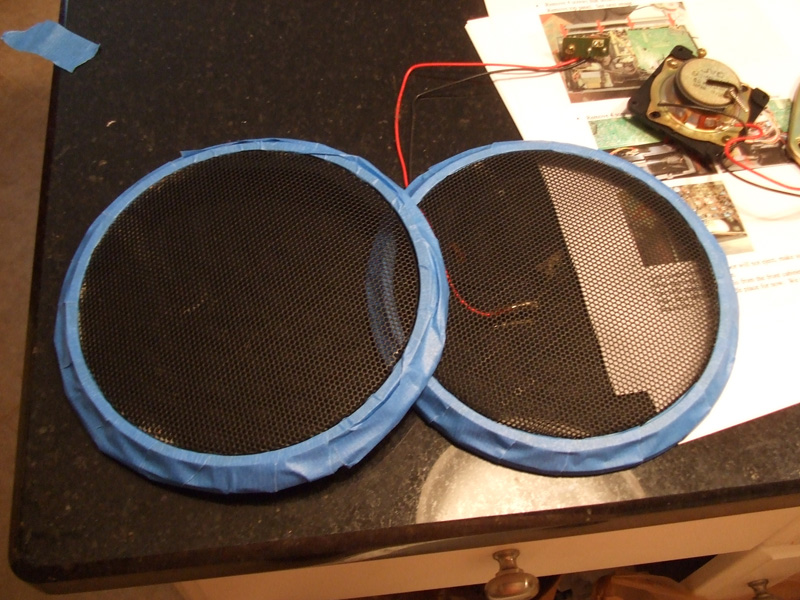
Both grilles ready for painting.
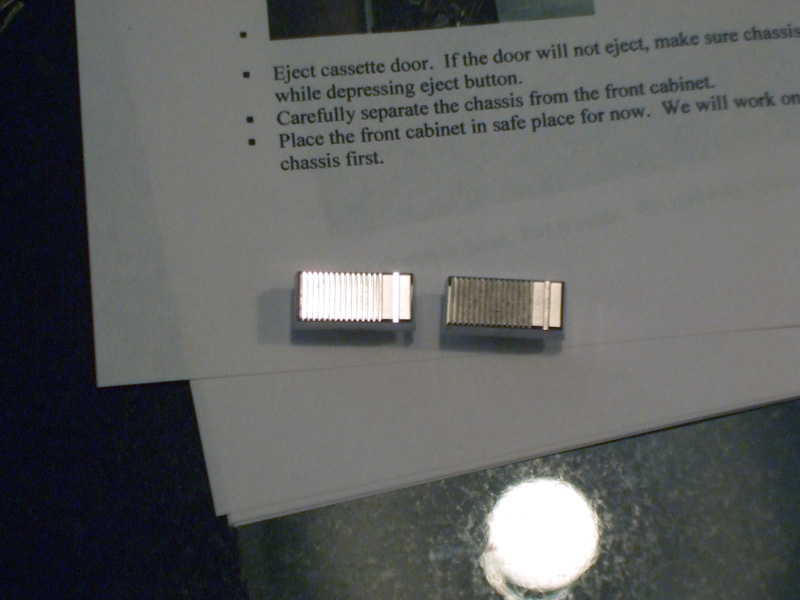
The switch and slider caps got a cleaning too. I used my trust baking soda paste again. Here is a pic of a cleaned cap next to a dirty one. What a difference!
Starting to put everything back in to get ready for the mod.
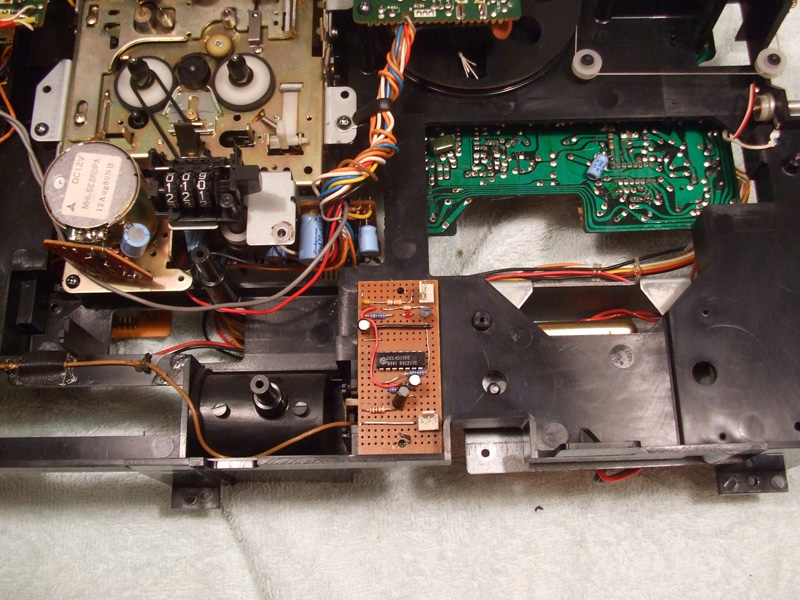
Placement of the kit's PCB. Holes have been drilled for screws.
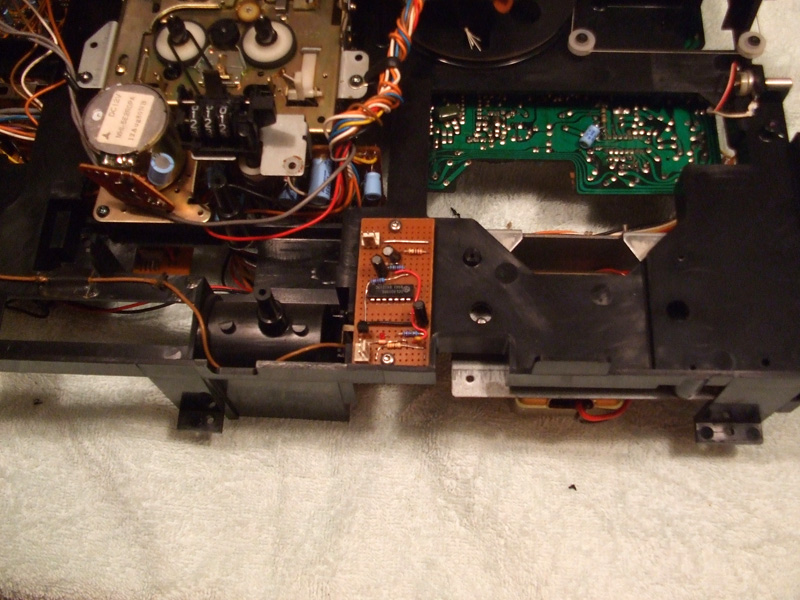
The board is now secured with torx screws and washers.
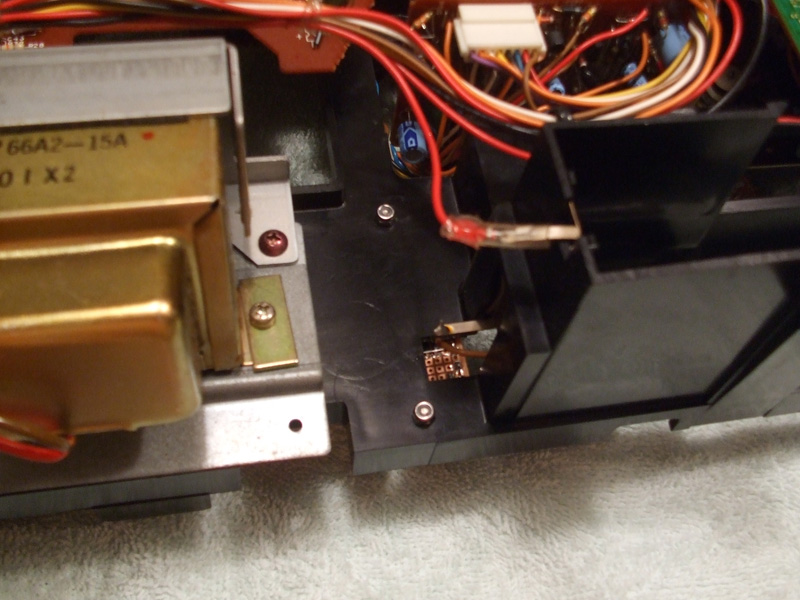
Here's a pic of the backside. You can see how the nuts are attached.
After hooking up the LEDs and putting the M70 back together... we have light!!

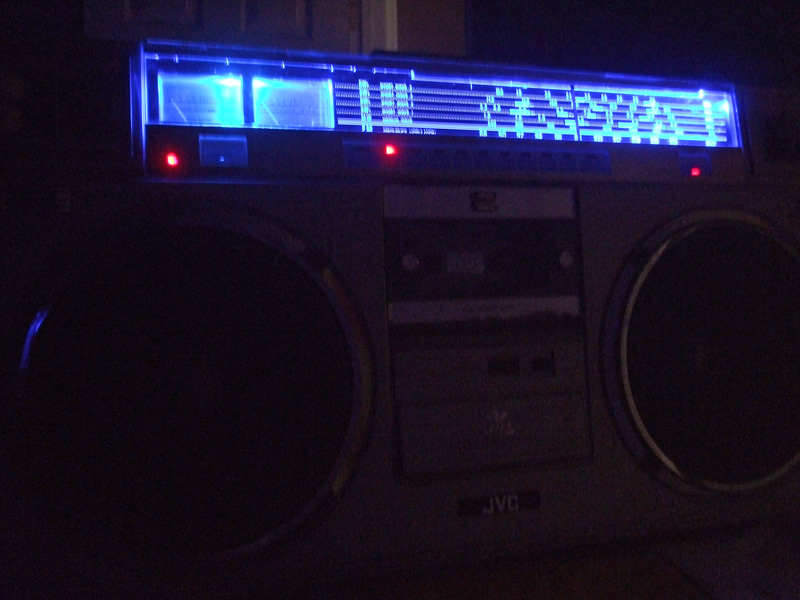
The switch works like a charm! Norm did a fantastic job putting this kit together and writing the excellent instructions.
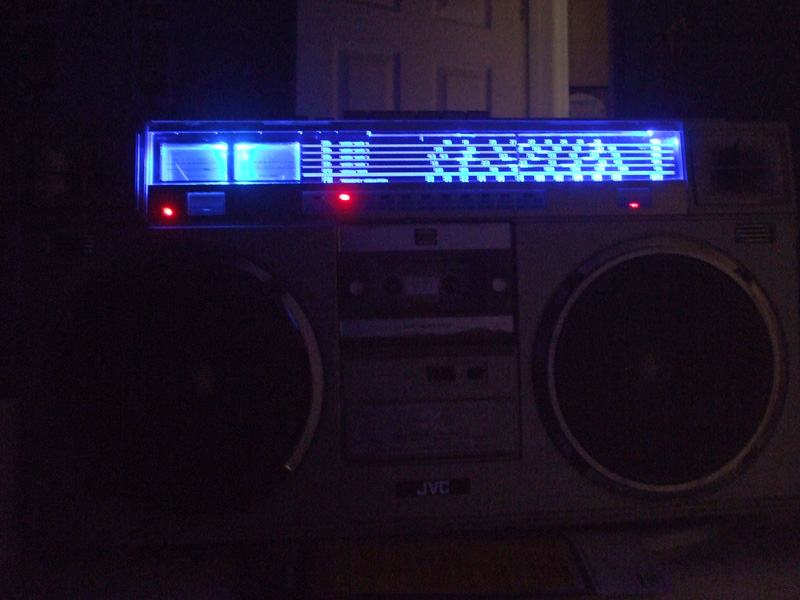
I still need to install the replacement aluminum strip above the dial window and paint the cassette door where some of the silver has worn off.

If you have an M70, I can't recommend this kit enough! I need to find another M70 just so I can see what it will look like with different colored LEDs.
Give yourself about two or three hours for complete installation if you are a novice like me - that includes disassembly and reassembly. Cleaning and restoration will add more time though. Tiny screws constantly falling off the screwdriver will add another eight hours.
Thanks, Norm!! :superduper: :super:

viewtopic.php?f=47&t=11873
I told him that there was absolutely no big rush on getting it shipped out because I still needed to get new belts for the M70, but his kit still arrived in about a week. Well, I went over to mom & dad's house yesterday and used their bigger space to work on installing the kit and doing a little bit of overall restoration.
The kit was very easy to install - even for me - using Norm's very detailed instructions. The biggest pains were experienced while changing the main flat belt and boombox reassembly. I only have two words for those of you who plan on opening a JVC RC-M70: "magnetic screwdriver".

Also, there are three places inside an M70 where the manufacturing date, for that part, can be found:
1) the front casing
2) the back casing
3) the top plate
The dates for mine are:
1) September 10, 1980 - Front
2) September 25, 1980 - Back
3) July 28, 1980 - Top
You can see that it will be difficult to narrow it down to one particular day for an official birthday, although a general time of year can be deduced.
Anyway, let's get started...
Be careful when removing the switch caps (not to be confused with the slider caps). They have compression tabs that hold them in place and if you pop the caps off too quickly you stand a chance in breaking the tabs.

Finally got to the speakers and removed them.

The front casing is empty and ready for the Full Patron.

The dial window and inner dial plastic are off and ready for cleaning and polishing. Be extremely careful when removing the dial window! It is prone to cracking. I cracked mine, but luckily the crack remained on top and won't be visible.

Bath time!!

Ooh, bubble bath.


Feel the warm water cascading over your body, washing away all of your worries and bringing a new glow to your tired soul.

Soak it, baby! Soak it!

Ahhh, I love the way your body glistens with wet diamonds.


Shiny!

The grilles had some scuffs and some of the paint had worn off. They definitely need a new paint job.

Both grilles ready for painting.

The switch and slider caps got a cleaning too. I used my trust baking soda paste again. Here is a pic of a cleaned cap next to a dirty one. What a difference!

Starting to put everything back in to get ready for the mod.

Placement of the kit's PCB. Holes have been drilled for screws.

The board is now secured with torx screws and washers.

Here's a pic of the backside. You can see how the nuts are attached.

After hooking up the LEDs and putting the M70 back together... we have light!!


The switch works like a charm! Norm did a fantastic job putting this kit together and writing the excellent instructions.

I still need to install the replacement aluminum strip above the dial window and paint the cassette door where some of the silver has worn off.

If you have an M70, I can't recommend this kit enough! I need to find another M70 just so I can see what it will look like with different colored LEDs.

Give yourself about two or three hours for complete installation if you are a novice like me - that includes disassembly and reassembly. Cleaning and restoration will add more time though. Tiny screws constantly falling off the screwdriver will add another eight hours.
Thanks, Norm!! :superduper: :super:


