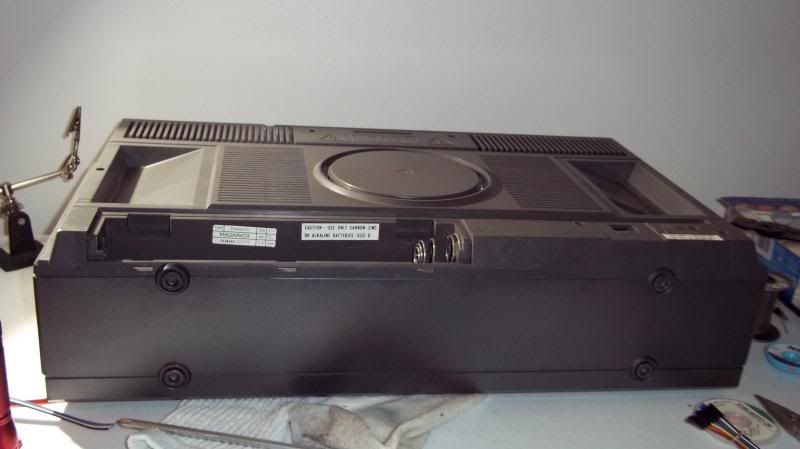
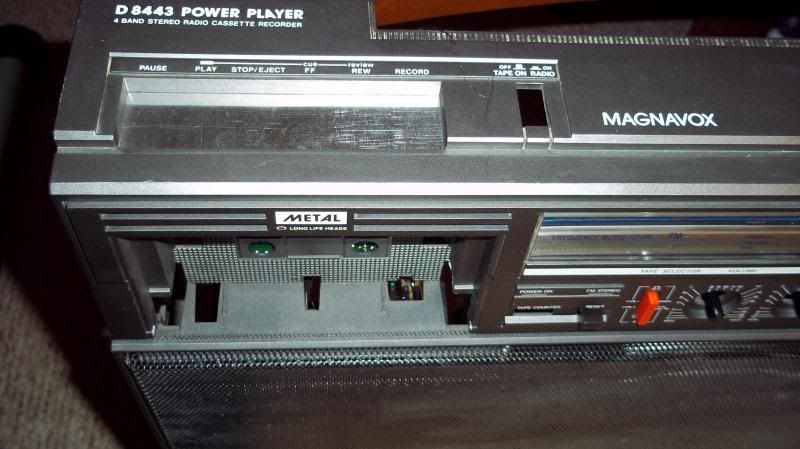
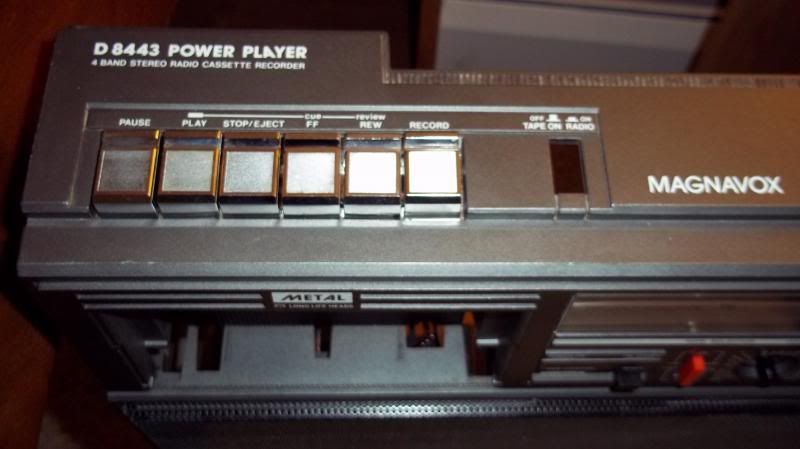
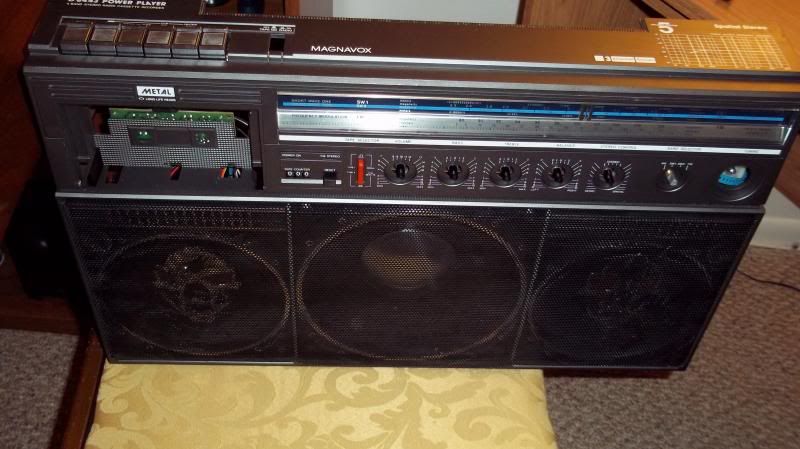
well vacation time and as promised, making some progress on the MagnaMod Model B-ABBX.. 
getting up the energy isn't easy at my age.. then I think.. Ira built a bad ass JVC so there's no excuse!
lets get crackin!
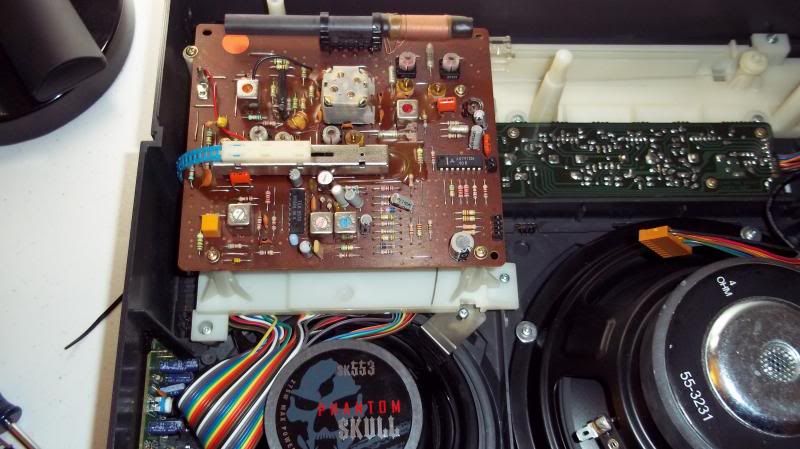
once I sat down I went into modding mode.. I had it all thought out in my head.. easier said then done though.. I had planned on putting all the circuit boards on the front inner bottom since there was enough room so I thought.. heh forgot about the battery compartment and the AC transformer and power board.. so I was huh great where the hell are the boards gonna go now.. (boards being LED,4 power sources and amp) so I sat there for about a half hour thinking of how I was gonna make it work.. I came up with some crazy ways that I knew wouldn't work.. funny that I just started and a problem comes up immediately.. I had to take into account the Maggie circuit boards when I put them back in.. uhg.. then I remembered I bought a second Maggie.. so I tore it down and I could now see where there might be some room.. thank god I bought another! so I went to work.. pics and descriptions to follow.. I am doing it in steps to prevent burnout.. tomorrow starts the AC routing..
here I am retrofitting the AC to run from back to front.. all wires from back to front are un pluggable in case something fails or I wish to add more stuff..
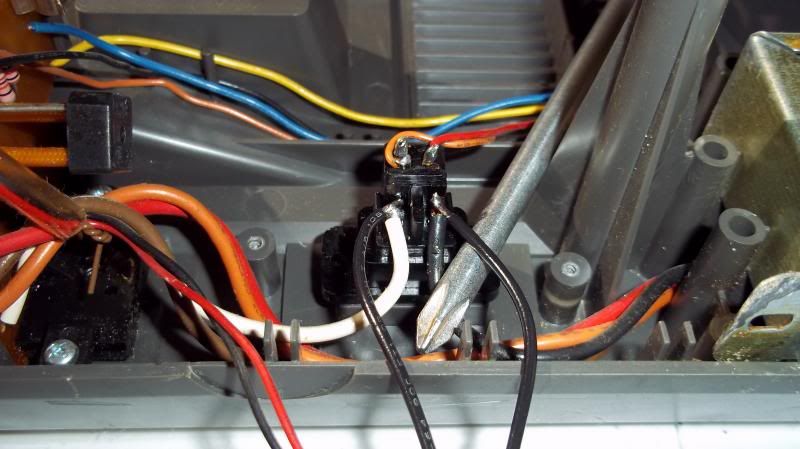
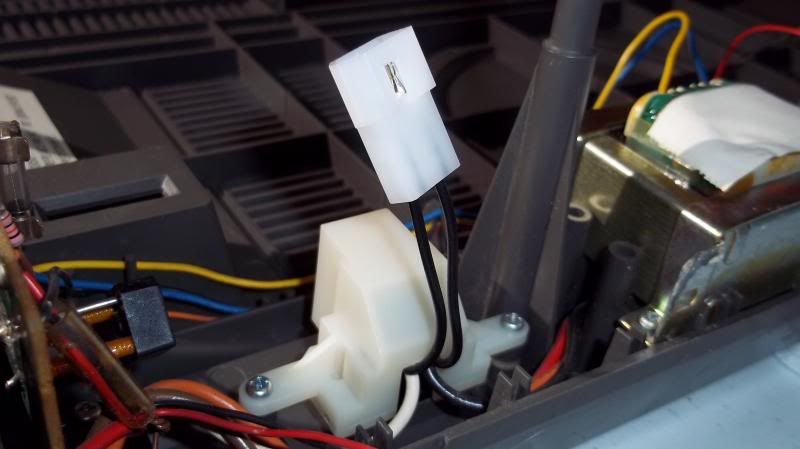
of coarse I need to be aware for live and neutral wires.. everything is marked..
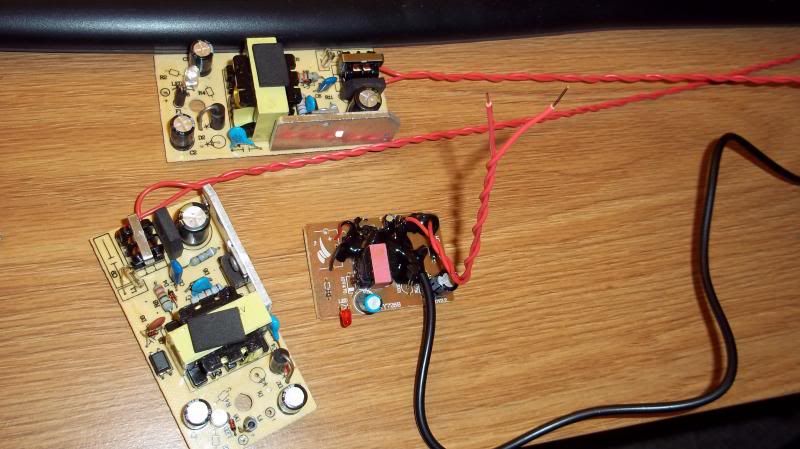
next.. I install all wiring for the 4 power supplies to the power block..
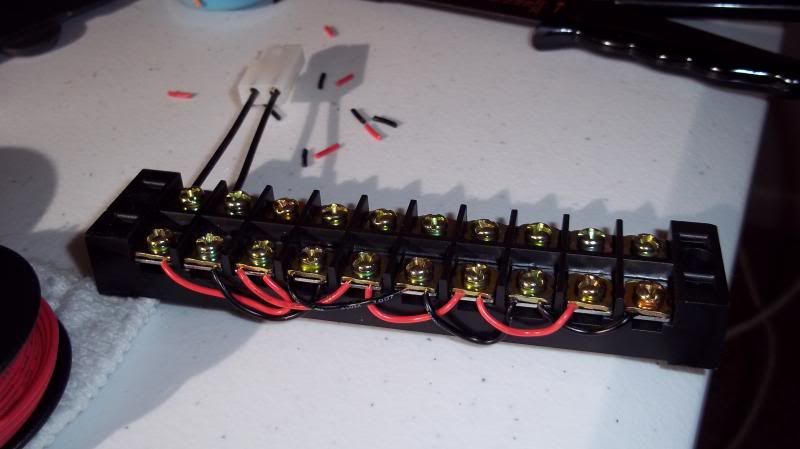
then finding a spot to retrofit into the boombox.. after a little maneuvering and cutting spot is found..
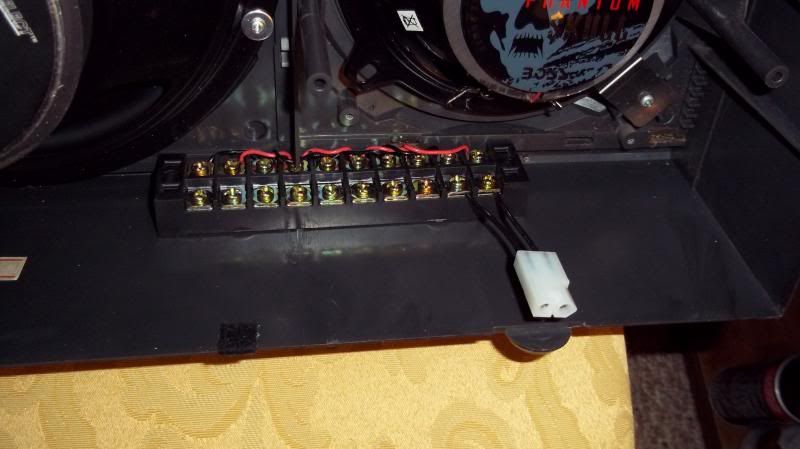
ok power to all boards is done.. next is the LED boards definitely the most challenging part.. but I streamlined it just a bit.. went from what could have been a nightmare to feasible..
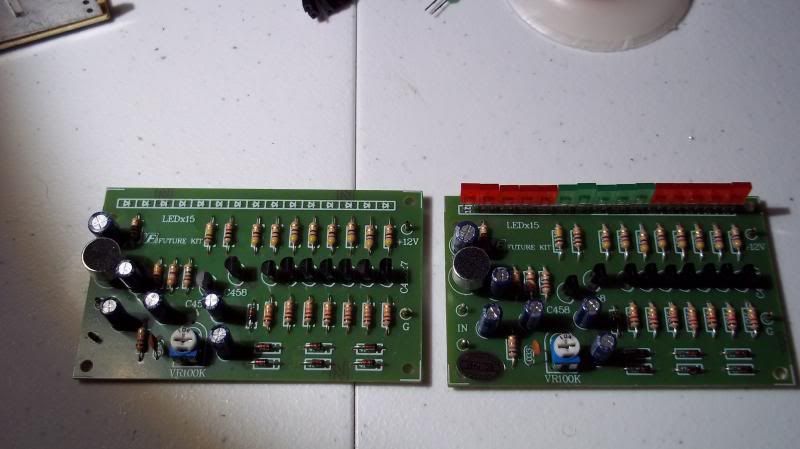
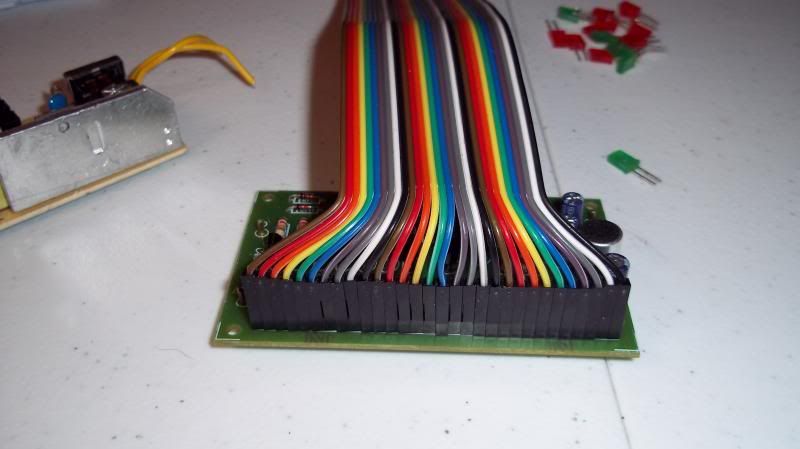
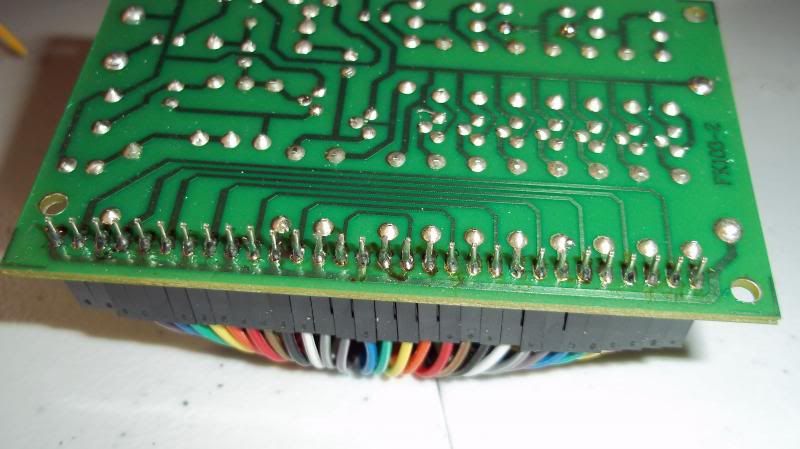
well that was fun! NOT! actually worked as intended for once!
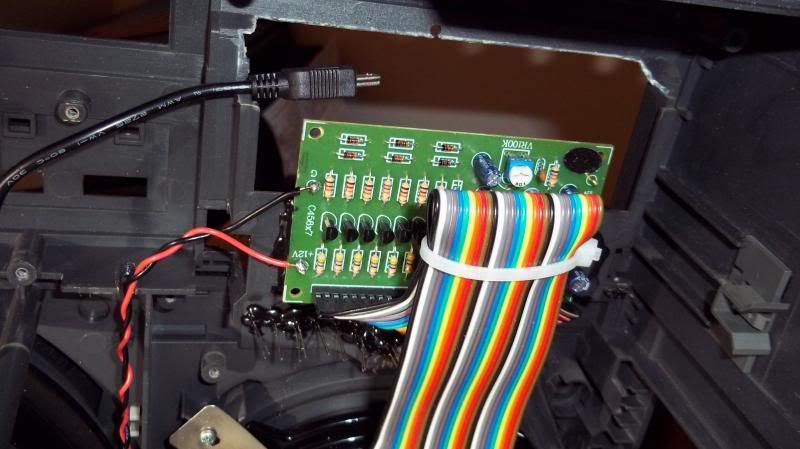
ok.. now onto how to retrofit the LED boards.. after a little help from my other Maggie problem solved..
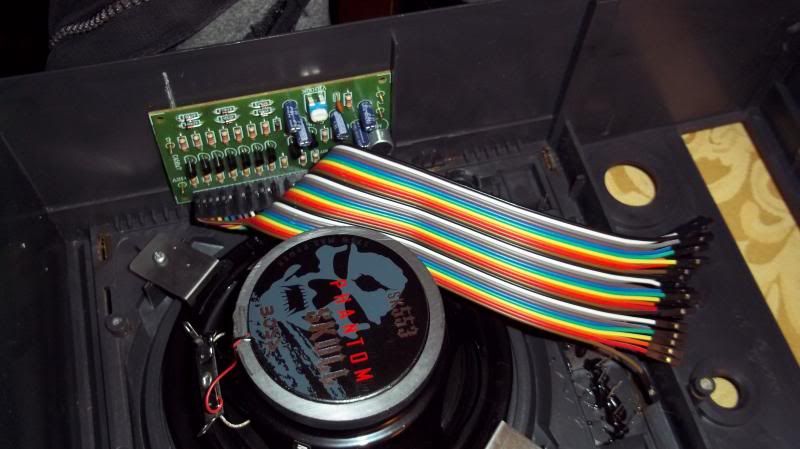
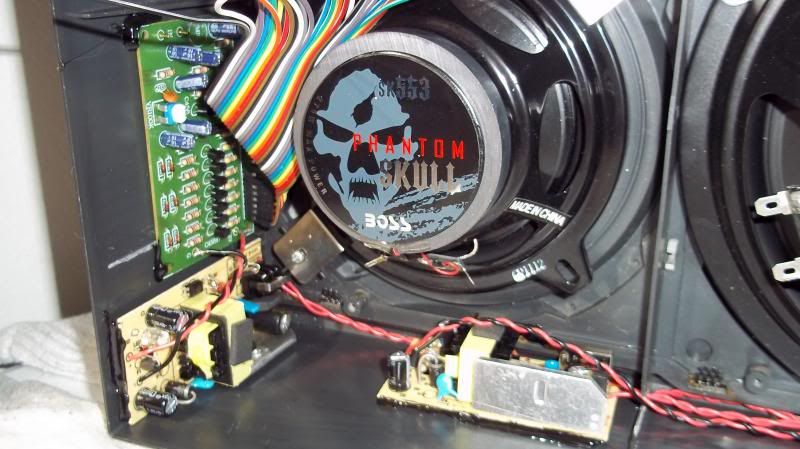
the other will got behind the Android tablet (other side of cassette well) ok! on to the last part for today.. where to put the amp and amp PSU.. well I had no choice but to put it on the inside back.. luckily there isn't to many wires involved.. still was a pain to wire it up though.. worked better than expected..
had to do a little cutting but looks good!
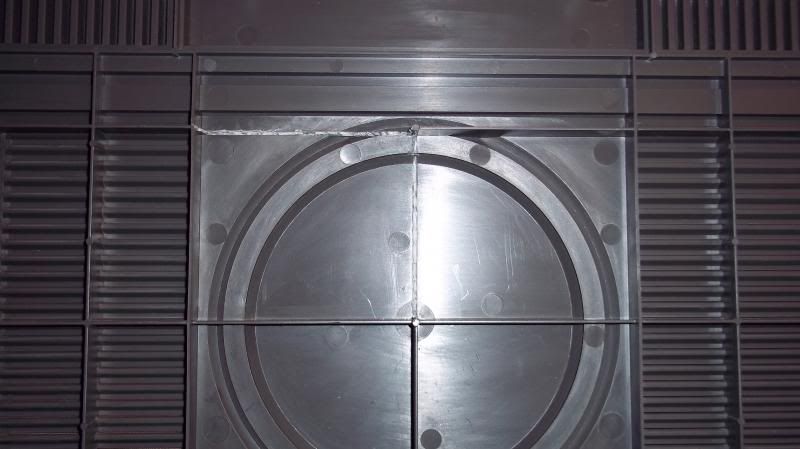
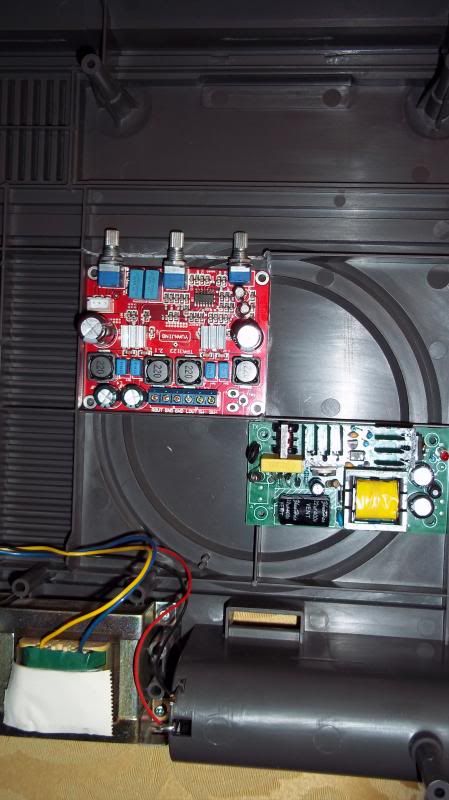
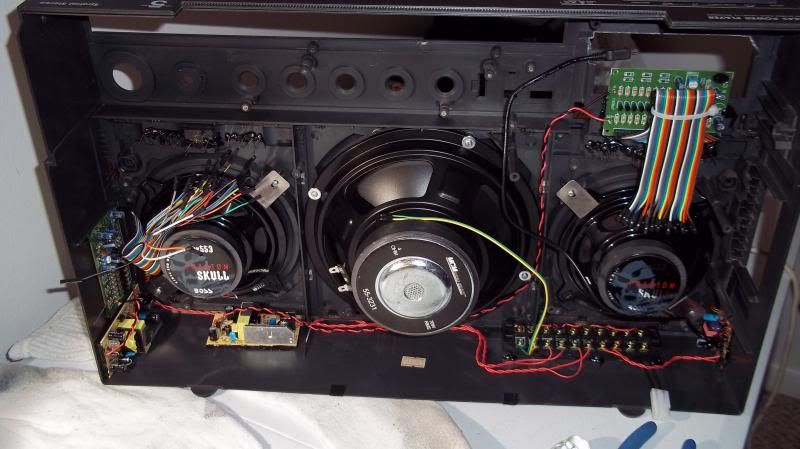
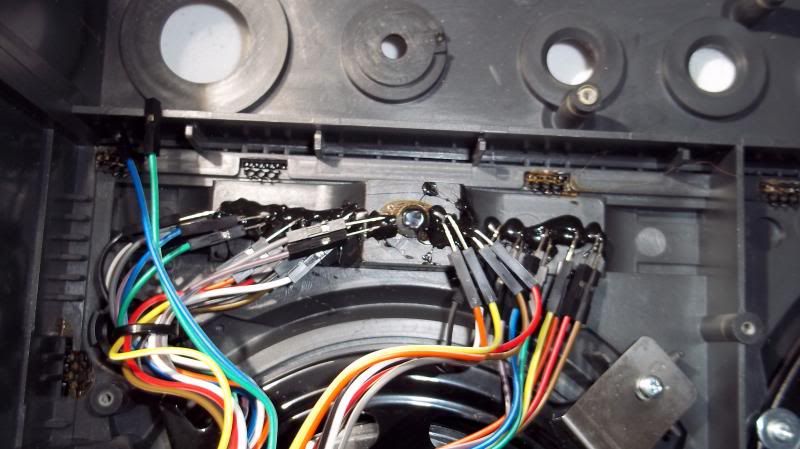
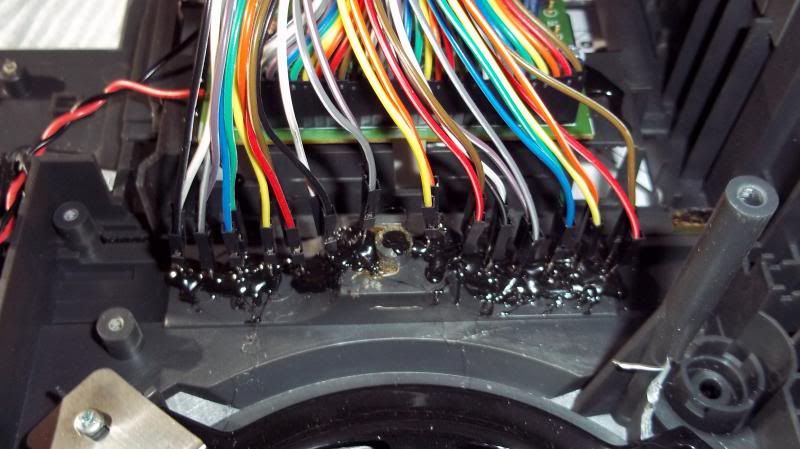
now for the wiring.. nice and professional and all can be unplugged from the front if needed.. just mega glued them in place.. no chance of ever coming loose.. ever..
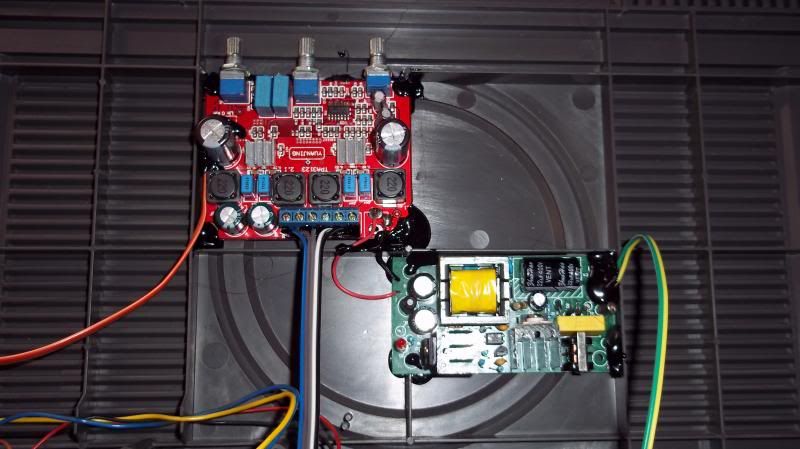
so that's it so far.. got 7 days of vaca left.. this will be done by then.. I promise
let me know what you think..

getting up the energy isn't easy at my age.. then I think.. Ira built a bad ass JVC so there's no excuse!

lets get crackin!
once I sat down I went into modding mode.. I had it all thought out in my head.. easier said then done though.. I had planned on putting all the circuit boards on the front inner bottom since there was enough room so I thought.. heh forgot about the battery compartment and the AC transformer and power board.. so I was huh great where the hell are the boards gonna go now.. (boards being LED,4 power sources and amp) so I sat there for about a half hour thinking of how I was gonna make it work.. I came up with some crazy ways that I knew wouldn't work.. funny that I just started and a problem comes up immediately.. I had to take into account the Maggie circuit boards when I put them back in.. uhg.. then I remembered I bought a second Maggie.. so I tore it down and I could now see where there might be some room.. thank god I bought another! so I went to work.. pics and descriptions to follow.. I am doing it in steps to prevent burnout.. tomorrow starts the AC routing..
here I am retrofitting the AC to run from back to front.. all wires from back to front are un pluggable in case something fails or I wish to add more stuff..


of coarse I need to be aware for live and neutral wires.. everything is marked..
next.. I install all wiring for the 4 power supplies to the power block..

then finding a spot to retrofit into the boombox.. after a little maneuvering and cutting spot is found..

ok power to all boards is done.. next is the LED boards definitely the most challenging part.. but I streamlined it just a bit.. went from what could have been a nightmare to feasible..


well that was fun! NOT! actually worked as intended for once!

ok.. now onto how to retrofit the LED boards.. after a little help from my other Maggie problem solved..

the other will got behind the Android tablet (other side of cassette well) ok! on to the last part for today.. where to put the amp and amp PSU.. well I had no choice but to put it on the inside back.. luckily there isn't to many wires involved.. still was a pain to wire it up though.. worked better than expected..
had to do a little cutting but looks good!


now for the wiring.. nice and professional and all can be unplugged from the front if needed.. just mega glued them in place.. no chance of ever coming loose.. ever..

so that's it so far.. got 7 days of vaca left.. this will be done by then.. I promise

let me know what you think..


