** 2/7/17 Final Update and project completion **
Hi Guys,
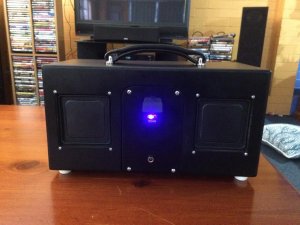
Well I've spent my long weekend finishing off the V6.0.
Details to follow:
Hi Guys,
Well I've spent my long weekend finishing off the V6.0.
Details to follow:
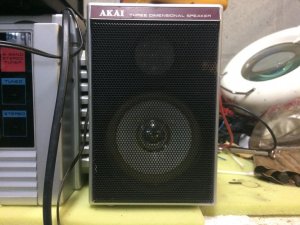
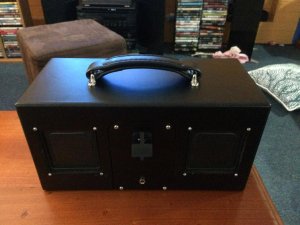
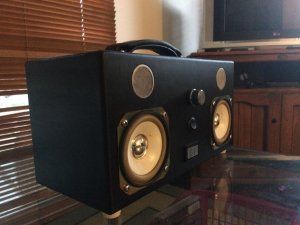
The original speakers were housed in separate cabinets. They were mounted from the rear into a housing. The mesh grills are molded into the plastic casing so they are not removable.goodman said:Wow, looks very good!
Is it possible to attach front grills from original speakers?
You can paint in black angles of speakers - where are 4 screws...
")

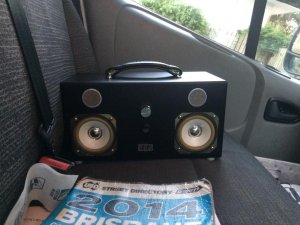
Thanks man. I actually thought of you when I was posting into this thread this morning. Trust me, you will love your DIY box when you're done with the building process.T-STER said:Wow i love it, seeing it next to a coke can makes you realise how diddy it is, i bet it still pounds though like only proper cabinet enclosures can. Love it.
I have all the wood, amp, speakers etc that i bought sometime ago to do mine, i better crack on with it! Just gotta get a battery and all the charge gubbins, feels a little over my head but i will give it a go.
Inspirational work Jimmy
Thanks man, I appreciate the positive feedback. I took the little V6.0 to work today and I've been amazed at the response I've received so far. It must be something about the size /performance ratio. I've had it cranking at around 50% volume (loud) since 7am. It's 4 pm now and after charging my aging Iphone5 to 100%, it still has around 60% usable charge left.JustCruisin said:I love it! Great job
One possibility would be to chop off the casing then cut the mesh to fit the new octagonal shape. You could file down the edges for safety then just mount them using the existing screws. Aesthetically I'm not sure it would add anything but it would give you some protection.jimmyjimmy19702010 said:The original speakers were housed in separate cabinets. They were mounted from the rear into a housing. The mesh grills are molded into the plastic casing so they are not removable.
...
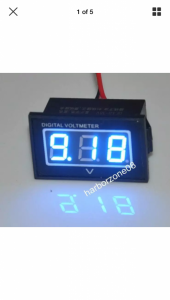
Hey do you have spec's for the voltmeter? I think that's fantastic, what device is that? Hyperlink?jimmyjimmy19702010 said:
Hi Barb,Barb Bush said:Hey do you have spec's for the voltmeter? I think that's fantastic, what device is that? Hyperlink?
Yep, still waiting for the amplifier parts to arrive. The volume control gear turned up yesterday. The original $4 amp was for proof of concept purposes only.T-STER said:"Instructional how to video coming soon" Yes !!!!!
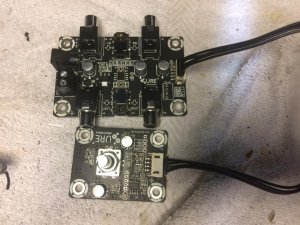

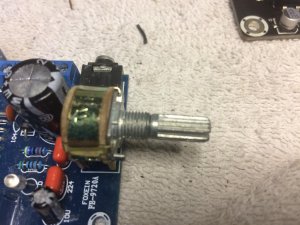
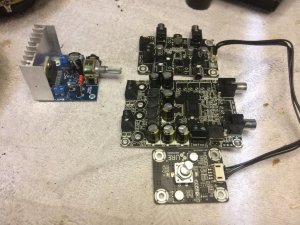 The 3.5mm to RCA cable that runs from the volume board to the amp had to be hard soldered instead of using the RCA inputs as there simply wasn't enough room.
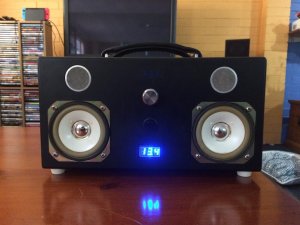
")

