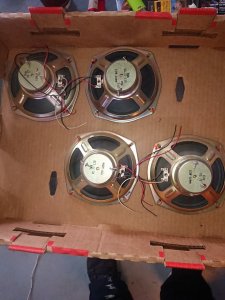
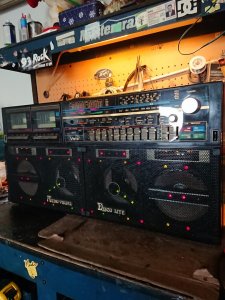
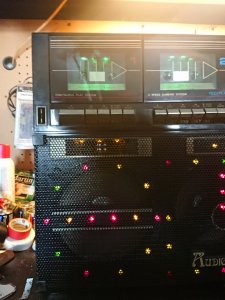
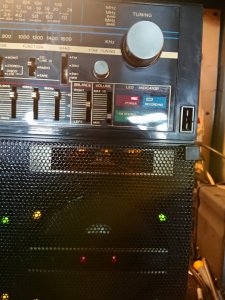
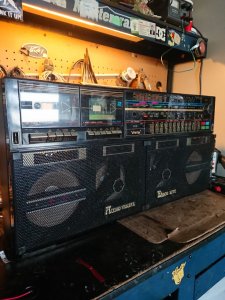
This unit came to me with some leds out , both decks not working, one woofer with partially torn surround, deck a play button off, and needing a fresh coat of paint on the grilles, and so much pent up dust...who woulda thunk, someone would want leds added to a dlite? Added yellow in tweeters, green in the deck, they are static turned on and off by a bypassed beat/cut switch..initially trying to tap power with no schematics- wired in leds, found a power tap that was to be used with power on/off only. When pressing the normal/Cr02 switch , the lights got bit brighter. Concurrently; deck A when playing was fine. Inserting cassette in deck 2 , and it played normally for a second, then got super muffled. Wth. Fiddled with the tape in the open cavity(face was off using headphones) as it was playing, chased down head placement , azimuth adjustment, at times, it would kick back in when the cassette was positioned a certain way.
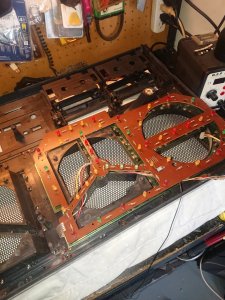
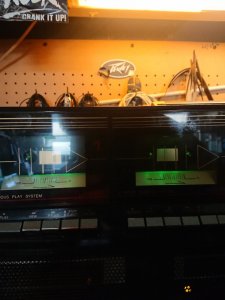
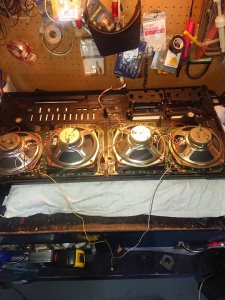
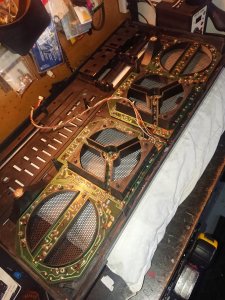
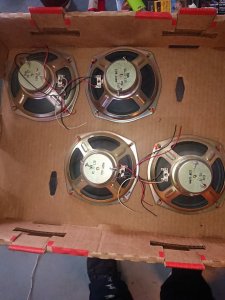
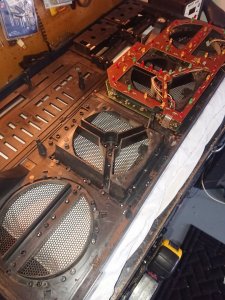
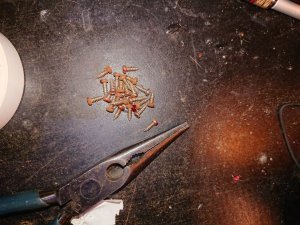
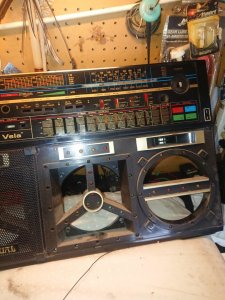
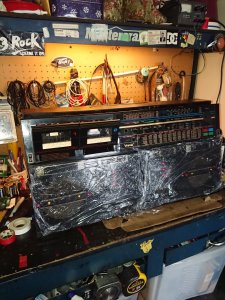
Turns out, my chosen power tap had to do with the nomal/Cr02 circuit. Disabling my tap, cassette was playing normally , tracking as it should. Utilizing actual power button turn on/off, found a circuit directly related to the power button. Tapped this circuit, all was good- until I pressed play on Deck A . The newly installed LEDS would turn off when play was pressed. Deck B, no change. In this case, safest bet was to go with disabling beat/cut by cutting traces (completely and easily reversible) and use the switch to power on the leds. Here are some pictures of her done , and some of the process. Note the one photo with the screwdriver pointing to a cold solder joint. Banks of lights can go out because of one joint. Reworking them all tedious as it is is well worth it in the end. The pile of screws represents one panel with the leds in it that were removed.

Have a good one, stay safe out there..
Turns out, my chosen power tap had to do with the nomal/Cr02 circuit. Disabling my tap, cassette was playing normally , tracking as it should. Utilizing actual power button turn on/off, found a circuit directly related to the power button. Tapped this circuit, all was good- until I pressed play on Deck A . The newly installed LEDS would turn off when play was pressed. Deck B, no change. In this case, safest bet was to go with disabling beat/cut by cutting traces (completely and easily reversible) and use the switch to power on the leds. Here are some pictures of her done , and some of the process. Note the one photo with the screwdriver pointing to a cold solder joint. Banks of lights can go out because of one joint. Reworking them all tedious as it is is well worth it in the end. The pile of screws represents one panel with the leds in it that were removed.


Have a good one, stay safe out there..


