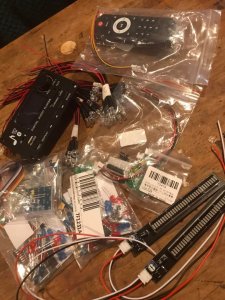
I got this radio cheap along with a few others, however this one is damaged, so I decided this will become my Discolite project, its a great looking box with strong sound, but needs a good clean and i thought a good time to upgrade it too
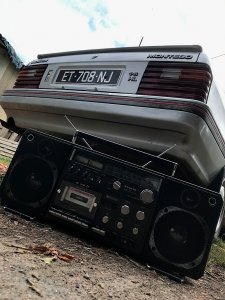
My Box posing with my car also from the 1980s
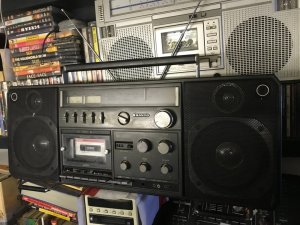
the box works well and the tape turns, but will not be chancing a tape until its had a clean and fresh belts
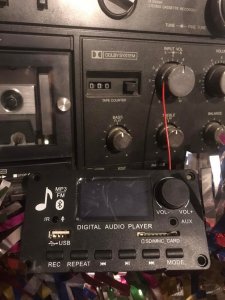
first thing i have ordered for this project is this Bluetooth/MP3 player, its ideal with its separate volume control to control input
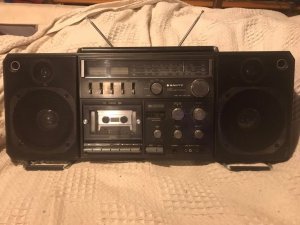
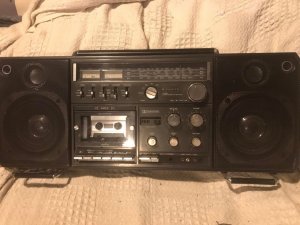
ok, lets look at the Project (front)
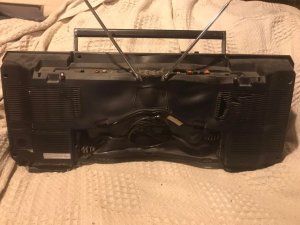
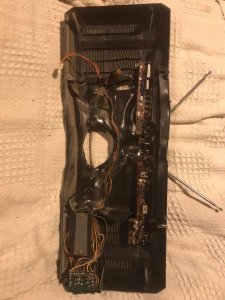
rear (as the reason it was cheap)
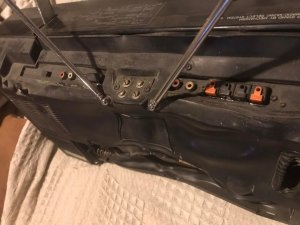
Dirty ok, but looks undamaged
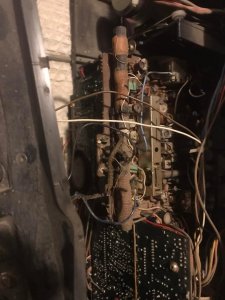
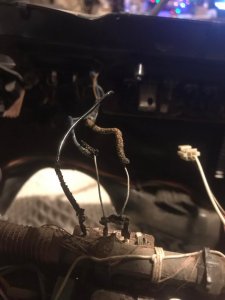
some frazzled wires but only to the aerial
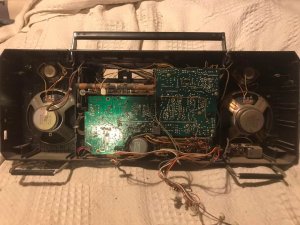
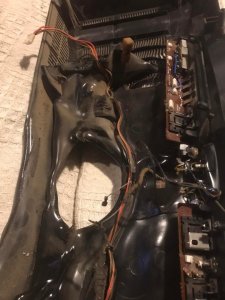
a view of the innards (someone may find this info valuable one day lol)
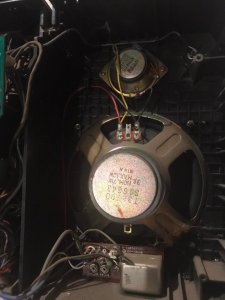
Speakers
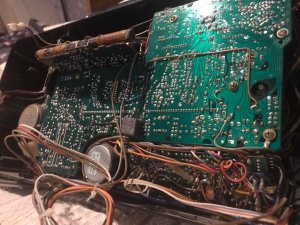
Where Wizardry happens
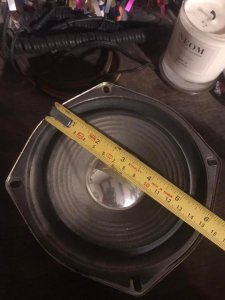
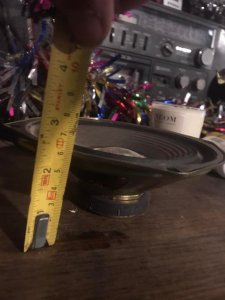
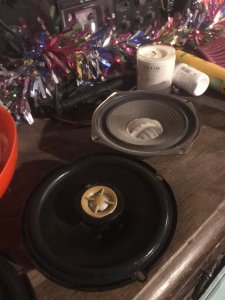
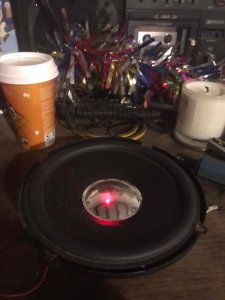
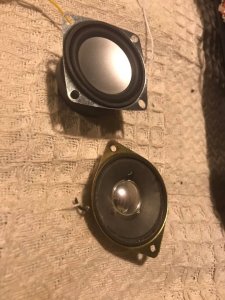
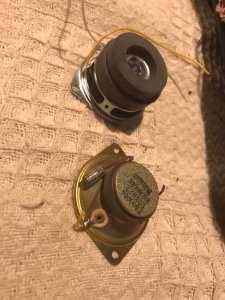
OK, time for first mod, Upgraded these from another cheapo Bluetooth box from a budget shop, do have a punch for there size and fit perfectly
How they look in their new home
not sure how to tackle this yet, thinking of cutting the sides as far as can towards the centre and stitching in some new plastic as i wont need a battery box as it will have a sealed rechargeable battery inside, as someone said rightly, no-one needs to see the back, but if anyone has a cheap shell for sale, I'd be interested as I'd love to double the speakers up
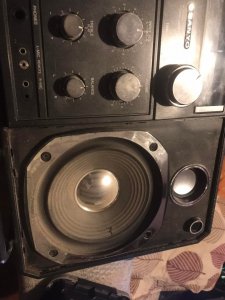
Speakers are ripped but that's okay as the plan was always upgrading anyway
My Box posing with my car also from the 1980s

the box works well and the tape turns, but will not be chancing a tape until its had a clean and fresh belts

first thing i have ordered for this project is this Bluetooth/MP3 player, its ideal with its separate volume control to control input

ok, lets look at the Project (front)

rear (as the reason it was cheap)


Dirty ok, but looks undamaged

some frazzled wires but only to the aerial

a view of the innards (someone may find this info valuable one day lol)

Speakers

Where Wizardry happens

OK, time for first mod, Upgraded these from another cheapo Bluetooth box from a budget shop, do have a punch for there size and fit perfectly


How they look in their new home

not sure how to tackle this yet, thinking of cutting the sides as far as can towards the centre and stitching in some new plastic as i wont need a battery box as it will have a sealed rechargeable battery inside, as someone said rightly, no-one needs to see the back, but if anyone has a cheap shell for sale, I'd be interested as I'd love to double the speakers up


Speakers are ripped but that's okay as the plan was always upgrading anyway

Last edited:


