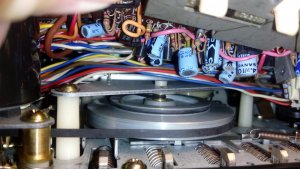
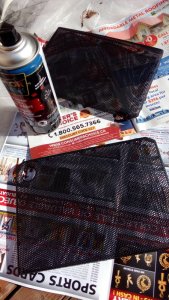
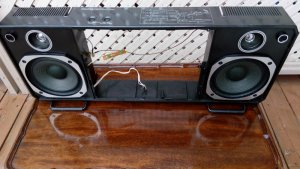
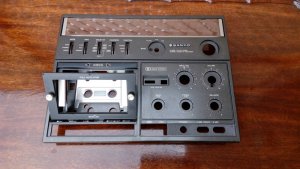
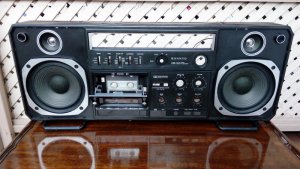
Earlier this year I picked up a Sanyo M9998 which was truly in junk like condition. To my surprise it was still working, only to a point though. Lots of dust and rust so I had to take it all apart and did a deep, thorough cleaning and sprayed new flat black paint to the speaker grills, and put it back piece by piece.
(To be continued)
Putting it back was straight forward and it was great to see how the unit looks like when the job has been done. And it is an even greater feeling to hear it:
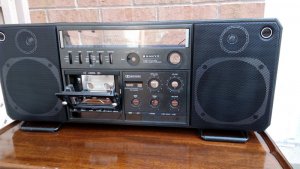
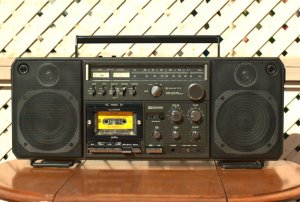
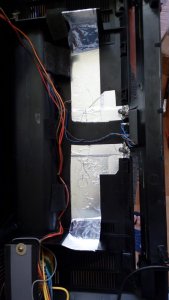
Yet it works with some issues. Because the antennas were not complete on this unit and one antenna seat was damages somewhat, I cannot put them back until I find parts. Instead I applied self-adhesive aluminum foil inside rear panel, like the FM antennas seen in tube radios of an earlier time. I must say this works fine, though looking differently:
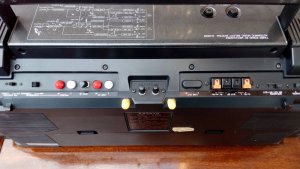
I had a harder time and less luck with the Stop/Eject key on the tape deck. It was broken and was not functional at all. What making it even worse, the tape deck was in the Play position and the motor spins full time even when you were just using the radio. This was dealt with as emergency and was one other reason I had to take the unit apart, so as to gain access to the broken push button.
It was found completely broken at the elbow and I tried twice to glue it back with no luck at all. This is why you see Stop/Eject button in the pressed-down position at all times. However, the deck now plays beautifully and you can enjoy a musical cassette from start to end. And you have to, because you cannot stop the tape halfway and you need to wait until AUTO STOP kicks in.
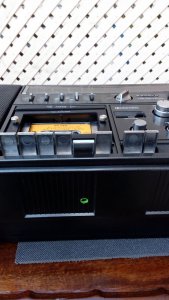
I know I will be in need to stop the tape before it runs to the end and I finally decided to drill a hole underneath the STOP/Eject key (Marked Green in photo), to allow a screw driver in to make stops, on an as needed basis.
In addition, to open the cassette door, I now have a piece of vinyl on the door, so I can manually release the latch behind. If you have better ideas for doing this job please don't hesitate to let me know.
Though I could not change the belts this time I do have plan to catch it up later, and I took a couple of photos in this regard while working on the deck:
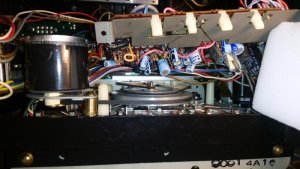
View attachment 31856
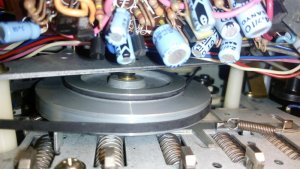


(To be continued)
Putting it back was straight forward and it was great to see how the unit looks like when the job has been done. And it is an even greater feeling to hear it:


Yet it works with some issues. Because the antennas were not complete on this unit and one antenna seat was damages somewhat, I cannot put them back until I find parts. Instead I applied self-adhesive aluminum foil inside rear panel, like the FM antennas seen in tube radios of an earlier time. I must say this works fine, though looking differently:


I had a harder time and less luck with the Stop/Eject key on the tape deck. It was broken and was not functional at all. What making it even worse, the tape deck was in the Play position and the motor spins full time even when you were just using the radio. This was dealt with as emergency and was one other reason I had to take the unit apart, so as to gain access to the broken push button.
It was found completely broken at the elbow and I tried twice to glue it back with no luck at all. This is why you see Stop/Eject button in the pressed-down position at all times. However, the deck now plays beautifully and you can enjoy a musical cassette from start to end. And you have to, because you cannot stop the tape halfway and you need to wait until AUTO STOP kicks in.

I know I will be in need to stop the tape before it runs to the end and I finally decided to drill a hole underneath the STOP/Eject key (Marked Green in photo), to allow a screw driver in to make stops, on an as needed basis.
In addition, to open the cassette door, I now have a piece of vinyl on the door, so I can manually release the latch behind. If you have better ideas for doing this job please don't hesitate to let me know.
Though I could not change the belts this time I do have plan to catch it up later, and I took a couple of photos in this regard while working on the deck:

View attachment 31856


