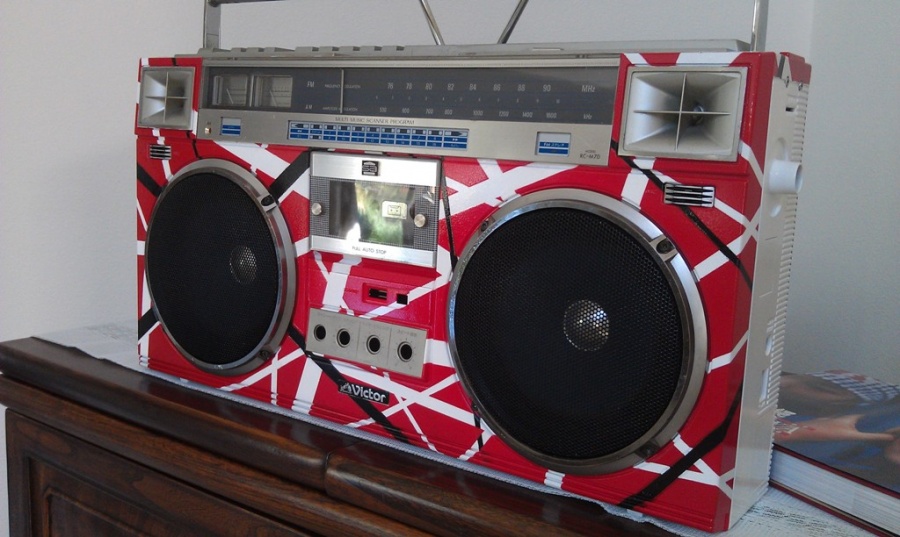
Victor M70 Eddie Van Halen 2012 Tribute Boombox
So….where to start….
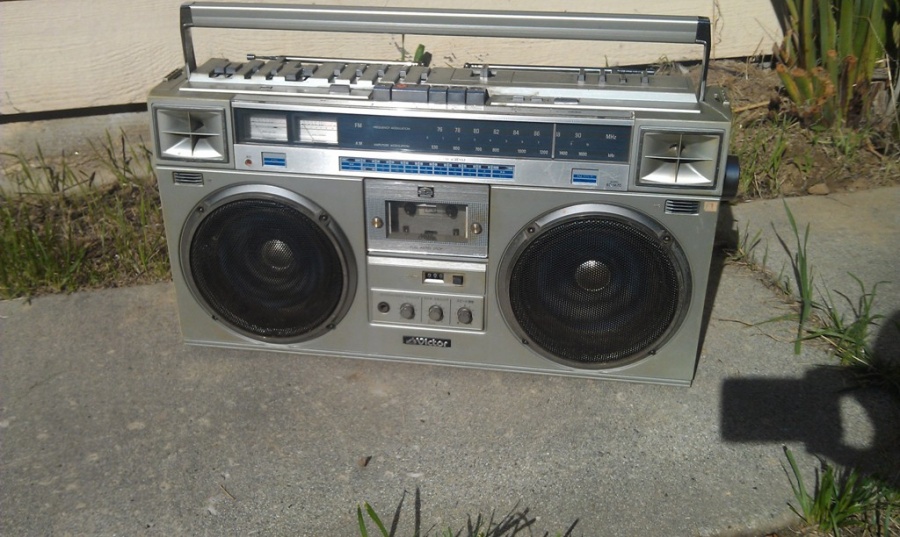
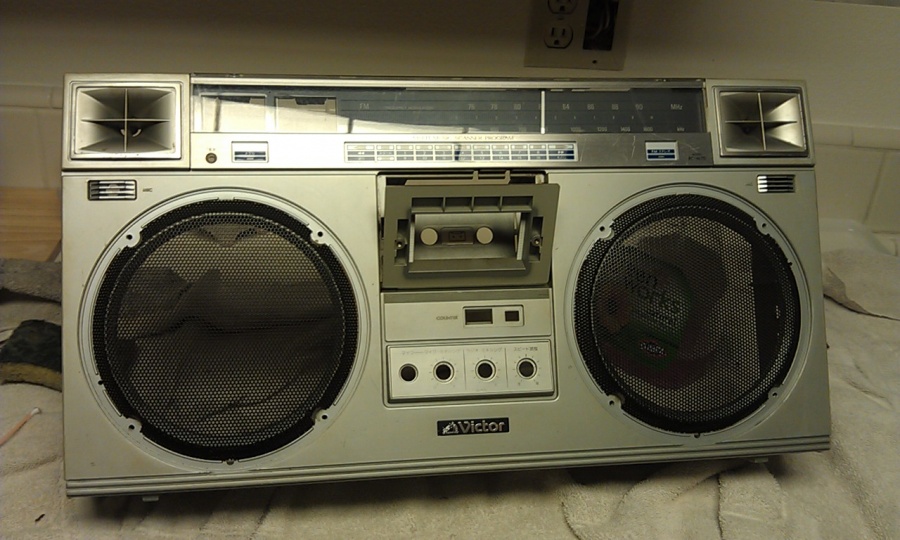
I bought this M70 this past summer in Japan for close to nothing. It was a complete unit but about as worn out and filthy as any could be or any I have ever seen or worked on. The radio works and line in, the deck needs belts.
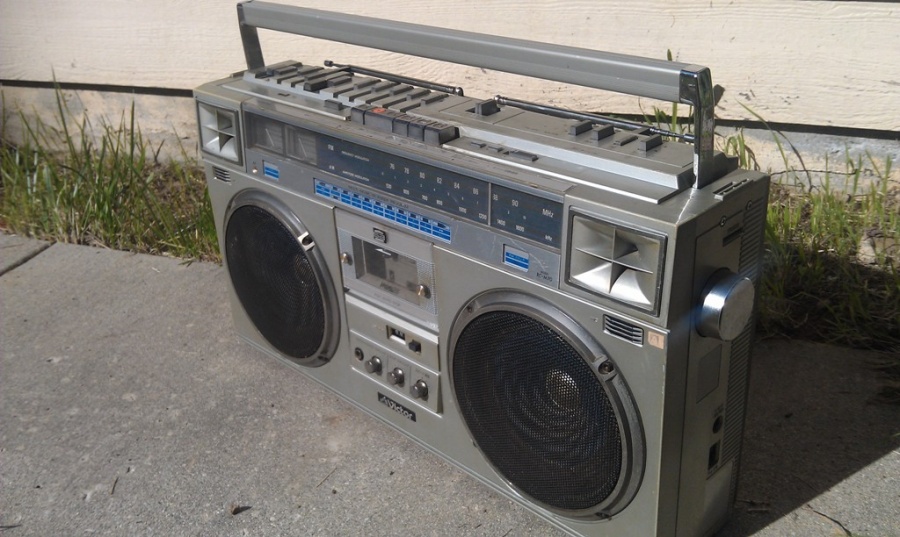
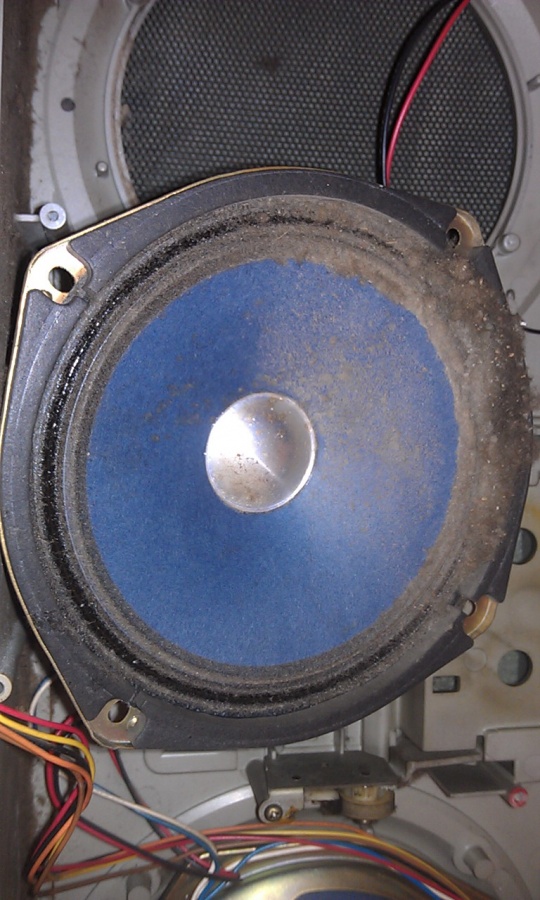
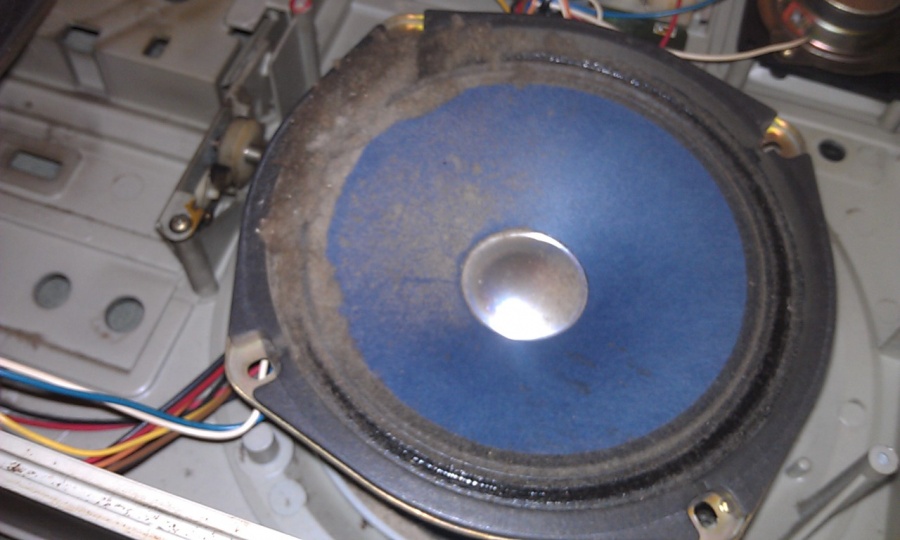
This radio came from a smokers house. It was covered inside and out in gooey smokers tar and instead of being silver it was a rust colored gold. I even checked the serial number to make sure it wasn‘t an M71, it was so “Golden“. The speakers had well over a ¼ inch of dust in them and inside the case was packed with dust bunnies.
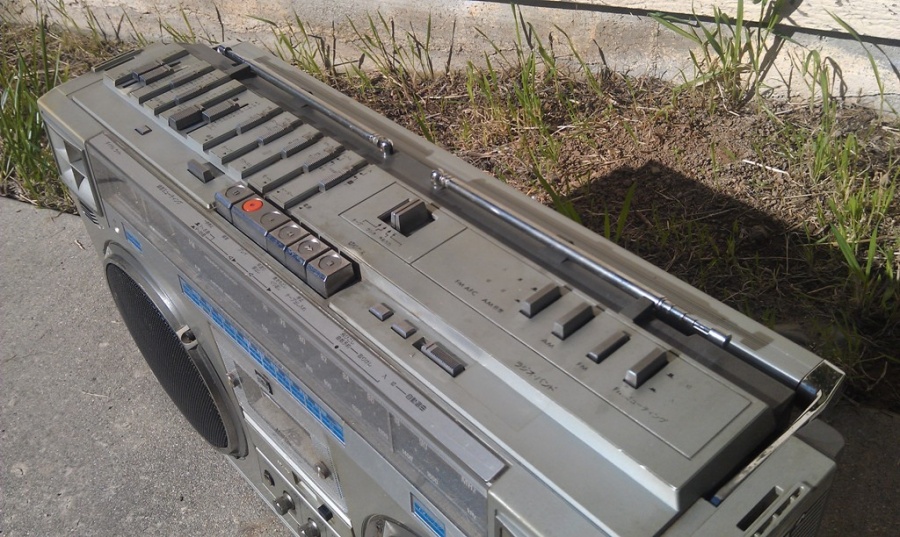
But she was complete. Original antenna’s (as best I can tell), battery door, blue speakers and all knobs, slides, bells and whistles.
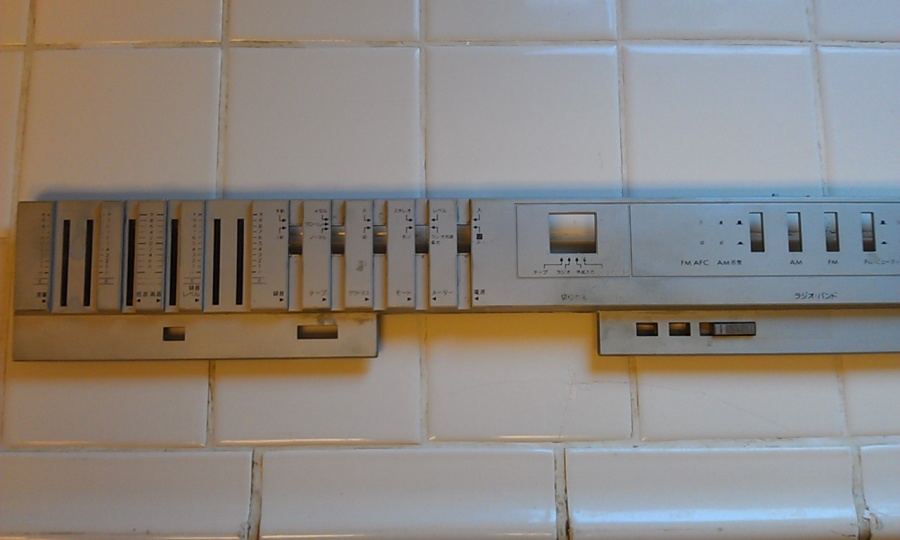
Remember this is a Japanese version, so 76 - 90 Mhz tuner, 100v, plus the extra knobs below the cassette deck.
I knew it was worn, but until I unwrapped it, I had no idea it was this bad. So, I knew the second I saw it, it was getting repainted.
I have been envious of many M70’s of various colors….how about one that IS various colors!
About a year ago I decided I wanted to do an Eddie Van Halen radio. I had already bought all the paint, primer, sand paper, basically everything I needed to do the job. But then got into moving and bringing the wife home and recording with the band and it just went on the back burner.
In the past I have done a few other EVH items. I did a cordless phone (which I still have….let me look for a picture!) and a table. But that was 20 years ago. I really wanted to step up my game on this one.
I have to say that after seeing Rick (Glucifer) do up the Taira, I wanted to do something SUPER flashy and over the top. I also wanted it to be 1980’s and very colorful. Even though this is not my original idea / design (like Rick’s) I am still very proud of the final out come.
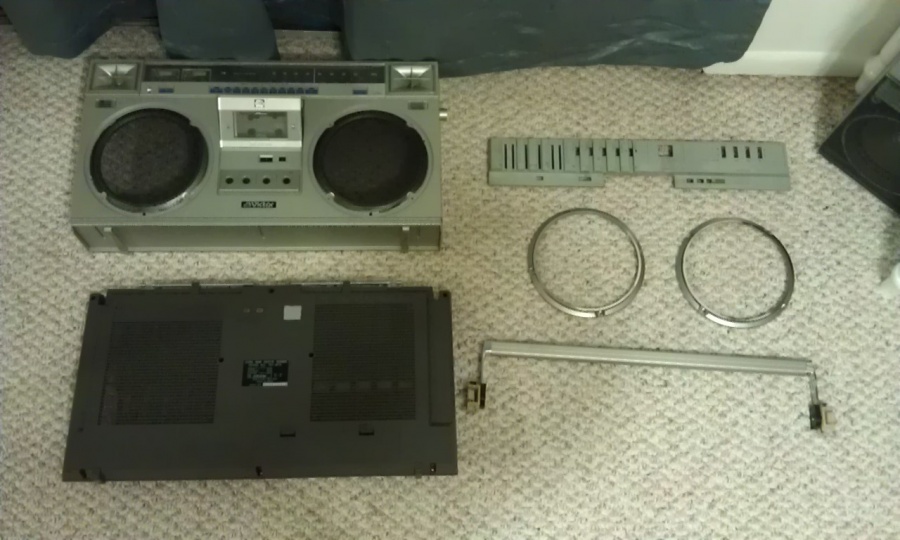
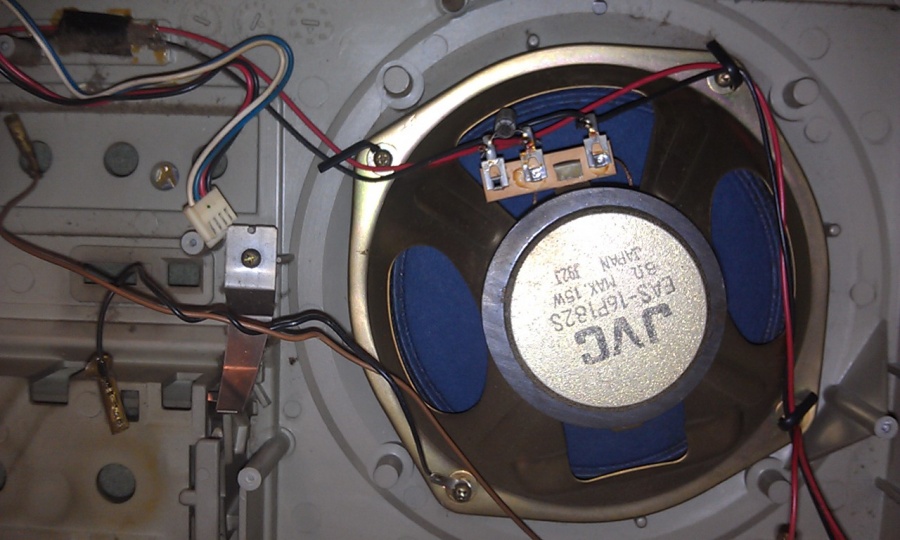
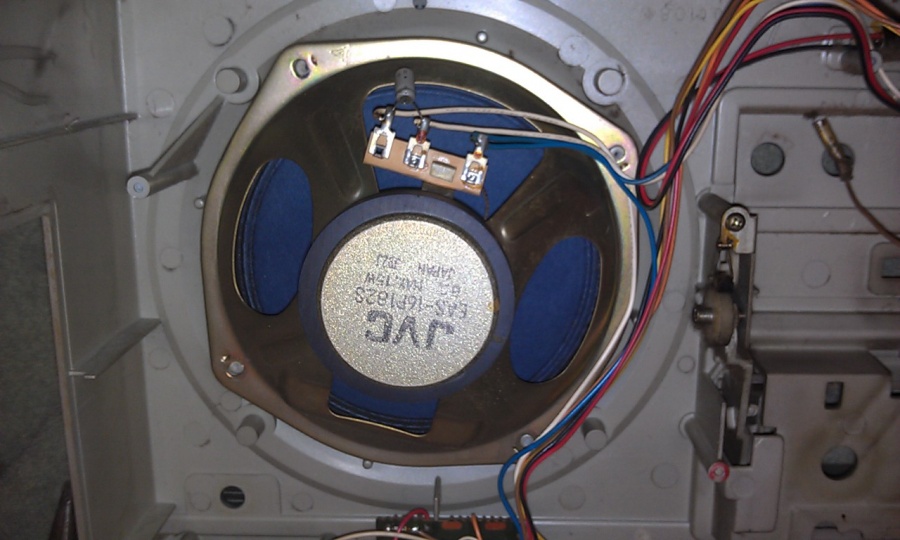
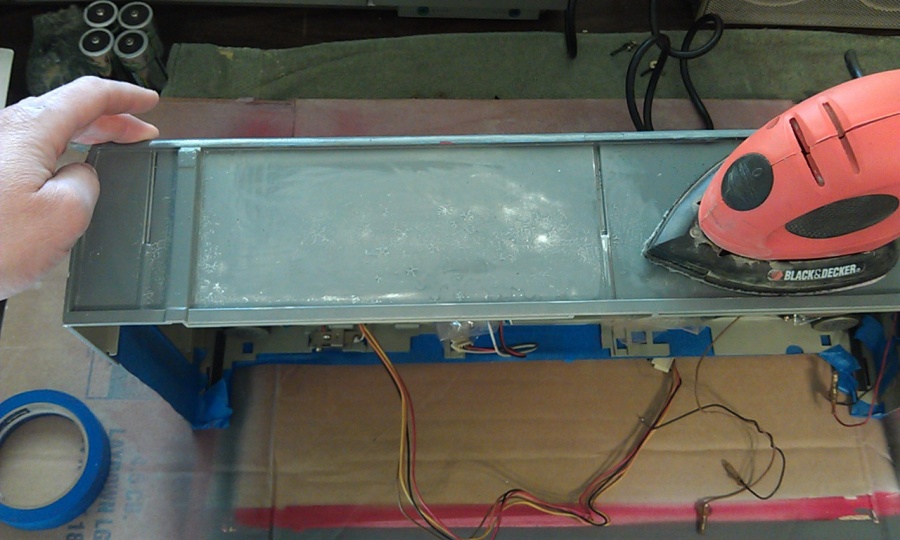
Much like any of these jobs, tear down and cleaning was paramount. This radio was so dirty inside and out that it was damn near impossible to get the smokers tar off it. I want to say THANK YOU to Superduper for providing me his M70 Tear Down Guide. Victor / JVC color code their screws which helps a great deal!
At first I thought about having a graphic printed of Eddie’s actual guitar and just stick that to the front of the radio and cut out holes for the speakers and what not. But his guitar is so trashed and I wasn’t sure if the idea would see it’s full potential once I cut the holes for the speakers. Then I found some EVH computer wall paper and thought I would just print a graphic of that.
But in the end, I realized the only real way to do this right was to paint it the way the guitar was painted.
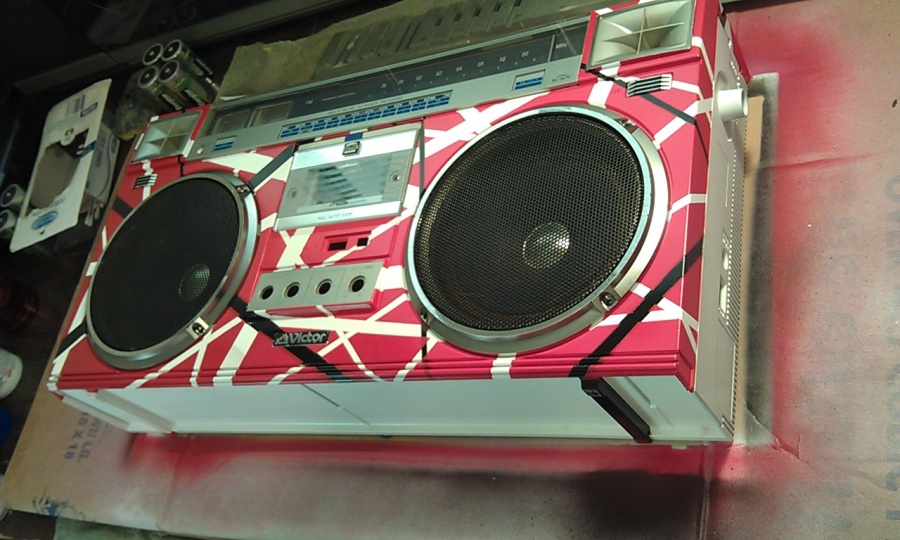
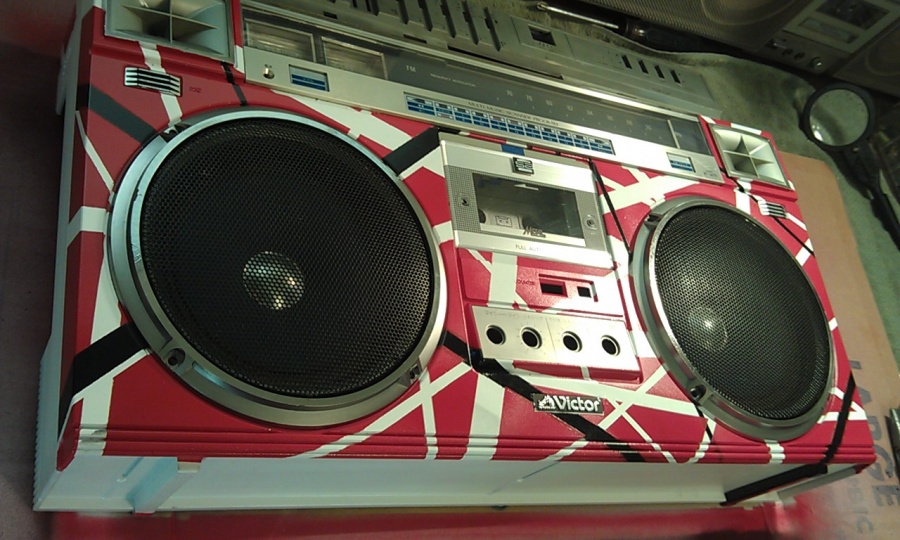
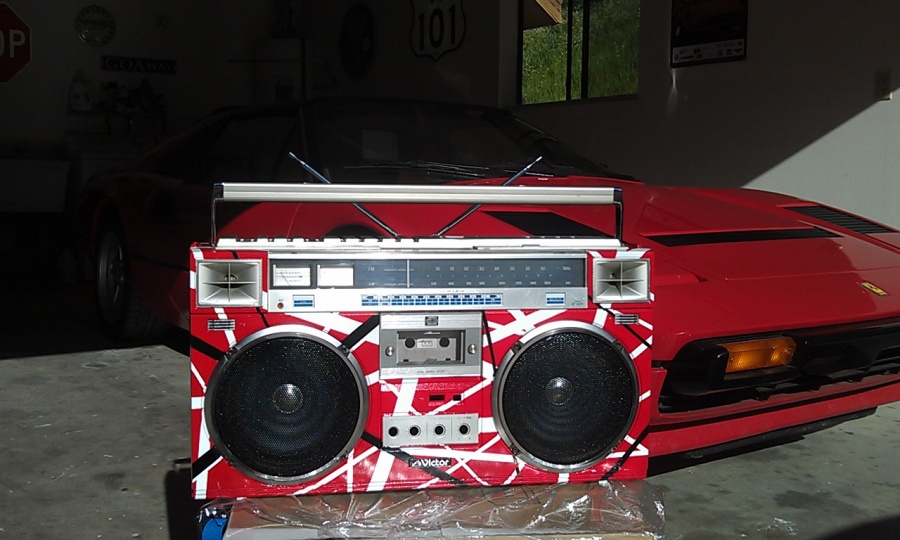
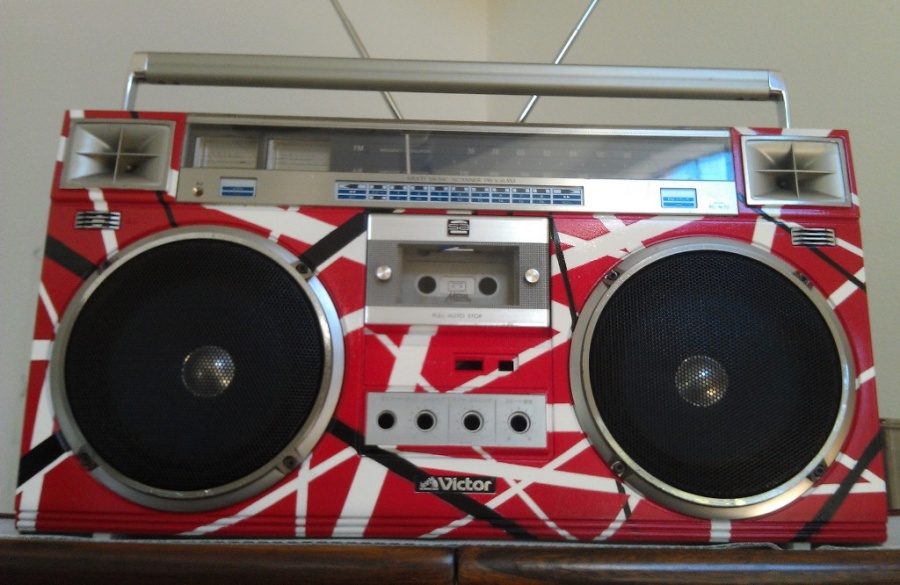
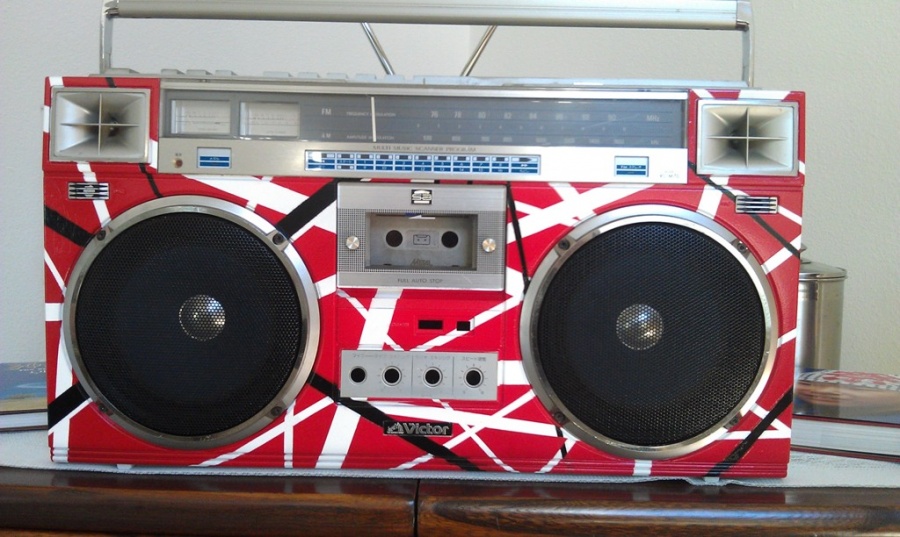
I did my best to take “Cues” from the original. If you look closely between the two, there are many parts of the original theme that have been incorporated.
So…..
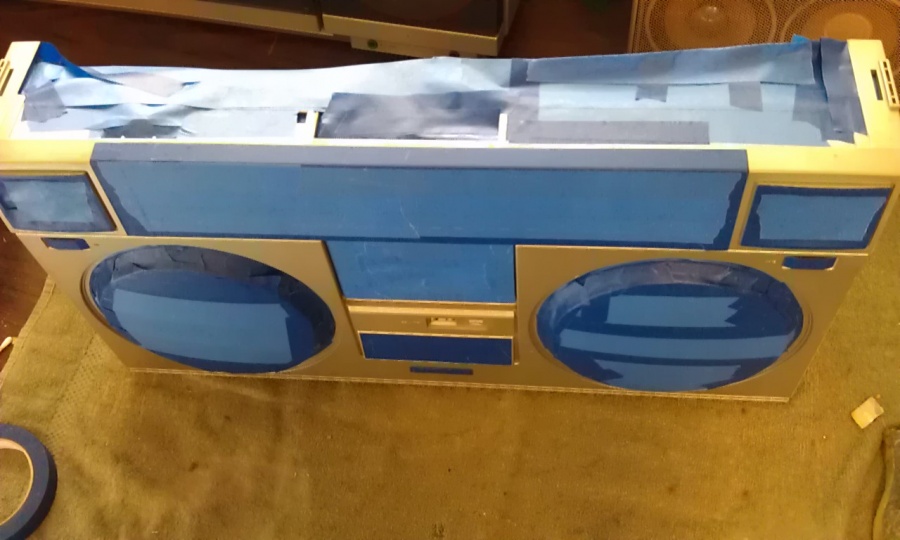
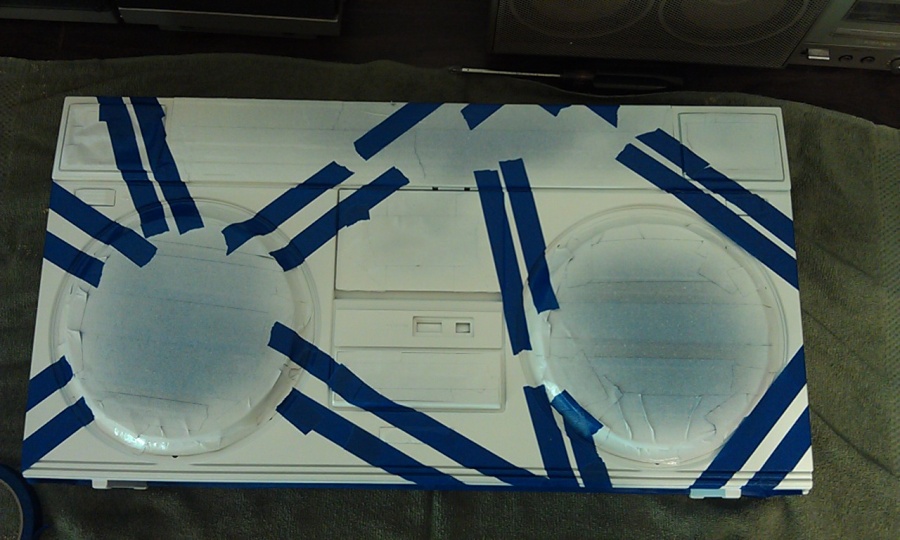
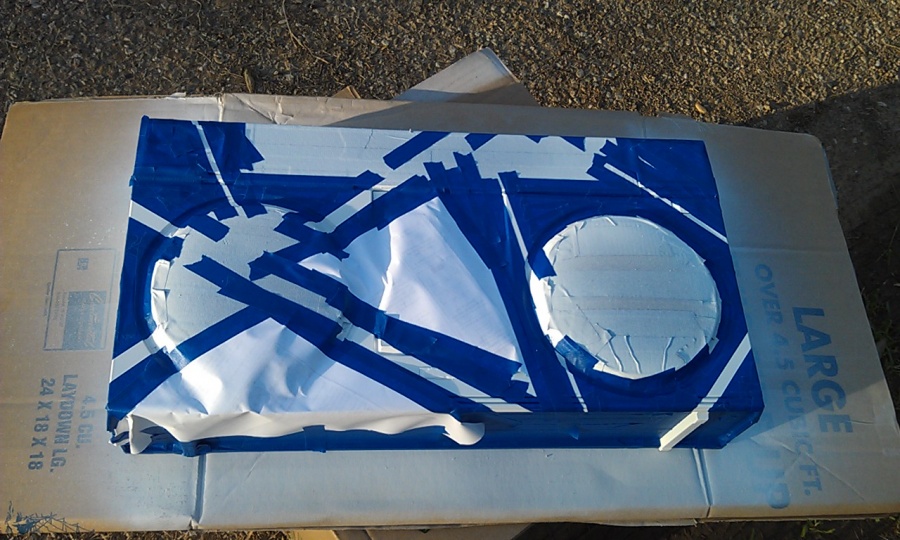
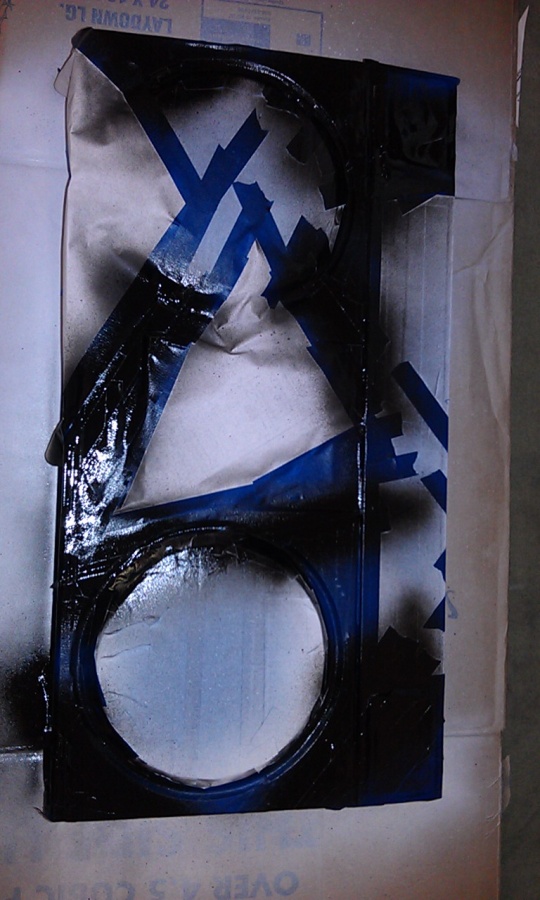
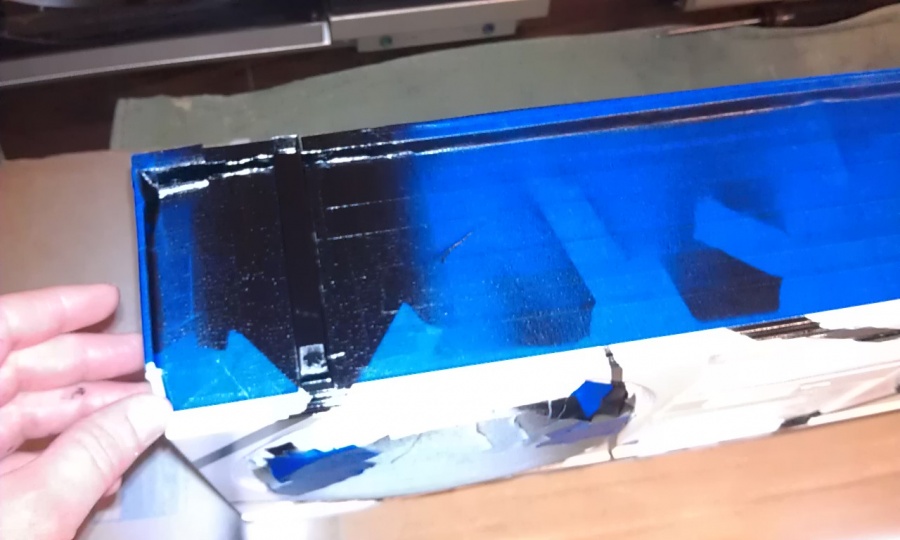
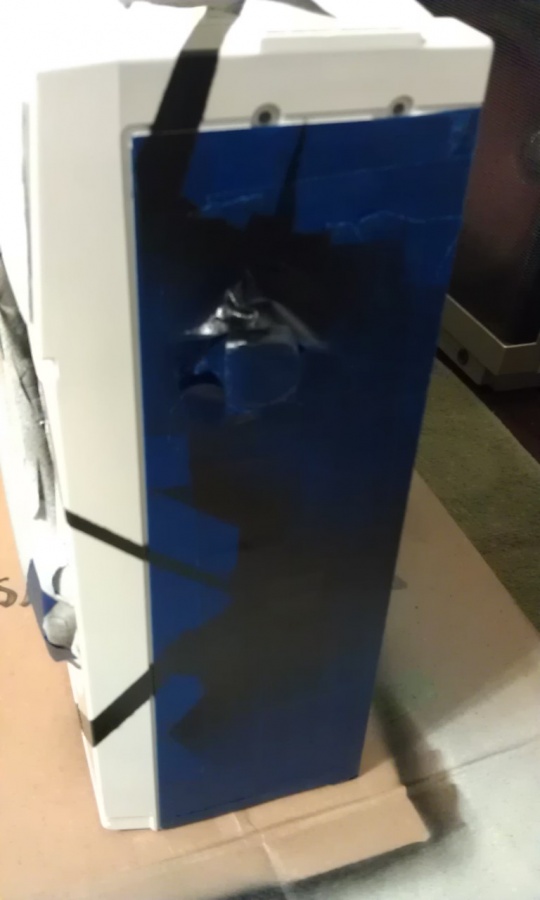
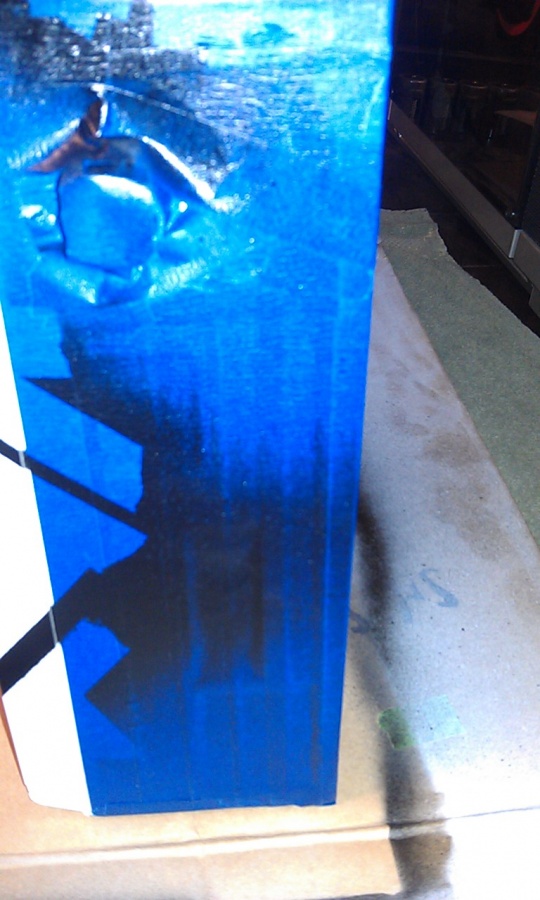
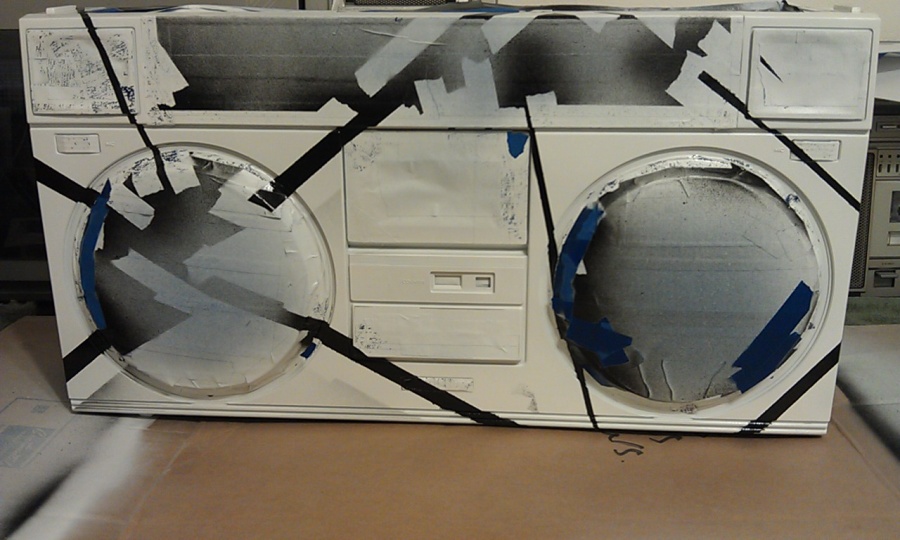
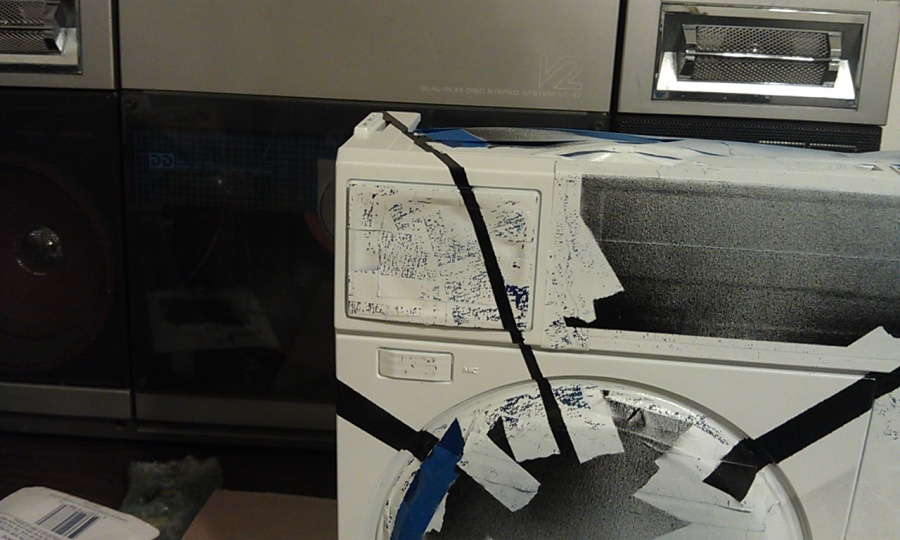
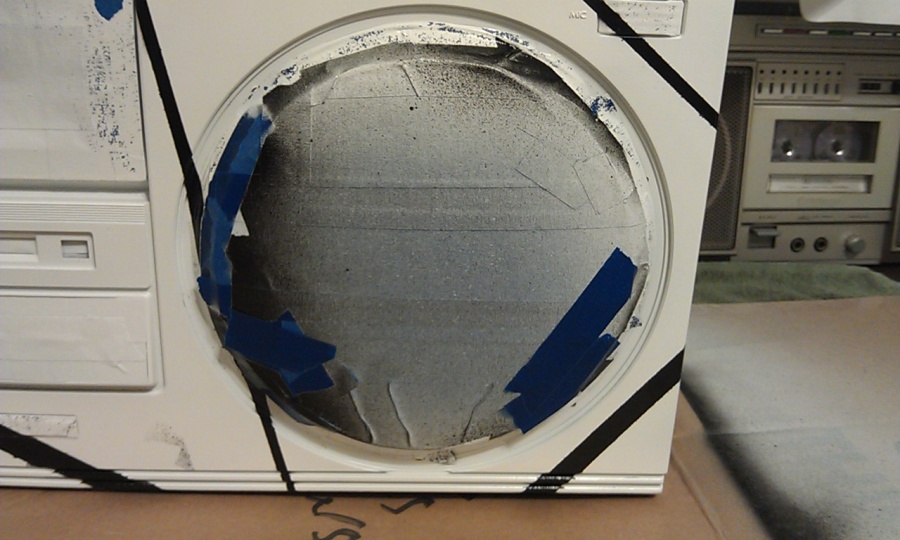
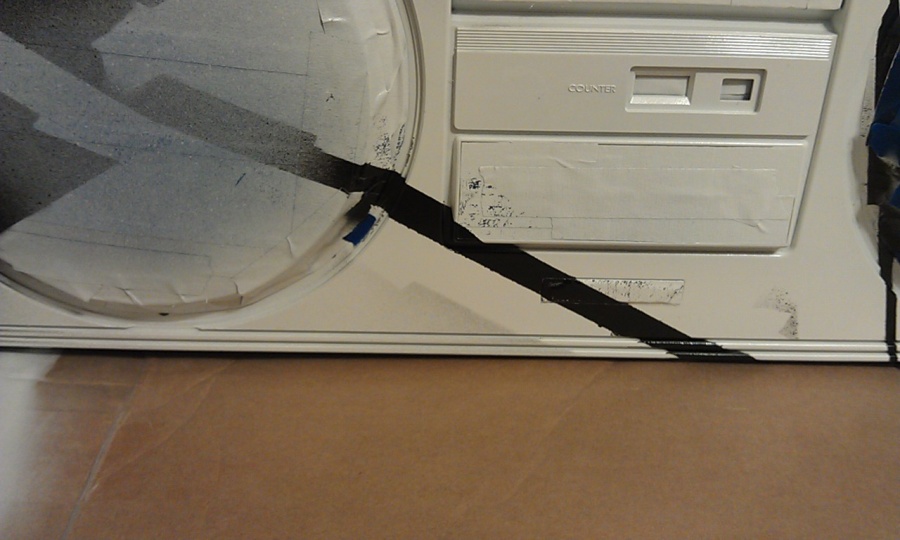
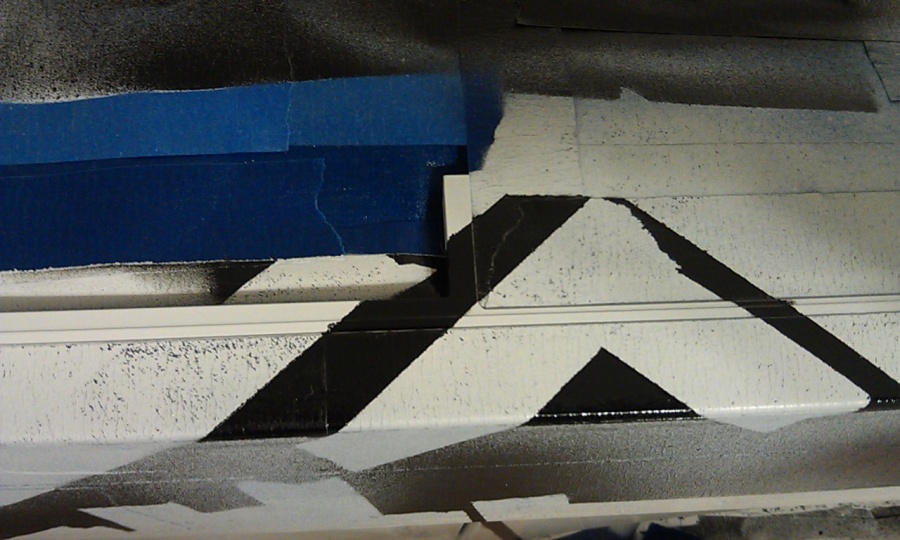
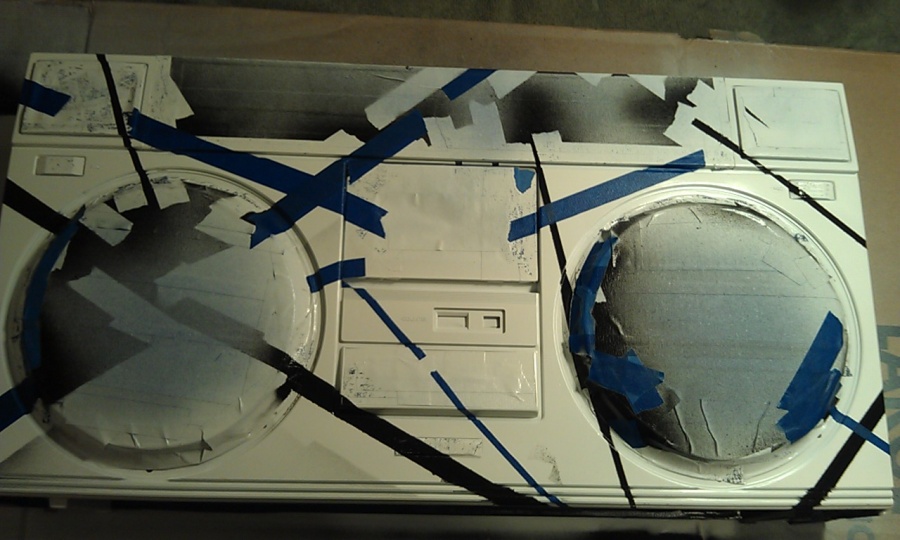
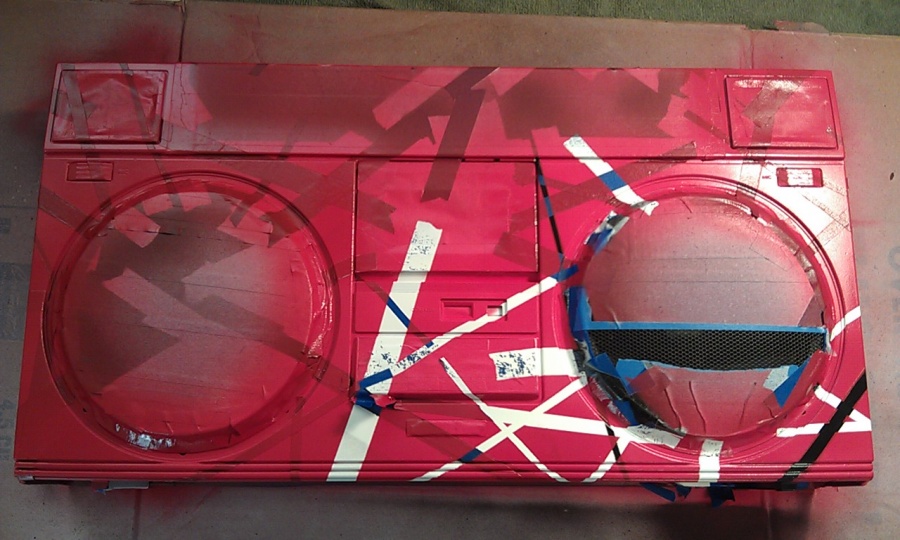
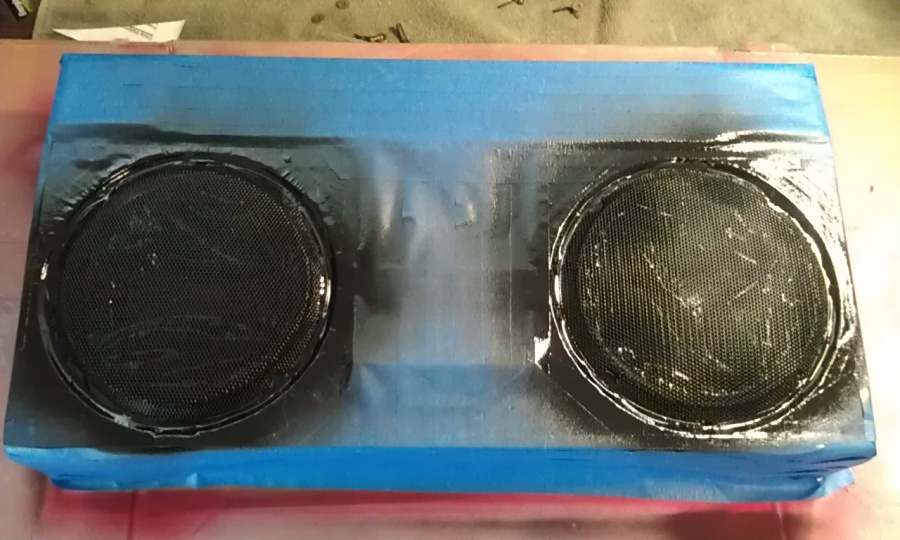
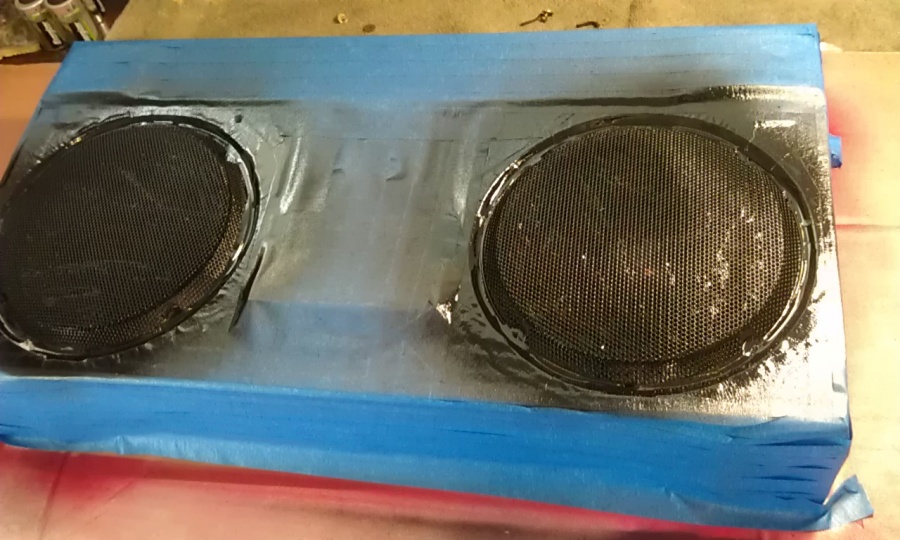
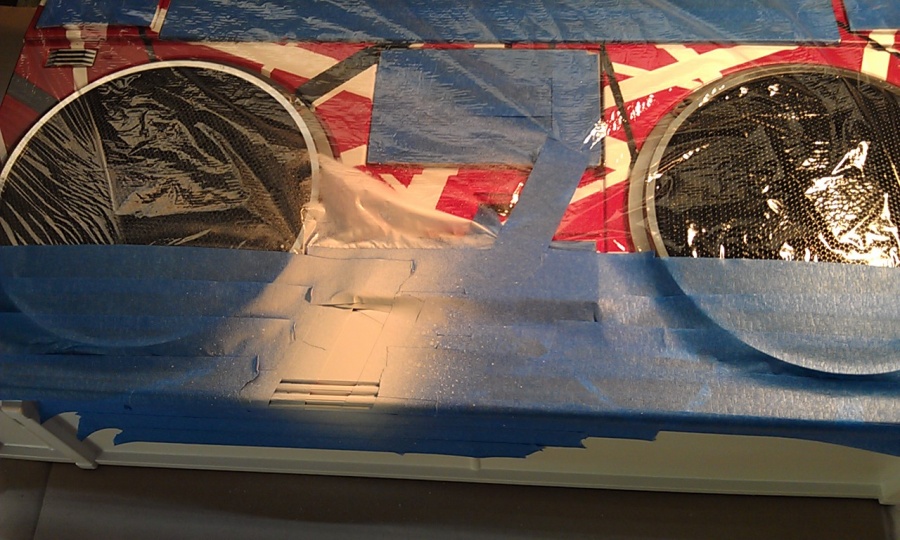
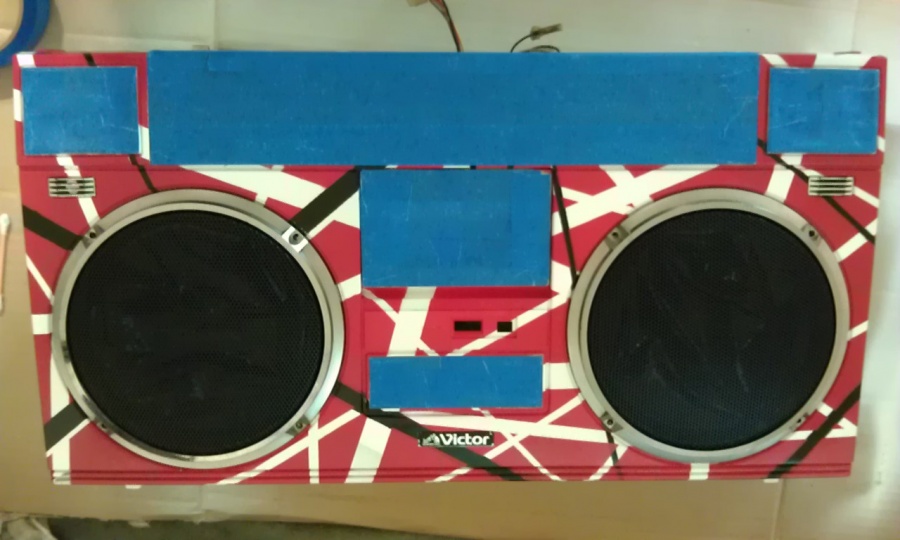
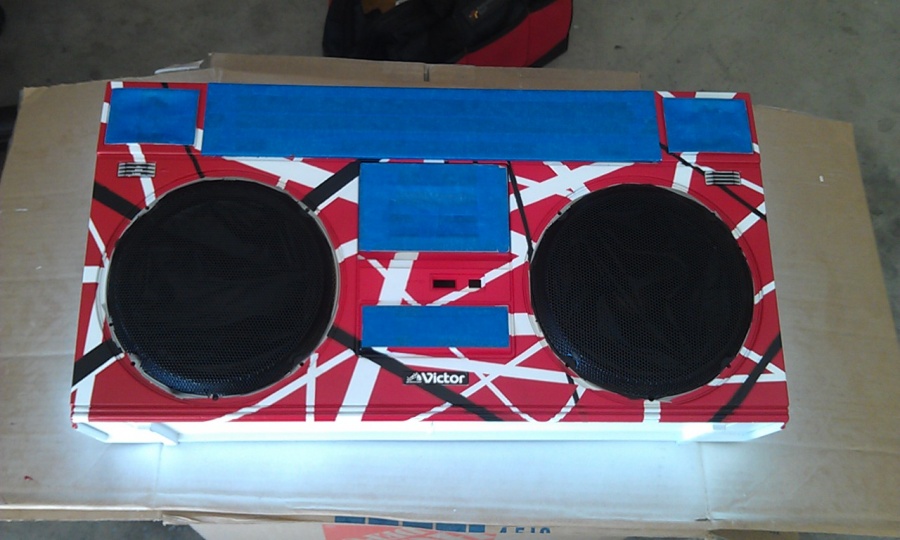
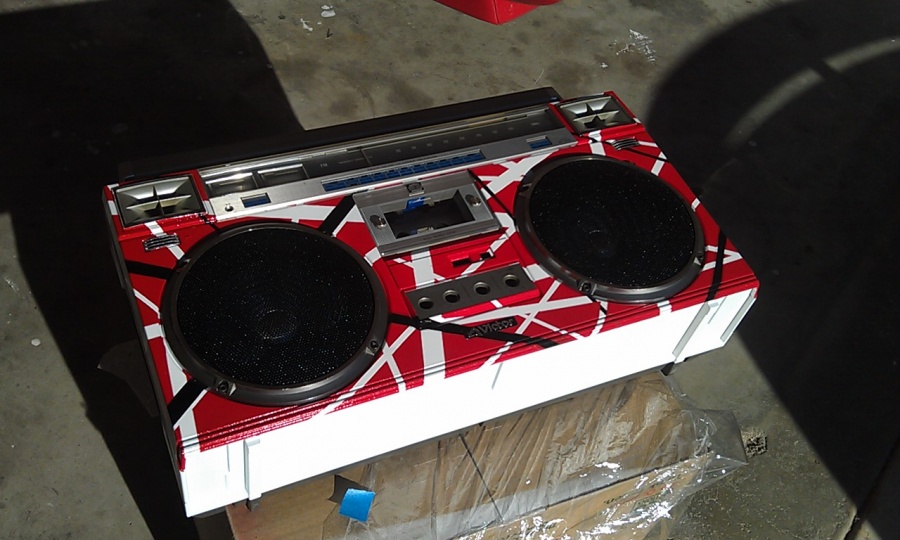
Once apart and cleaned, the real work began. I researched how Eddie painted his guitar, but that didn’t work for me. First he painted it Black, then White leaving some black stripes. I didn’t want to try to cover Black with White, so I painted the whole front of the radio White first. Then taped off the radio and painted Black stripes on it. Then taped it off again and did the red.
Even though that seems easy….it was far from it. This radio was taped, striped and taped again least 12-15 times. Some sections didn’t cover well and I couldn’t see it until it was untapped. There were problems that had to be retaped and repainted.
Believe it or not, the biggest problem I had was the White sides and bottom.
After the front was done I went back to paint the sides and bottom GREY. As I was painting outside and with paint can in hand spraying a cloud came overhead and as I looked up, there were clouds and mist coming down the hill into my back yard, the temperature dropped 5 degrees and as I looked down at the radio all the Grey paint egg shelled right in front of my eyes. It was all ruined.
I took it back inside, sanded it all down, cleaned it all with alcohol and sprayed it again. IT DID THE SAME THING! So I ditched the Grey paint and went back to White!
I stripped it again and repainted it yet again, it was going on fine, then my hand got hooked on the cardboard the radio was sitting on, causing my hand to sit still for a second and when it did, I sprayed a big GLOB on the side of the radio and it all ran down the side!
ARRRG!
I had to sand it all again and re-shoot again! This time was a success.
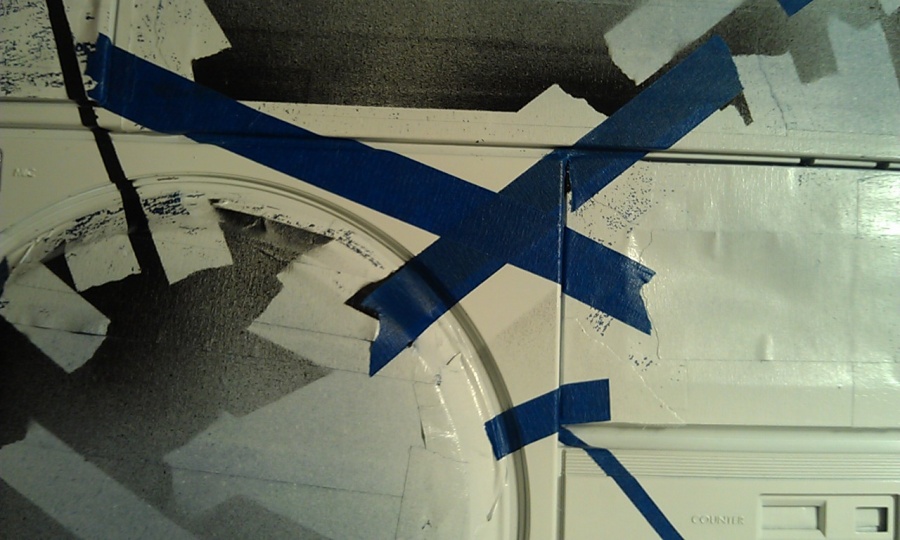
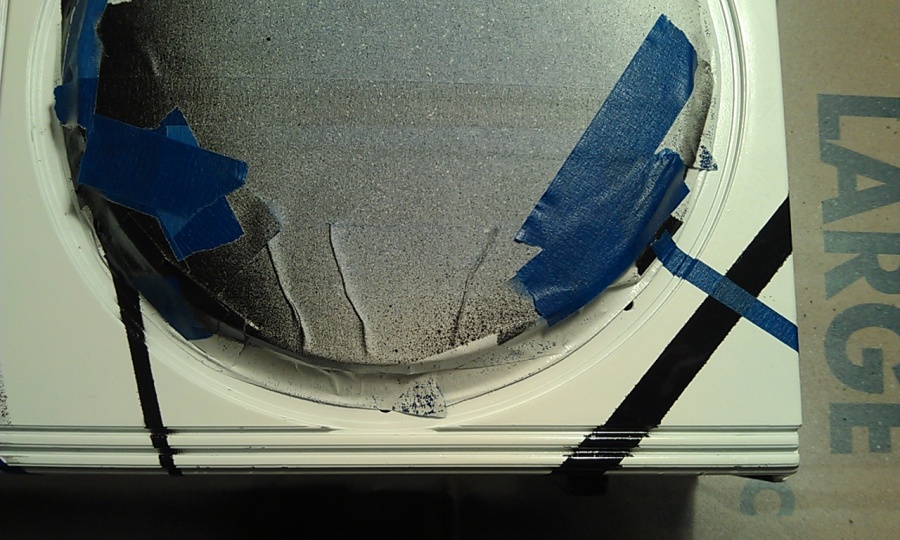
Now, as you can imagine, all these striped cross sections and all these area’s on 3 dimension was very hard to tape off. It took me 10 hours at least just in taping. I told myself at the beginning of this job that if I was going to do it, the strips would have to cross over some seriously troubled areas and that I would not try to avoid them, just take my time. I had to tape, tear it off and tape again. The area’s by the tape deck counter, around the woofers and tweeters were some of the worst. Also the area at the bottom of the radio.
Ultimately, 98% of it all came out great but I did have to go back and touch up many spots with a paint brush and a magnifying glass. That in it’s self took 5 plus hours.
Once the paint was done and it was cleaned yet again it was time for clear coat. She got 3 full coats of clear on all sides.
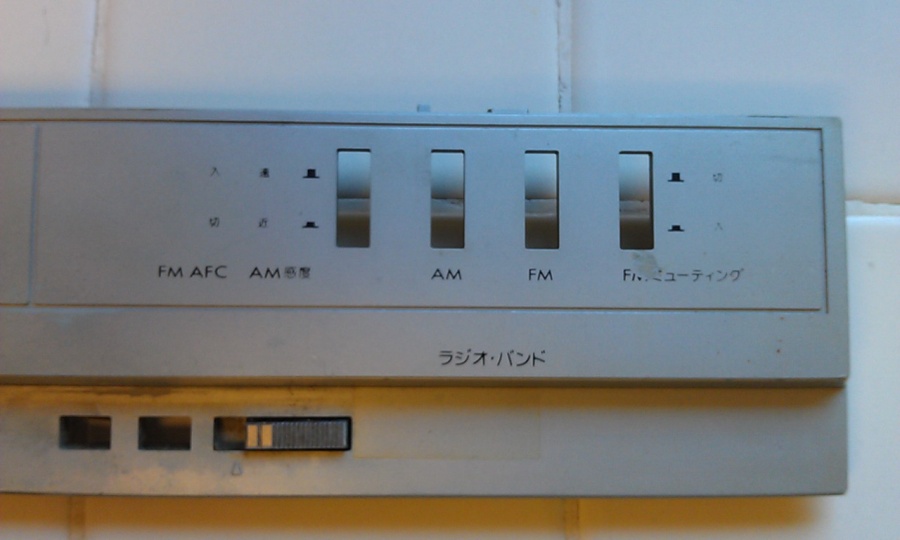
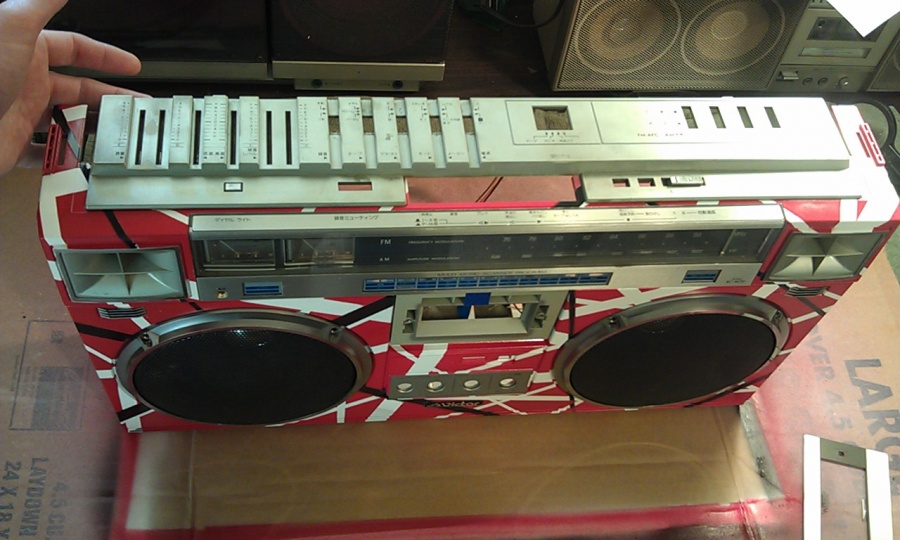
Thankfully all the trim, speaker rings and control knobs and sliders cleaned up well. The only drag is the top silver panel is VERY worn. If anyone has a good clean JAPANESE top panel PM me please.
So, after I sprayed the last coat of clear, I was wiped out from stress. It needed to cure for 30 minutes, So I thought I would go take a 30 minute power nap. I woke up to the sound of our gardener’s leaf blower! CRAP THE M70 IS IN THE GARAGE WITH THE DOOR OPEN! I hauled ass down stairs and THANKFULLY, no problems!
(These things can be so stressful)
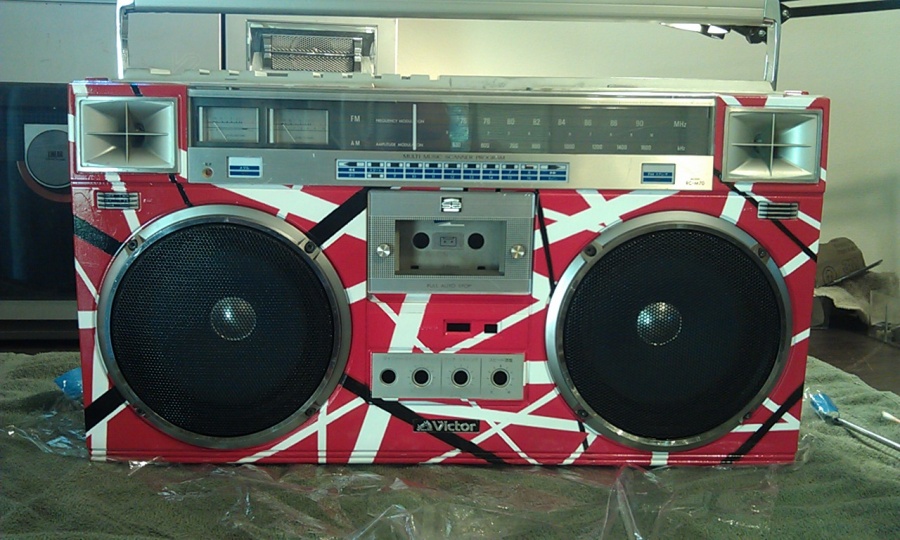
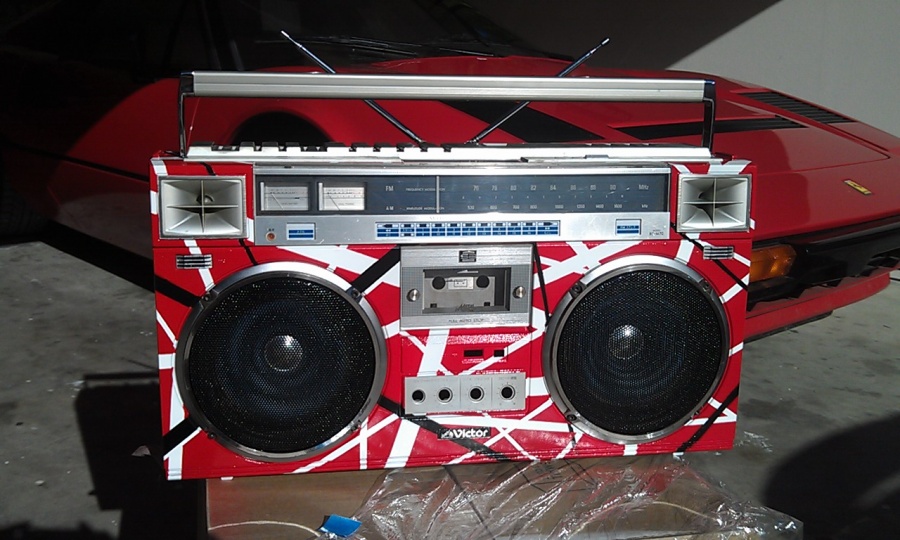
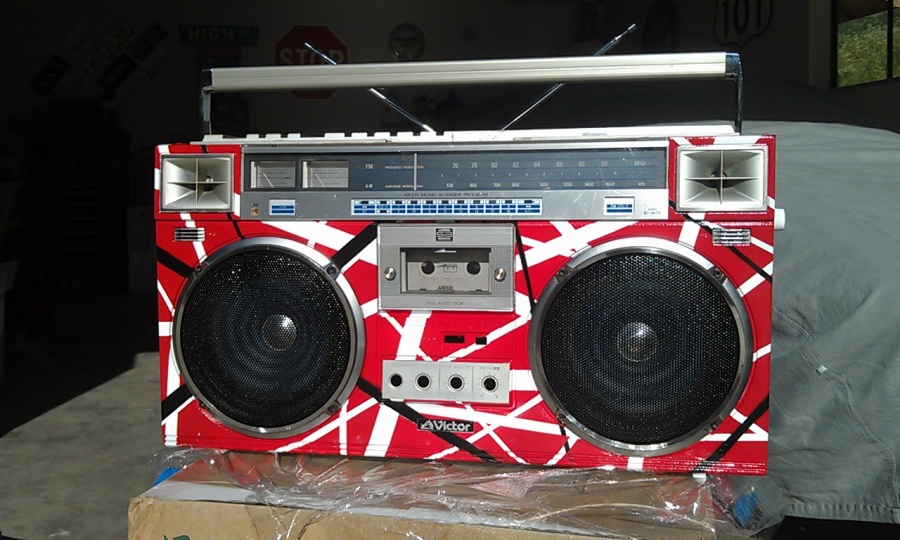
I cleaned the rear case, which ended up being in good shape after cleaning. Same with the handle, so I left them alone and remounted them up to the painted chassis for the pictures and video below.
I still have a few things to work on. She is going to get a deck rebelting and one of Superduper’s M70 lighting kits. I have already deoxit’d the controls. After all that, I will put her back together.
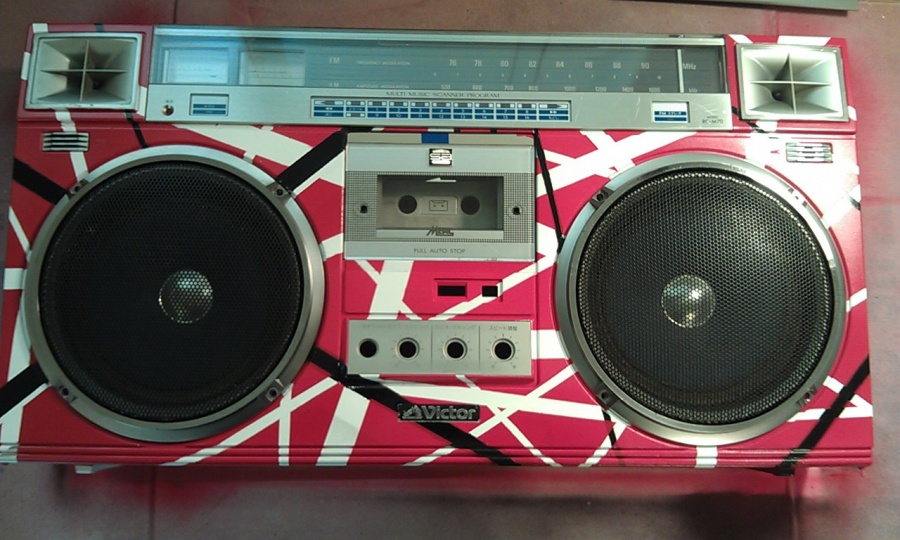
And there you have it….The EDDIE VAN HALEN TRIBUTE VICTOR M70
Don’t forget to check out the videos in high definition!











Part 1
https://www.youtube.com/watch?v=cgdfOuqOklg[/youtube]
Part 2
[youtube]Nh__AWtZUDQ
So….where to start….
I bought this M70 this past summer in Japan for close to nothing. It was a complete unit but about as worn out and filthy as any could be or any I have ever seen or worked on. The radio works and line in, the deck needs belts.
This radio came from a smokers house. It was covered inside and out in gooey smokers tar and instead of being silver it was a rust colored gold. I even checked the serial number to make sure it wasn‘t an M71, it was so “Golden“. The speakers had well over a ¼ inch of dust in them and inside the case was packed with dust bunnies.
But she was complete. Original antenna’s (as best I can tell), battery door, blue speakers and all knobs, slides, bells and whistles.
Remember this is a Japanese version, so 76 - 90 Mhz tuner, 100v, plus the extra knobs below the cassette deck.
I knew it was worn, but until I unwrapped it, I had no idea it was this bad. So, I knew the second I saw it, it was getting repainted.
I have been envious of many M70’s of various colors….how about one that IS various colors!
About a year ago I decided I wanted to do an Eddie Van Halen radio. I had already bought all the paint, primer, sand paper, basically everything I needed to do the job. But then got into moving and bringing the wife home and recording with the band and it just went on the back burner.
In the past I have done a few other EVH items. I did a cordless phone (which I still have….let me look for a picture!) and a table. But that was 20 years ago. I really wanted to step up my game on this one.
I have to say that after seeing Rick (Glucifer) do up the Taira, I wanted to do something SUPER flashy and over the top. I also wanted it to be 1980’s and very colorful. Even though this is not my original idea / design (like Rick’s) I am still very proud of the final out come.
Much like any of these jobs, tear down and cleaning was paramount. This radio was so dirty inside and out that it was damn near impossible to get the smokers tar off it. I want to say THANK YOU to Superduper for providing me his M70 Tear Down Guide. Victor / JVC color code their screws which helps a great deal!
At first I thought about having a graphic printed of Eddie’s actual guitar and just stick that to the front of the radio and cut out holes for the speakers and what not. But his guitar is so trashed and I wasn’t sure if the idea would see it’s full potential once I cut the holes for the speakers. Then I found some EVH computer wall paper and thought I would just print a graphic of that.
But in the end, I realized the only real way to do this right was to paint it the way the guitar was painted.
I did my best to take “Cues” from the original. If you look closely between the two, there are many parts of the original theme that have been incorporated.
So…..
Once apart and cleaned, the real work began. I researched how Eddie painted his guitar, but that didn’t work for me. First he painted it Black, then White leaving some black stripes. I didn’t want to try to cover Black with White, so I painted the whole front of the radio White first. Then taped off the radio and painted Black stripes on it. Then taped it off again and did the red.
Even though that seems easy….it was far from it. This radio was taped, striped and taped again least 12-15 times. Some sections didn’t cover well and I couldn’t see it until it was untapped. There were problems that had to be retaped and repainted.
Believe it or not, the biggest problem I had was the White sides and bottom.
After the front was done I went back to paint the sides and bottom GREY. As I was painting outside and with paint can in hand spraying a cloud came overhead and as I looked up, there were clouds and mist coming down the hill into my back yard, the temperature dropped 5 degrees and as I looked down at the radio all the Grey paint egg shelled right in front of my eyes. It was all ruined.
I took it back inside, sanded it all down, cleaned it all with alcohol and sprayed it again. IT DID THE SAME THING! So I ditched the Grey paint and went back to White!
I stripped it again and repainted it yet again, it was going on fine, then my hand got hooked on the cardboard the radio was sitting on, causing my hand to sit still for a second and when it did, I sprayed a big GLOB on the side of the radio and it all ran down the side!
ARRRG!
I had to sand it all again and re-shoot again! This time was a success.
Now, as you can imagine, all these striped cross sections and all these area’s on 3 dimension was very hard to tape off. It took me 10 hours at least just in taping. I told myself at the beginning of this job that if I was going to do it, the strips would have to cross over some seriously troubled areas and that I would not try to avoid them, just take my time. I had to tape, tear it off and tape again. The area’s by the tape deck counter, around the woofers and tweeters were some of the worst. Also the area at the bottom of the radio.
Ultimately, 98% of it all came out great but I did have to go back and touch up many spots with a paint brush and a magnifying glass. That in it’s self took 5 plus hours.
Once the paint was done and it was cleaned yet again it was time for clear coat. She got 3 full coats of clear on all sides.
Thankfully all the trim, speaker rings and control knobs and sliders cleaned up well. The only drag is the top silver panel is VERY worn. If anyone has a good clean JAPANESE top panel PM me please.
So, after I sprayed the last coat of clear, I was wiped out from stress. It needed to cure for 30 minutes, So I thought I would go take a 30 minute power nap. I woke up to the sound of our gardener’s leaf blower! CRAP THE M70 IS IN THE GARAGE WITH THE DOOR OPEN! I hauled ass down stairs and THANKFULLY, no problems!
(These things can be so stressful)
I cleaned the rear case, which ended up being in good shape after cleaning. Same with the handle, so I left them alone and remounted them up to the painted chassis for the pictures and video below.
I still have a few things to work on. She is going to get a deck rebelting and one of Superduper’s M70 lighting kits. I have already deoxit’d the controls. After all that, I will put her back together.
And there you have it….The EDDIE VAN HALEN TRIBUTE VICTOR M70
Don’t forget to check out the videos in high definition!


Part 1
https://www.youtube.com/watch?v=cgdfOuqOklg[/youtube]
Part 2
[youtube]Nh__AWtZUDQ


 Van Halen is tops and now you got a beautiful M70 tributing to the greatest band