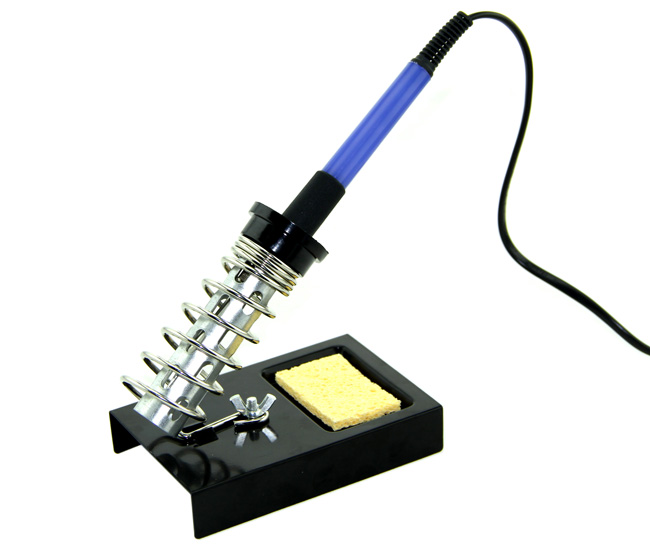
Well, I thought, there's no time like the present so today I decided to take a BIG step.
I'd once confided in a friend about this and she said: "If you're going to do it, take precautions, don't rush and don't get yourself too excited too soon because the first time will be an experience you'll remember forever.........and don't be embarrassed because it's your fist time!"
Here's the story (so far) with pictures to make the thread nice and pretty:
All is revealed, minor panic sets in at what I've gotten myself into:
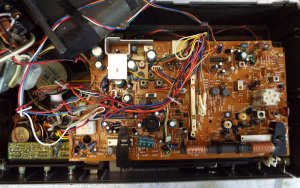
All the parts were well connected and I found it awkward to remove the components individually so they all came out together after a bit of juggling things around. The nightmare scenario going through my mind at this point is "Just how do I get all this back together again???":
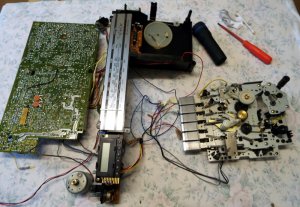
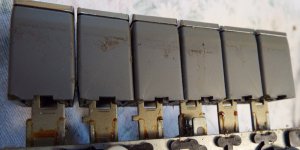
Then I found out that these 'things' can be unplugged/disconnected to make life easier - another thing I learned today!:
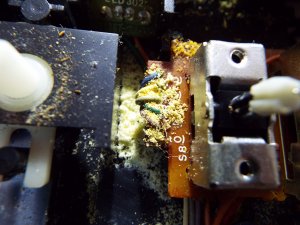
I even found some 'powdered egg' which was a surprise although it'll not be scrambled for my toast! Can anyone explain this to me?
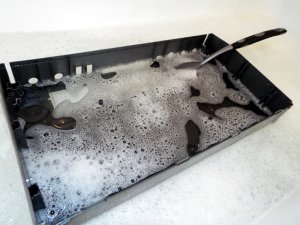
After removing the well preserved corpse of an unidentifiable, ancient beastie it was into the bath with the front casing:
Horrors found include a broken post, a speaker wire that had detached, a scratch on the tuning window and 'toffee' for lubricant in the tape deck!:
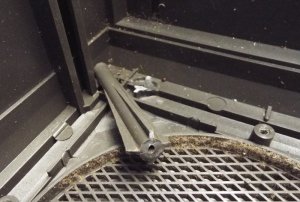
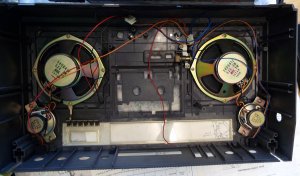
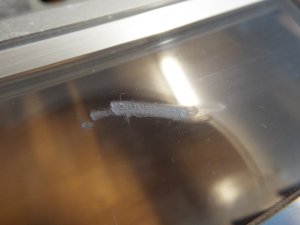
Using the hints, tips and info from other threads & posts on the forum I polished out the tuning window thread. The picture is a little generous of the portrayal of the end result but it's still a vast improvement:
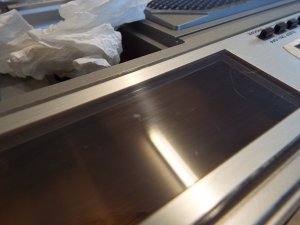
I cleaned off most of the historical 'toffee'/congealed lubricant and the used Servisol Super 10 to tease out the rest of the gunk and now the mechanism works fine, prior to this it was like trying to force a golf ball down a garden hose full of toffee when pressing the buttons!
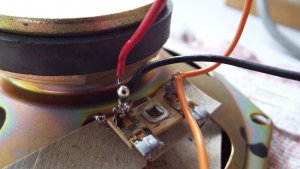
Next it was time to tackle the wandering speaker wire - dear me, something else I'd never had to do before! So, I watched a couple of YouTube videos, obtained the kit, did a test run, checked the wiring diagram as to where the wire should go, did another test run just to be sure then referred back to the wiring diagram 'cos I'd already forgotten that bit........... Anyway, here's the result. I'll not win any awards for the end result BUT it is a first time - and the wire has stayed connected "WooHooooo!!!
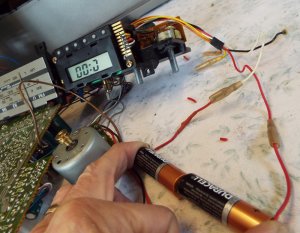
Hitachi quartz clocks on radios don't often stand the test of time, this one is no exception. I know it's battery operated so there must be a '+' and a '-' into the clock to power it, after checking the wiring diagram (I'm getting good at this, eh?!) I held the wires and batteries together by hand and found the clock only has a partial display as part(s) of the LED have failed(?). Never mind, it's not yet the end of finding a replacement in time.
This is as far as I've got at this time but I'll carry on with a little more confidence from hereon in. I've always been fairly good at practical things but the intricacies of the electrickery aspects, details of PWB's and other specialist technical wizardry will always elude me. Next I'll be repairing the post and I'll be posting on this soon. (See what I did there, eh? 'posting' - HA!)
So far, the most anxious aspect has been the thought of how to put it all back together because there's little room for manoeuvre within the casing and many of the intricate & complex wiring paths were made very short and tight at the assembly point by small, nimble fingered hands belonging to experts at their craft but I'm sure I'll get there in time!
Thanks for the time in reading this, the only thing to add is that it's been fun in a strange kind of way!
I'd once confided in a friend about this and she said: "If you're going to do it, take precautions, don't rush and don't get yourself too excited too soon because the first time will be an experience you'll remember forever.........and don't be embarrassed because it's your fist time!"
Here's the story (so far) with pictures to make the thread nice and pretty:
All is revealed, minor panic sets in at what I've gotten myself into:

All the parts were well connected and I found it awkward to remove the components individually so they all came out together after a bit of juggling things around. The nightmare scenario going through my mind at this point is "Just how do I get all this back together again???":

Then I found out that these 'things' can be unplugged/disconnected to make life easier - another thing I learned today!:

I even found some 'powdered egg' which was a surprise although it'll not be scrambled for my toast! Can anyone explain this to me?

After removing the well preserved corpse of an unidentifiable, ancient beastie it was into the bath with the front casing:

Horrors found include a broken post, a speaker wire that had detached, a scratch on the tuning window and 'toffee' for lubricant in the tape deck!:


Using the hints, tips and info from other threads & posts on the forum I polished out the tuning window thread. The picture is a little generous of the portrayal of the end result but it's still a vast improvement:

I cleaned off most of the historical 'toffee'/congealed lubricant and the used Servisol Super 10 to tease out the rest of the gunk and now the mechanism works fine, prior to this it was like trying to force a golf ball down a garden hose full of toffee when pressing the buttons!
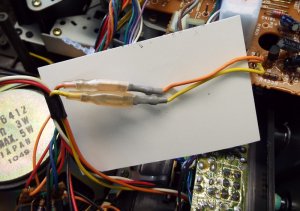
Next it was time to tackle the wandering speaker wire - dear me, something else I'd never had to do before! So, I watched a couple of YouTube videos, obtained the kit, did a test run, checked the wiring diagram as to where the wire should go, did another test run just to be sure then referred back to the wiring diagram 'cos I'd already forgotten that bit........... Anyway, here's the result. I'll not win any awards for the end result BUT it is a first time - and the wire has stayed connected "WooHooooo!!!

Hitachi quartz clocks on radios don't often stand the test of time, this one is no exception. I know it's battery operated so there must be a '+' and a '-' into the clock to power it, after checking the wiring diagram (I'm getting good at this, eh?!) I held the wires and batteries together by hand and found the clock only has a partial display as part(s) of the LED have failed(?). Never mind, it's not yet the end of finding a replacement in time.

This is as far as I've got at this time but I'll carry on with a little more confidence from hereon in. I've always been fairly good at practical things but the intricacies of the electrickery aspects, details of PWB's and other specialist technical wizardry will always elude me. Next I'll be repairing the post and I'll be posting on this soon. (See what I did there, eh? 'posting' - HA!)
So far, the most anxious aspect has been the thought of how to put it all back together because there's little room for manoeuvre within the casing and many of the intricate & complex wiring paths were made very short and tight at the assembly point by small, nimble fingered hands belonging to experts at their craft but I'm sure I'll get there in time!
Thanks for the time in reading this, the only thing to add is that it's been fun in a strange kind of way!


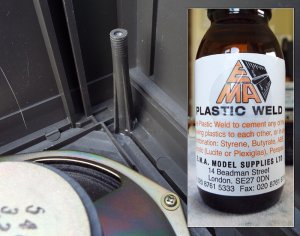


 (Another not-to-be-forgotten lesson learned!)
 ...or buy something like this:
