Guess what this is?(One way to repair a busted power switch)
- Thread starter Master Z
- Start date
You are using an out of date browser. It may not display this or other websites correctly.
You should upgrade or use an alternative browser.
You should upgrade or use an alternative browser.
- Status
- Not open for further replies.
MONOLITHIC
No Longer Active
If I took my Toyota apart, I'd confirm it, but it looks like a broken power switch to one of the big boy Sharp boxes. 
If that is indeed the case, then that's definitely NOT good!

If that is indeed the case, then that's definitely NOT good!

Mono, You nailed it its the power switch to my GF-777. 
While cleaning the pots, and the inside of the case I figured I'd see what was up with the loose power switch. When I first got the box it was loose but it worked. Well I disassembled it and out flies one of the little tits that it pivots on. Thats what was origanally broke I guess. I take it out, fix it with some epoxy put it back in and the the other one snaps off! :annoyed: Great.
I took a look at it and figured the best route would be a removable pin that goes all the way through.
At first I was thinking of ways to drill or punch holes in the part, but that would cause a lot of stress on these small fragile parts. so I CAREFULLY used a heated pin to melt through it, and it worked like a charm after a couple hours of f@cking around with less succesful methods of heating the pin then applying it to the part. The key is to heat wile the pin is on the part. It was smooth as butter.
Tools and parts needed to do this:
- Needle nose pliers
- Heat or flame source
- A steel tack or pin.
- Beer
- Some steel wire to fashion a pivot pin
- Gloves
- A third hand
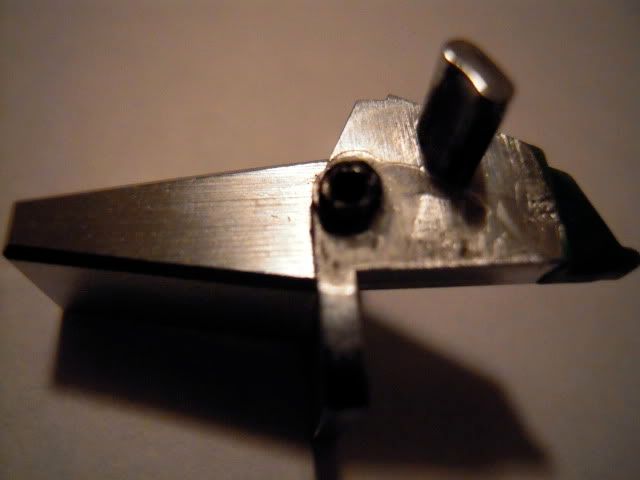
It would have helped to have someone or a third hand holding a flame ,but I used a candle while holding the part in one hand and the needle nose pliers and the pin in the other. Place the pliers in the middle of the pin letting you have a spot to heat up near the end.(see charred end of pin.) and the pointed end where you want the hole.
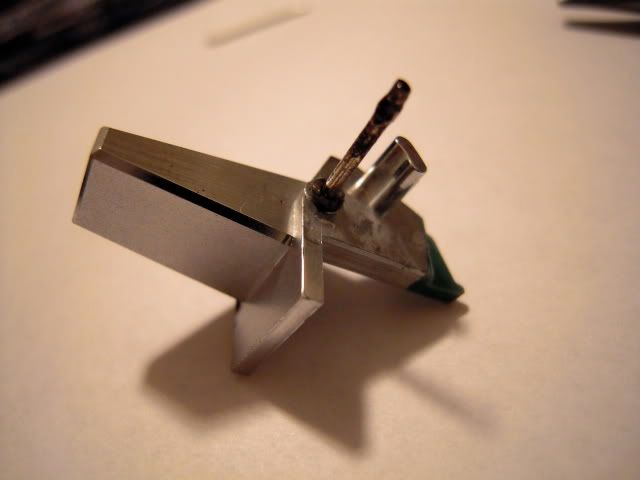
This side was a bit more difficult, because there isn't as much material so be extra careful.
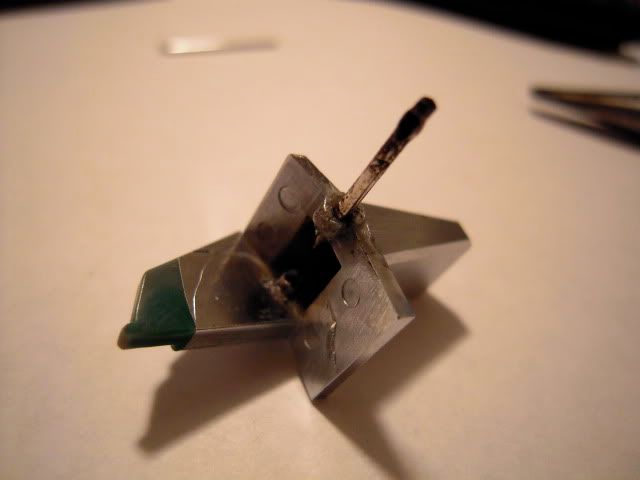
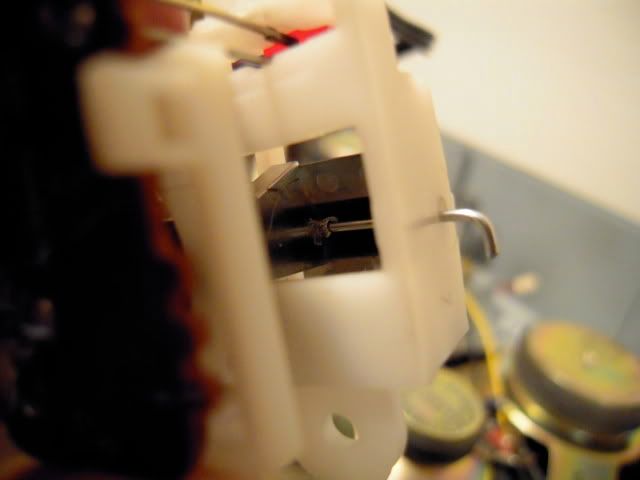
Hole all the way through. Aww yeah!
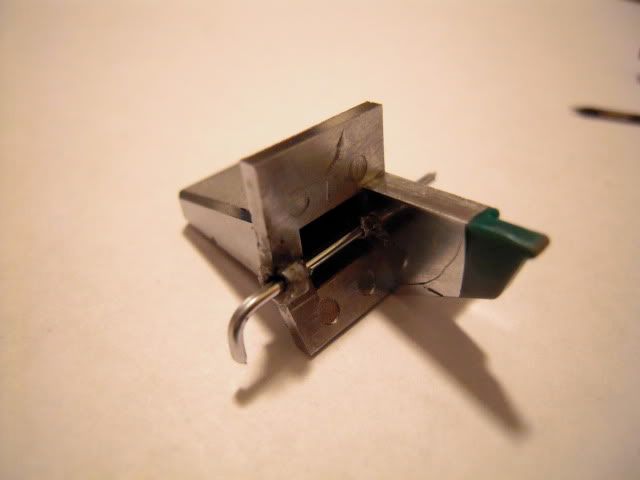
Installed back in the housing. works perfect and can be taken out without fear of busting off the tits!
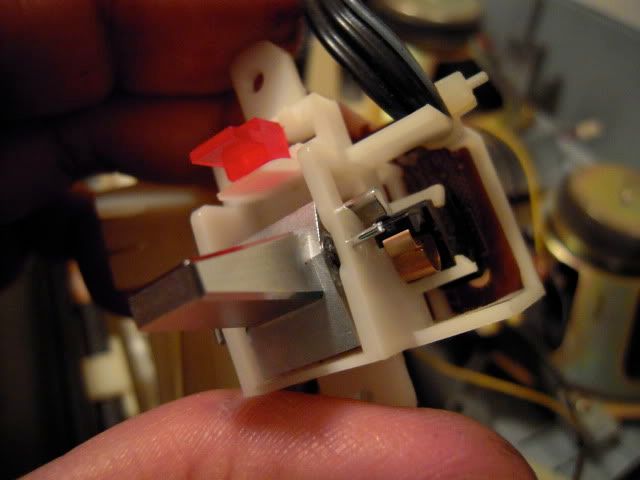
Back veiw
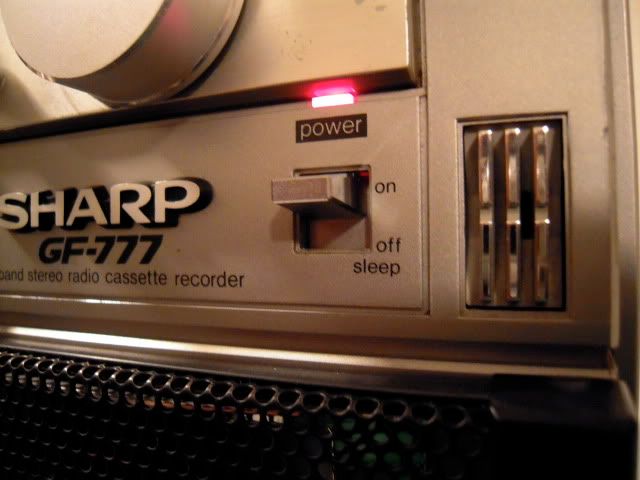
Back in action teaser shot!
More to come on the $100 grail challange........


While cleaning the pots, and the inside of the case I figured I'd see what was up with the loose power switch. When I first got the box it was loose but it worked. Well I disassembled it and out flies one of the little tits that it pivots on. Thats what was origanally broke I guess. I take it out, fix it with some epoxy put it back in and the the other one snaps off! :annoyed: Great.
I took a look at it and figured the best route would be a removable pin that goes all the way through.
At first I was thinking of ways to drill or punch holes in the part, but that would cause a lot of stress on these small fragile parts. so I CAREFULLY used a heated pin to melt through it, and it worked like a charm after a couple hours of f@cking around with less succesful methods of heating the pin then applying it to the part. The key is to heat wile the pin is on the part. It was smooth as butter.
Tools and parts needed to do this:
- Needle nose pliers
- Heat or flame source
- A steel tack or pin.
- Beer
- Some steel wire to fashion a pivot pin
- Gloves
- A third hand


It would have helped to have someone or a third hand holding a flame ,but I used a candle while holding the part in one hand and the needle nose pliers and the pin in the other. Place the pliers in the middle of the pin letting you have a spot to heat up near the end.(see charred end of pin.) and the pointed end where you want the hole.

This side was a bit more difficult, because there isn't as much material so be extra careful.

Hole all the way through. Aww yeah!


Installed back in the housing. works perfect and can be taken out without fear of busting off the tits!


Back veiw

Back in action teaser shot!

More to come on the $100 grail challange........

The pesky power switches on those darn JVC RC-838's are the same way. I fixed mine by carefully drilling it out and installing a roll pin. The drill was carefully chosen to be exact same size (maybe a tad smaller) than the roll pin, and pressing it in.
skippy1969
Boomus Fidelis
"no fit like a press fit"
 It was as tight as...(insert your own perverted innuendo concerning tolerances.)
  :devil:
Johnny
Member (SA)
skippy1969 said:Nice Fix! It will probably last longer than the factory "Tits".............


Thanks Z for the helpful idea!
- Status
- Not open for further replies.


