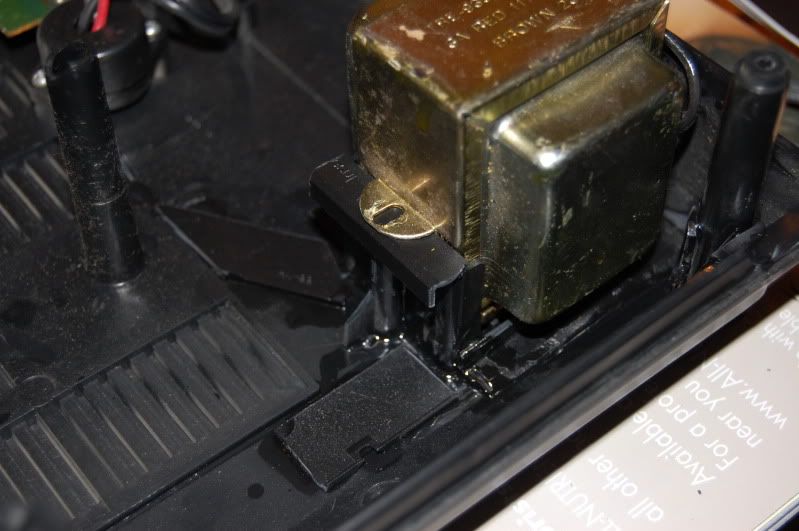
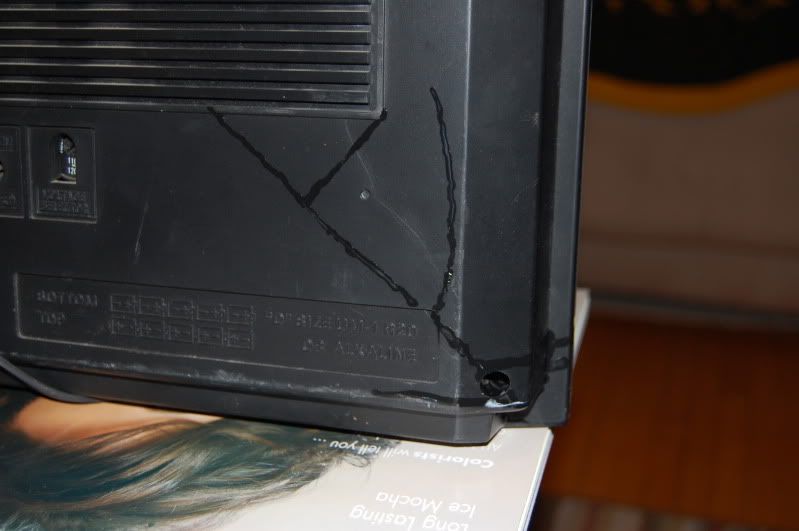
cracks and broken pieces

Status
Not open for further replies.

monchito

Boomus Fidelis
its wierd but was thinking as i was playing around with some boomboxes trying to to some swaps or trying to patch things up ,,, well as you know most of have had a share of broken boxes pieces snapped off and the first thing we this the glue we can use to glue things back up so many choices out there but was really wandering which would really be the best stuff out there???,, i was playing around with some pvc piping and i used the normal plastic pvc pipe glue but who can take it apart once it has the pipes together,,, so my question do you think that pvc pipe glue could possibly glue the plastics on a boombox,,, if so or has anyone tried it i was just about to try it myself just to see if it could do a good job just as it does on tubing,, i know tubing is a different type of plastic but you never know :huh: :huh: :huh: :lol: :lol: :lol:
 

Superduper

Moderator
Staff member
Ramon. It works but PVC solvent is very messy and thick.

Go to Tap Plastics (online or a local plexiglass supplier) and get some acrylic solvent which dispenses using a syringe, dries clear with no residue.

Then don't look back.
 

redbenjoe

I Am Legend
ramon --i would trust norms advice --much more than mine :dunce:

however --lemme add that everthing that i have ever assembled with "GOOP"
(any kind---household //plumbers // marine, etc)
is STILL together after TEN years --

that includes metal trim to plastic to wood to shoes to glass to ANYTHING !!!
 

Fatdog

Well-Known Member
Staff member
For a second there... I thought Ira said, "POOP". :lol: :lol: That would actually explain a lot of his boomboxes. ;-)
 

Lasonic TRC-920

Moderator
The best thing I have found for doing glue repairs is 2 part epoxy.

And as crazy as it sounds....I have done flat seem repairs where you have to mate two sections, like a boom box side wall together and laid pennies on the inside of the seem. They are flat and obviously strong (plus their cheap!) That way you get more surface area on the inside of the box. The epoxy I used bonds great with plastic and the area around the epoxy will break long before what you glued will. On the downside, when it's together, it's together forever! With that said, I have had a few mishaps in the form of gluing something together without it being perfectly straight. In my case not that big of a deal, but it's a bummer if your going for perfect!
 

Superduper

Moderator
Staff member
Blu... It's similar and yes, you watnt the solvent to wick, but be careful with the syringe (see caution below). Cuz usually, it doesn't just drip out -- it will shoot out like a firehose when the bottle is inverted unless you create a vacumm in the bottle.

You need either the green acrylic cement or IPS #3. The IPS is the name brand and the green acrylic cement is Tap Plastics house brand, probably IPS #3 generic.

You also need the BD-25 syringe. This stuff is very thin -- thinner than water, and thinner than alcohol.

There is several ways to do this. First off, you need to be really careful. Second, this stuff will damage paint so if used on exterior, keep in mind that you're gonna need to touch up or repaint if you use this on exterior surfaces and want a perfect finish. For broken screw towers or case backs, you usually won't need to repaint. This solvent will melt plastic almost immediately so if you accidentally squirt it over places you don't want damaged, it will not end well. Wait a day before screwing the screws back in. Be patient and quit goofing with it while setting.

(1) Use a Q-tip and apply to both surfaces to be joined, then immediately press them together and hold for a couple minutes. Then continue. It won't reach full strength for 24 hours or so but in 1/2 - 1 hour, it will feel pretty strong and hold well. Just don't stress it. The solvent softens and melts the plastic and full strength is not there until it all evaporates. Once dry, should be as strong as the original virgin product. While the product is pressed together, keep in mind that if you press hard, melted plastic will ooze out at the seam. This probably gives you the best strength as it ensures the two parts are melded together. But if you feel this is unsightly, then don't put undue pressure to prevent the oozeing. Anyhow, on case backs, it almost looks like a casting seam. When wet, DO NOT, I repeat, DO NOT smear the seam or attempt to wipe off. Because believe it or not, it will NOT wipe clean and will smear instead. Far better to let it dry and then trim, shave or rub off the seam when it is partially dry.
(2) Dip and stick method. I frequently use this with screw towers or small pieces that broke off. With tweezers or needle nose pliers, I grip the piece after test fitting and dip the edges into the solvent, then immediately place it until it's stable enough to continue.
(3) Use syringe. First off, fill the bottle about 1/4 to 1/3 way. Do not put too much in because I noticed that old solvent stored in the bottle loses some of it's strength when it's been in the bottle too long. Like weeks. Then join the pieces together. Now this is the hard part -- practice makes perfect..... Squeeze out much of the air and invert the bottle with the needle at the seam. You don't need to squeeze hard, more like just preventing the bottle from expanding, and the solvent can be controlled/dripped along the seam. The reason for squeezing out the air is to create vacuum in the bottle to prevent the solvent from spraying out like a fire hose. If you simply invert the bottle, it WILL spray out naturally at great force. Remember, this stuff is far far thinner than water or even alcohol. This is how they use to dispense solvent onto acrylic aquarium seams, and other similar projects. But small piecs on boomboxes makes this a much more delicate procedure.

Anyhow, all I can say is that this all takes practice. It yields the best repair but does require some skill since it's not slow setting like "glue". The last thing I want to say is remember that there are no fillers. It really is a solvent that melts the plastic thereby chemically "welding" the parts together. So ill fitting parts won't repair well since when the solvent evaporates -- it's gone and no voids will be filled. Still, it's possible to repair even when chunks or bits are missing by filling and sanding with bondo or glazing putty after the repair.
 

oldskool69

Moderator
Staff member
Fatdog said:
For a second there... I thought Ira said, "POOP". :lol: :lol: That would actually explain a lot of his boomboxes. ;-)


You guys make it sooooooooo difficult to make it through a thread without laughing at least once. Thank goodness for Norm so we can be serious once in a while. :lol:
 

oldskool69

Moderator
Staff member
Norm, that's great advice. :yes: I should also note that this stuff works great on mainboards. HOWEVER...you must sand back the traces before adhereing and I strongly recommend the use of blocking to level and hold the board sections together. Once complete, if you are rock steady with your hands, you can resolder the traces and coat them to protect them. (I don't know if you can still get this stuff via the Shack. We have a place called Forbes Electronics down here.) If you're not so steady but can handle windshield defroster repairs, believe it or not, you can use a trace repair kit for that. Add the same circuit coating to protect it and you should be off to the races. :-)
 

Superduper

Moderator
Staff member
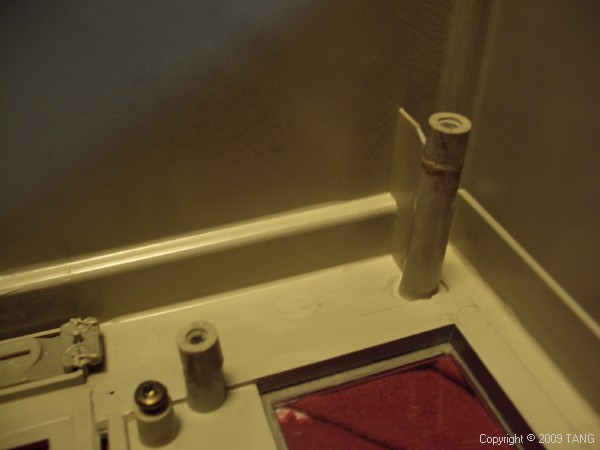
Here are some screw towers repaired with the solvent. These pieces were not expected to be visible so I did put pressure on them which squeezes out some melted plastic but they are as strong as before the repair. I didn't care if there was a seam. Strength here was my primary concern. For those that are concerned about strength, you can always add additional hot melt glue or epoxy around the outside to "beef up" the repair and add additional support, if you are worried.

As long as you have all the pieces, even humpty dumpty can be repaired with a little patience.

For you smarty pants -- name that boombox. :hmmm:

gf-777061.jpg


gf-777057.jpg


gf-777060.jpg
 

blu_fuz

Well-Known Member
Staff member
OK, I was going to put my order through TAP on 4oz of #3 acrylic and the BD-25 syringe. Shipping to my home was $15+! and shipping to my work address was $10+! :nonono: . That would bring my total price with shipping to $20-$25. Why do they have to do that?


So I looked on ebay and sure enough, the same stuff I was going to order was $5-$10 cheaper than TAP. Total price of $13.90 shipped and I can use my paypal account, which is nice.

http://cgi.ebay.com/weld-3-acrylic-plex ... 53e2a7625f


!By7RW1QBmk~$(KGrHqV,!iMEw5idpeGeBMT)94WbSw~~_3.JPG
 

floyd

Boomus Fidelis
Superduper said:
Here are some screw towers repaired with the solvent. These pieces were not expected to be visible so I did put pressure on them which squeezes out some melted plastic but they are as strong as before the repair. I didn't care if there was a seam. Strength here was my primary concern. For those that are concerned about strength, you can always add additional hot melt glue or epoxy around the outside to "beef up" the repair and add additional support, if you are worried.

As long as you have all the pieces, even humpty dumpty can be repaired with a little patience.

For you smarty pants -- name that boombox. :hmmm:

[ Image ]

[ Image ]

[ Image ]


oh thats an easy guess norm it has to be a gf 777 , i know i seen the insides of these enough :lol:
 

blu_fuz

Well-Known Member
Staff member
OK - this 951 back case was good for me to practice on. Sure I dribbled all over the area I was working in on the inside :lol: . The screw posts are easy. Just dip in the container and set into place. Works great.

Now, the question I have for this particular repair is, because the entire transformer area was destroyed and the back case was cracked about 3 inches away from the transformer, should I glue some more plastic over the cracked areas for added support? What else can I do for the mounting posts that the transformer screws to? I just don't think it will hold up :-/ .

And the tops of 2 screw posts are missing so the head of the screw will just pull through, should/can I glue a new plastic chunk on and drill a small hole in it?


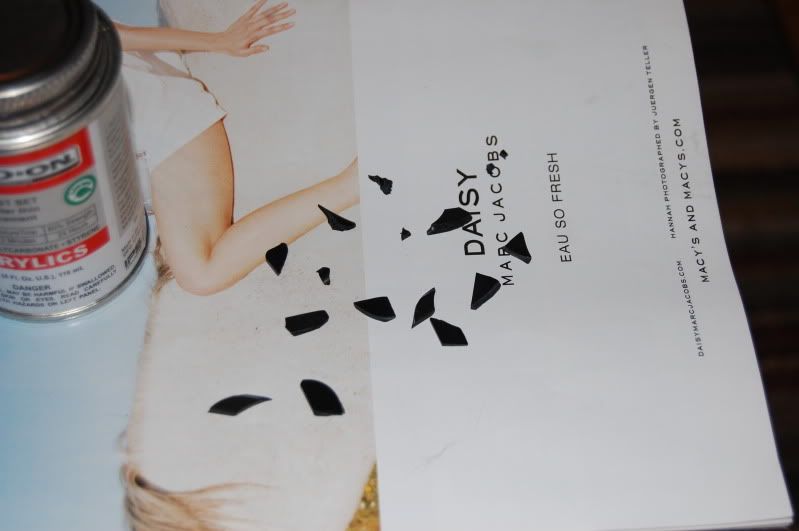
Here are the extra pieces that just aren't worth finding the home for:
4-19-2011001.jpg


Here is the repaired long cracks I am pointing to. Can I put a piece of cassette case over that crack and glue it down for strenght?
4-19-2011002.jpg


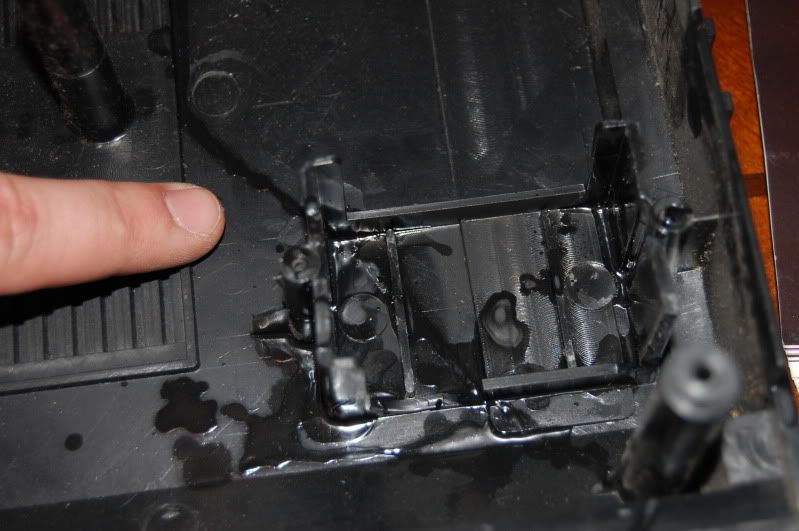
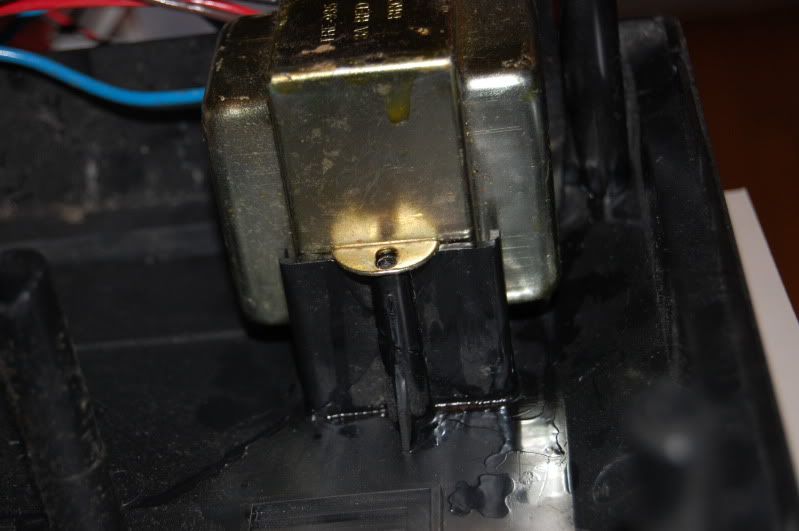
Here is some detail on the transformer mounting posts and the area that supports it. Any ideas for strengthening that?
4-19-2011003.jpg

4-19-2011004.jpg

4-19-2011005.jpg


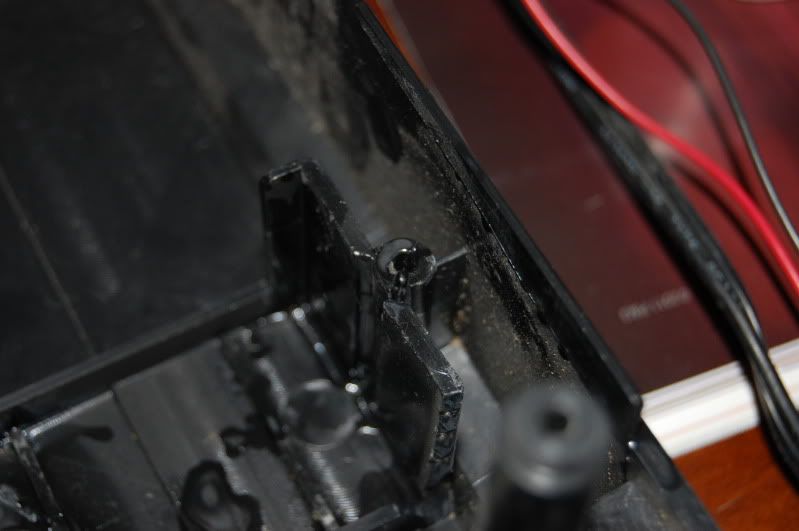
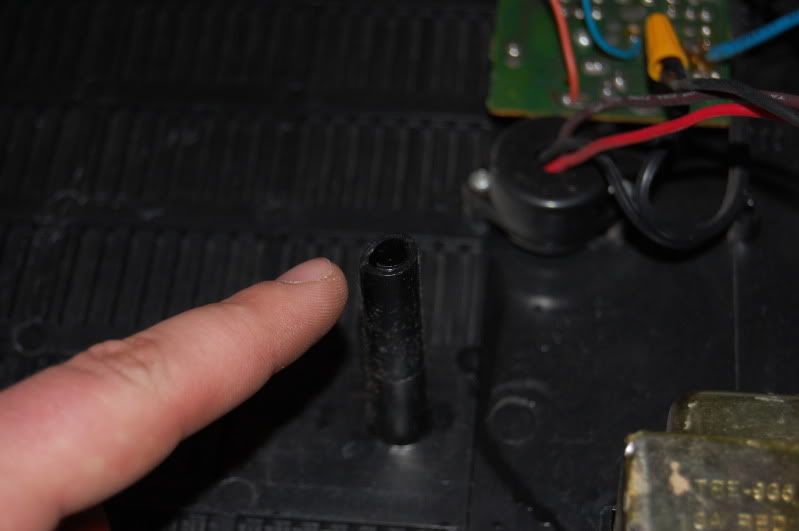
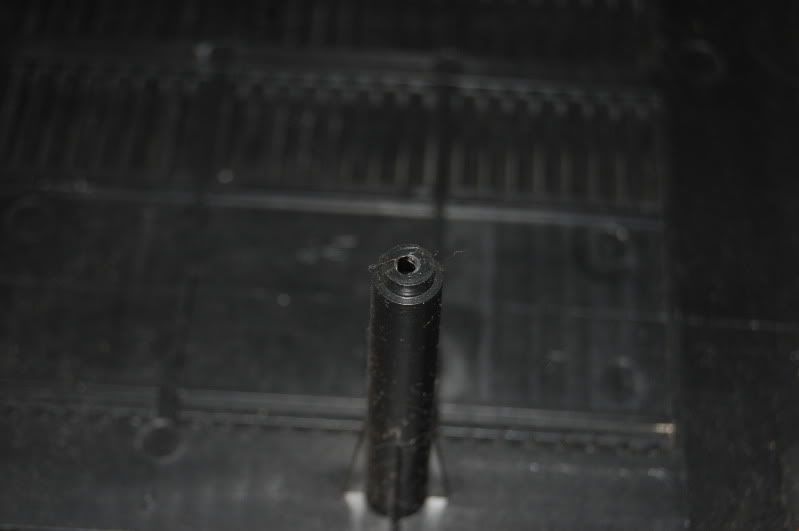
I have two posts like this one I am pointing to with the tops missing. Below this pic is another pic of the way it should look. Ideas for fixing that?
bad:
4-19-2011006.jpg


good:
4-19-2011007.jpg
 

blu_fuz

Well-Known Member
Staff member
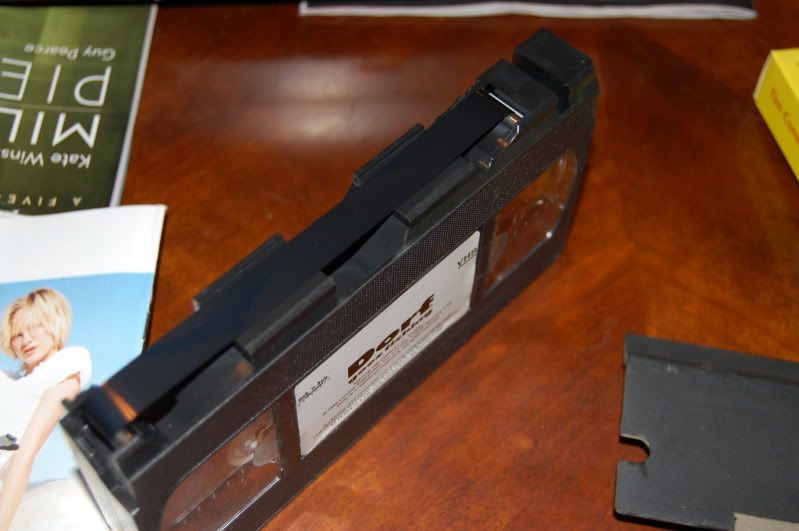
Well, I should have thought sooner but just after I posted this I realized I should use another "black plastic" that is strong but is not brittle. So I scavanged around the house and picked up an old VHS tape. I pulled the "flap" off the side that the vhs tape is exposed on.

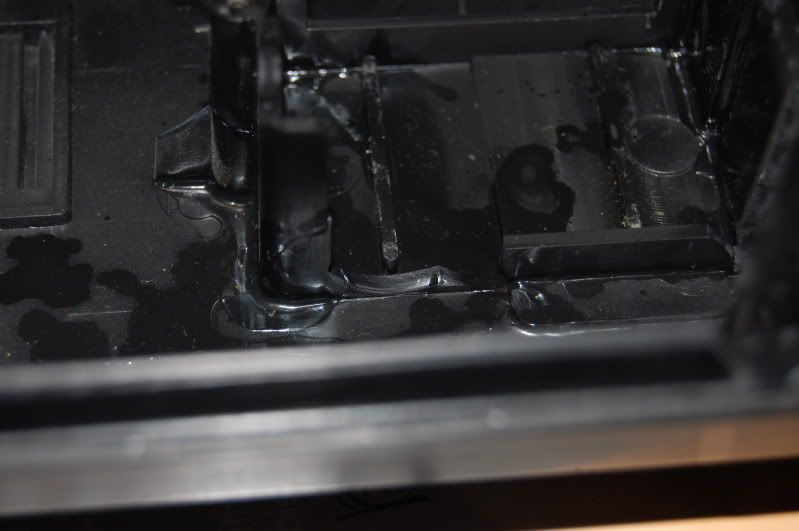
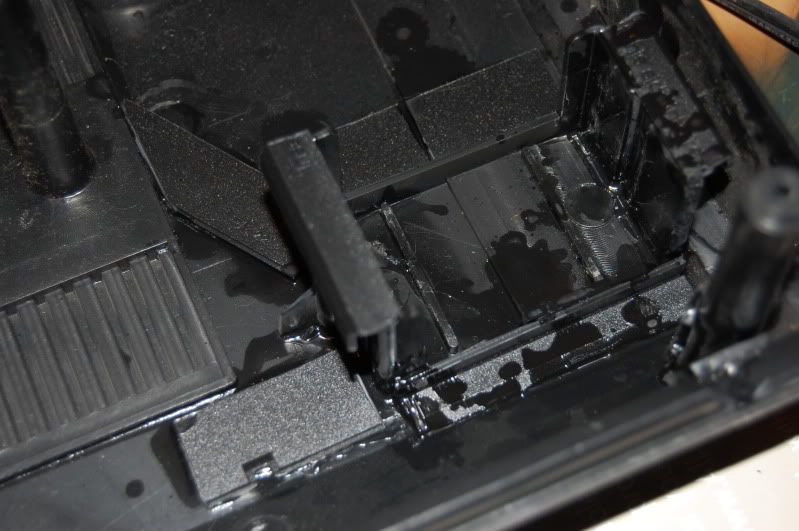
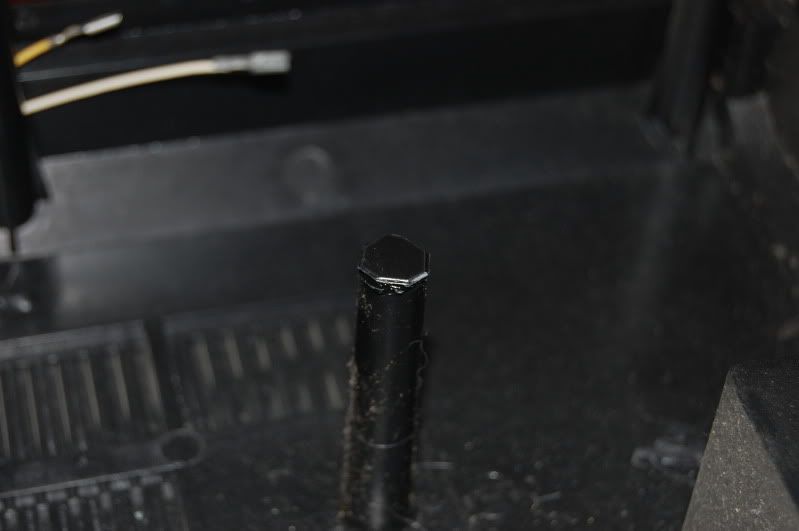
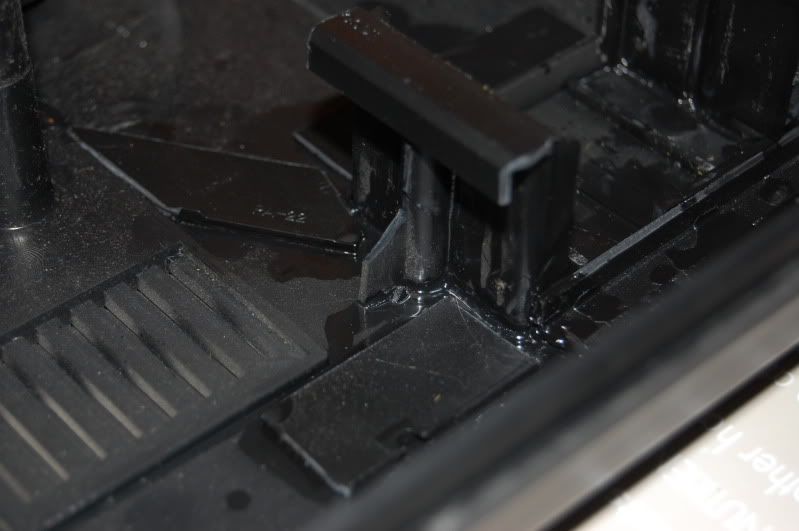
This is perfect material! I just went over and patched the hell out of all the cracked areas from the back. I also put L shaped pieces over the original transformer mounting holes. Then I will drill a new hole and it should be A-OK! The posts that are missing the tops I just cut circle shaped caps to fit over the broken area and I will drill a small hole for the screw shaft to go through after it sets!


I am very happy now and confident that the repairs will hold up. This acrylic cement is crazy good. A MUST have to any BBX collectors kit. :thumbsup:

Thanks for the helpful tips.


4-19-2011013.jpg

4-19-2011014.jpg

4-19-2011015.jpg

4-19-2011016.jpg

4-19-2011018.jpg


Here is the back side of the bbx:
4-19-2011019.jpg
 
Status
Not open for further replies.