Magnum said:
Thanks for the answers!
Yes, it is my very first time of opening a boombox, that's true. Having successfully repaired a camera and a flash, I'm willing to take it to the next level.
I had a phone call with a repair guy who was recommended to me. And I told him I needed fixing for my "boombox", and he was like "What's a boombox?" So yeah there went my faith in him.
Any other things to consider before I open the RX-7000?
I am pretty sure you can do this work for the speed adjustment.
There are lots of things to keep in mind when you start working on this RX7000. It is one of the most sought after and beautiful Panasonic boxes ever made. So don’t take any chances working on this box. Be patient and do the work with utmost care. I have worked on so many boomboxes and other electronic gadgets. I am not an expert in anything. I am always willing to learn and made so many mistakes in the past working on boomboxes alone.
Here are some simple steps to follow
1. Read the manual carefully and identify the parts, the disassembly process.
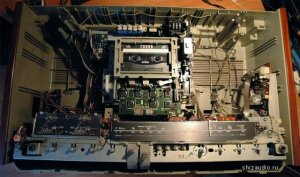
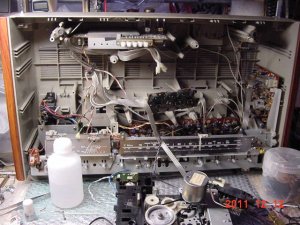
2. Search for the same model and see if you can find pictures of the interior parts of the unit.
3. Take pictures of every step of your work, even small steps. Pictures tells a lot!
4. Work in a well lighted area and have a soft white towel to lay place the box.
5. Get some small receptacles or trays for the screws and parts you remove.
6. Take care not to get tools trapped under the box, it might scratch and damage the finish.
7. In most cases the first thing you do is to disconnect power and then remove the cassette door cover.
8. Open the cassette door and remove the cover by gently sliding upward and pulling outward. Be careful, it is easy to damage it if you use excessive force.
9. Now look and the service manual and locate the rear cover screws.
10. Use long screw Philips head screw drivers and remove screws starting from bottom and all the way up.
11. Mark the location of each screw on a Styrofoam piece and poke those screws there. This way you are using the same screws at the same location.
12. Very gently try to open the rear or front cover whatever shows in the manual.
13. When you separate the cover, watch for wire leads. IN many cases there will be connectors on the lead wires, remove them carefully without bending the PC board. Give support on the edges of the PC board and gently separate them
14. Keep your hands and fingers away from electronic components. Take care not to touch any components in the radio circuit, if tampered that might misalign the radio.
15. Take a breath now and relax for a while.
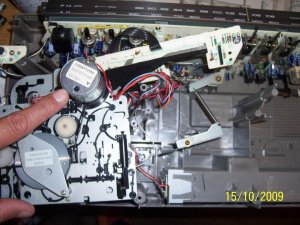
16. Now identify the mounting screws of the tape deck assembly. There is always a metal piece hanging from there to a record bar switch. Learn how it is connected. We have to put it back in the same position when you put the deck assembly back.
17. Now start removing the deck. There will be several connectors hooked to the deck section.
18. Take pictures of each connector. In some cases you don’t have to completely remove the deck and still you will be able to work on the deck.
70. Turn the screws back ward until you feel a click, then turn forward. This way you can make sure you are in the groove and not cross threading it.

I would order belts for this RX7000 also before you start the work....
Good Luck!
There are so many experts here... we can help you as you move forward..
Cheers!
~Royce


