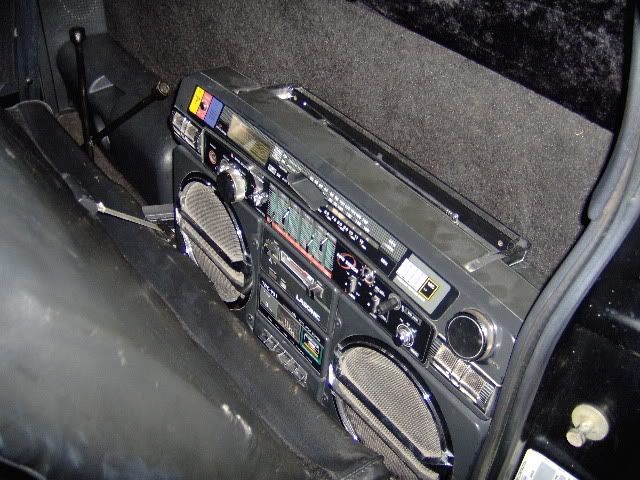
Chemical tapedoor damage

Status
Not open for further replies.

BMoney

Member (SA)
Aug 1, 2009
549
0
0
Northern Cali / Bay Area
lol :lol: good advice then.

this next question is a bit off topic... :eek:fftopic:
but can't you use the same polishing technique (except add a clear coat layer) on the headlights of cars when that lens turns foggy and dull and yellow?
 

TRC-911

Member (SA)
Jun 8, 2009
762
0
0
33
Fort Knox
BMoney said:
lol :lol: good advice then.

this next question is a bit off topic... :eek:fftopic:
but can't you use the same polishing technique (except add a clear coat layer) on the headlights of cars when that lens turns foggy and dull and yellow?

Good question my dear watson!You don't want to add clear coat to anything well, clear-or transucent that is :blush:
I have dealt with ths issue many a time and there are only two solutions that I use,
1- is replace the headlight with an OEM replacement readilly availiable on ebay
OR
2- the easy,. cost effective way-CUT+POLISH. This involves a buffer, I use Meguiars M8632 SOLO one liquid system,
I start out by pouring it on the surface to be 'buffed', then rubbing it in really good with my gloved hands, I will then let it sit several seconds and slowly move the buffer along the suface to get it wet and then go at it, Now don't put any pressure into it, just enough to keep it on the surface and let it work itself clear to a brilliant new look :-)

I have a pic of my montes headlights after this (they were new from GM but I buffed them anyhow) and I buffed my s10 after I painted it and it made her SHINE :drool:


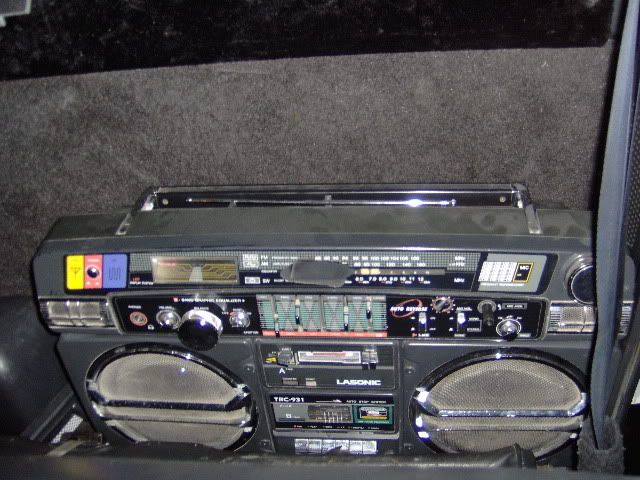
My 931 from Juarez Mexico


TRC-911

Member (SA)
Jun 8, 2009
762
0
0
33
Fort Knox
ViennaSound said:
@SD: Ok, i will do it by hand and not with a tool.
Is safer. :yes:

@TRC: What happened to the poor 931 scale? Cleaning by tool... ? :blush:

no,I bought her that way for $35 in mexico :-)
 

hemiguy2006

Member (SA)
May 5, 2009
2,411
171
63
52
Superduper said:
Well, since you ask :-D .

Been there, done that, and the plastic melted and left check marks. :'-( I guess you can say just use the dremel carefully but I've learned my lesson and no more rushing for me.... since that experiment, I've done many more and have removed some very deep scratches by exactly the method I said before. Start with 400 or 600 grit and progressive move to 1000 or 1500 grit, wet sanding. With patience, the results will be good without risking an irreplaceable lens or glass. At TAP Plastics, they'll probably use a power buffer but they've far more experience AND if the piece messes up, all they got to do is cut another piece. Where are ya gonna find another lens for that M90?
This is the method I use and it produces excellent results.
also for final buffing go to the local pharmacy like CVS or Walgreens and get yourself a fingernail buffer it has three different sides for a great shine and luster.
 

redbenjoe

I Am Legend
May 6, 2009
17,993
9
0
83
florida
for the extreme lazy --- :dunce: :-)

some of the dremel and AKA models do have variable speed settings -
the lowest speed will do well --and if you move it all around -
w/o too much pressure
it wont melt the plastic
 

Old school Scott

Member (SA)
Jun 12, 2009
1,538
0
36
HOLD IT HOLD IT!! :nonono:

VS, before you try anything simply wipe on a little Almond oil.
This advice was given to me by one of the members here I don't remember who.
Almond oil, or almond oil cleaner,
It magically turns a smokey plastic into shiney and clear.,fills in cracks.
I hope this works and its not too late.


Cheers OSS :afro:
 

ViennaSound

Member (SA)
May 7, 2009
4,713
18
38
49
Vienna / Austria
Found something very interesting in bredgeo´s collection thread.
The sides of the tapedoor had been silver!!! :-O


This makes it much easier. :-P
So i have only to colour it new! :yes:
 
Status
Not open for further replies.