The idea for this repair came from a conversation with member HERB (thanks bro)
The broken antenna hold down ear on the Lasonic TRC-920 is one of the most infamous problems and ridiculous designs out there. I would say 90% of surviving 920's have those ears broken off and it's taken me ten years of collecting to finally own a 920 with the original ears.
During a conversation with HERB, he said, "why don't you just 3D print a set and super glue them to the box". My first response was "there is no way super glue or any glue would hold it". The reason being the contact patch is just too small and when the antenna clips in and out it puts pressure on the tiny plastic ear.
But it did get me thinking. What if I could find a small enough drill and screw and attach it from the inside?
So I did just that...here are the 3D printed ears
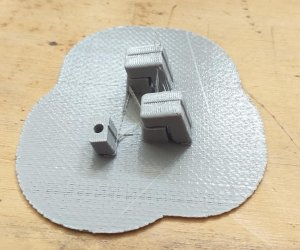
Here is a set of test prints...
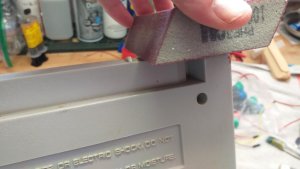
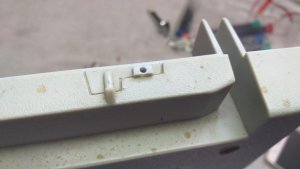
Next was to sand the old tab plastic flat and prepare it for the new 3D printed part
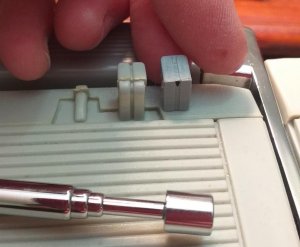
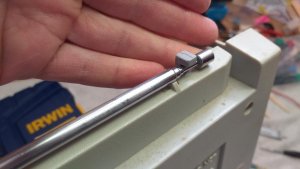
I also 3D printed a small tool that allowed me to perfectly line up the drill bit to drill the hole in the radio case.
Using the alignment tool I used a 5/64" drill by hand to start a small positioning hole.

I used a power drill to make the final hole

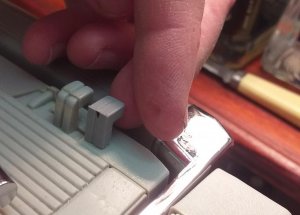
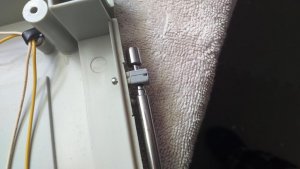
I then threaded the tiny machine screws up from the inside of the case
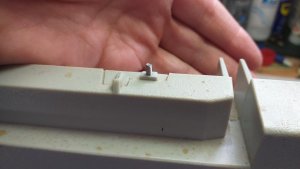
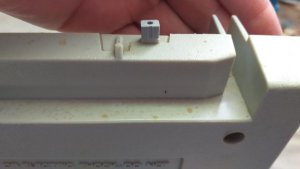
Next, I just screwed the new ear onto the screw post
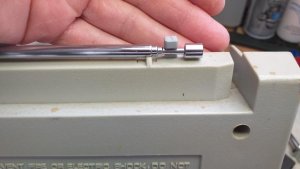
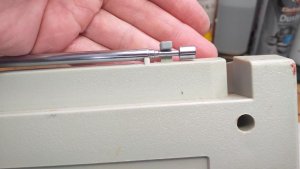
From 1 meter away, you can't tell.
I guess the point to all this is to show that no matter what it is, everything can be repaired.
The broken antenna hold down ear on the Lasonic TRC-920 is one of the most infamous problems and ridiculous designs out there. I would say 90% of surviving 920's have those ears broken off and it's taken me ten years of collecting to finally own a 920 with the original ears.
During a conversation with HERB, he said, "why don't you just 3D print a set and super glue them to the box". My first response was "there is no way super glue or any glue would hold it". The reason being the contact patch is just too small and when the antenna clips in and out it puts pressure on the tiny plastic ear.
But it did get me thinking. What if I could find a small enough drill and screw and attach it from the inside?
So I did just that...here are the 3D printed ears
Here is a set of test prints...
Next was to sand the old tab plastic flat and prepare it for the new 3D printed part
I also 3D printed a small tool that allowed me to perfectly line up the drill bit to drill the hole in the radio case.
Using the alignment tool I used a 5/64" drill by hand to start a small positioning hole.
I used a power drill to make the final hole
I then threaded the tiny machine screws up from the inside of the case
Next, I just screwed the new ear onto the screw post
From 1 meter away, you can't tell.
I guess the point to all this is to show that no matter what it is, everything can be repaired.


")