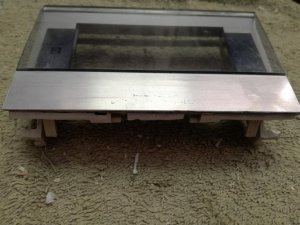
Here is how you convert the deck door from a Sharp GF-777 to a Conion / Helix C-100
I started with deck door #2 from a donor 777 (thank you to THAFUZZ for hooking me up with this door)

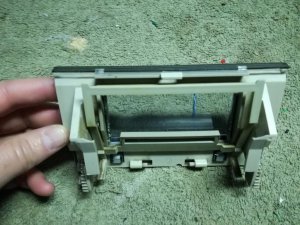
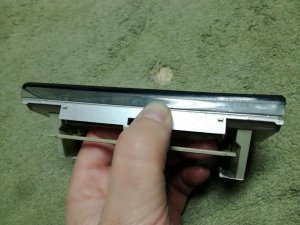
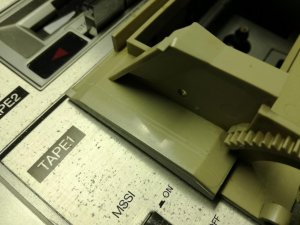
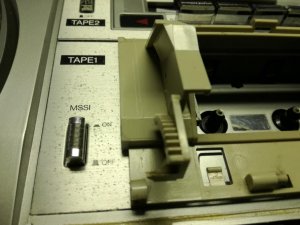
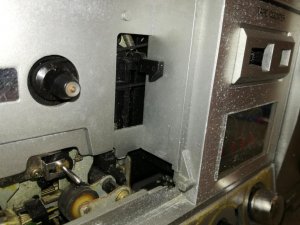
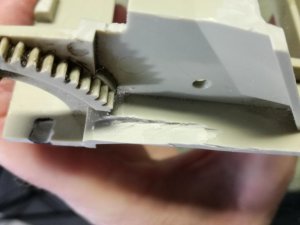
The Sharp GF-777 door is very similar to the C100, but it is longer side to side and slightly taller. But the soft eject gear is in the right spot, as well as the pivot's and open limiters.
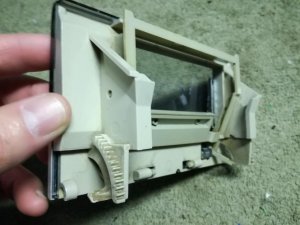
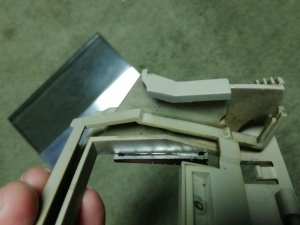
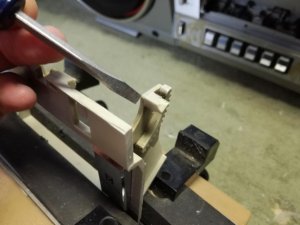
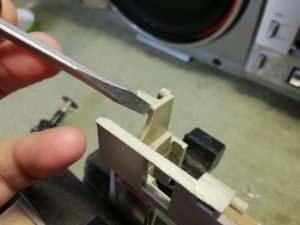
Start by disassembling the door parts..
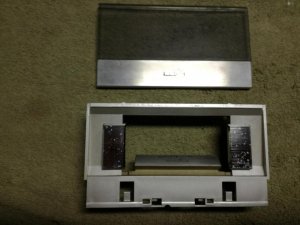
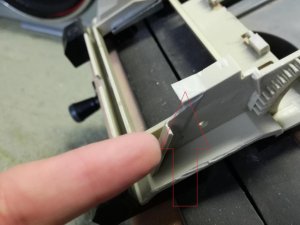
The plexiglass simply slides up and pops off. But there is a touch of glue at the top which can be loosened with an exact o knife. Then it just pops up.
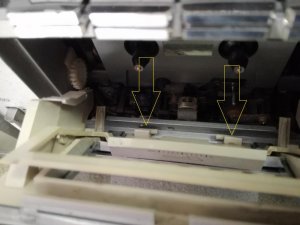
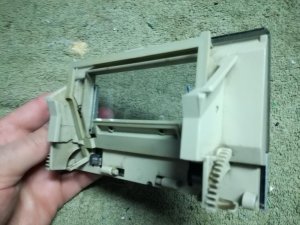
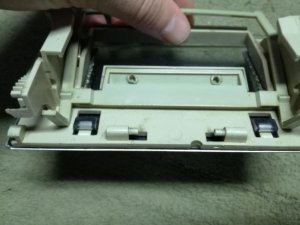
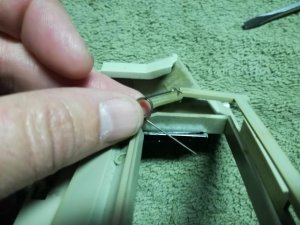
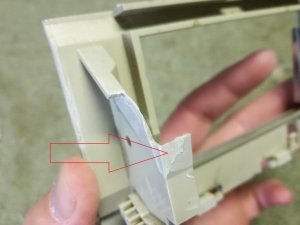
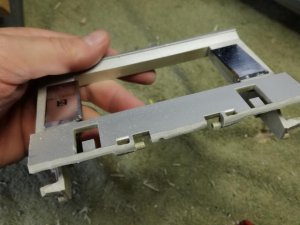
Next remove the cassette cradle and spring. The cradle is held in place with a single dimple at each end. Just be gental and it will pop right out.
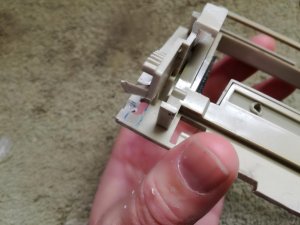
The position of the spring.
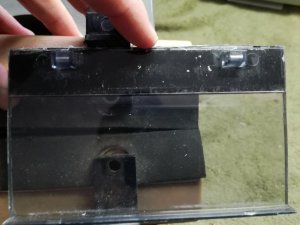
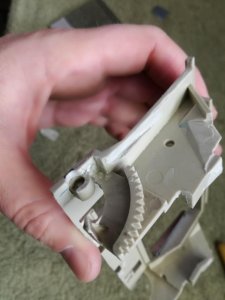
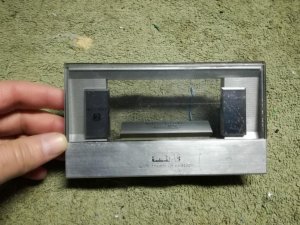
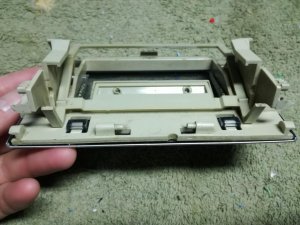
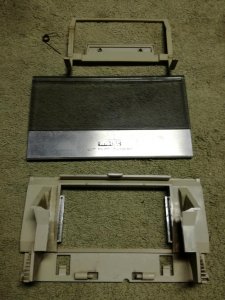
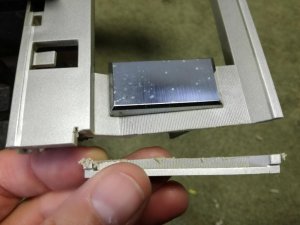
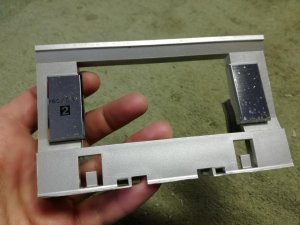
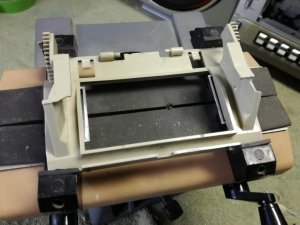
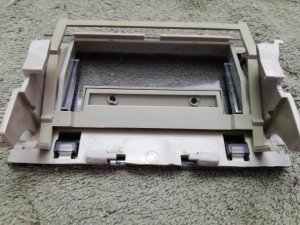
All deck door parts.
The 777 door is 142.74mm long.
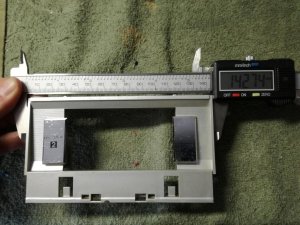
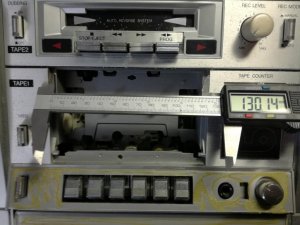
The C-100 deck opening is 130.14mm.
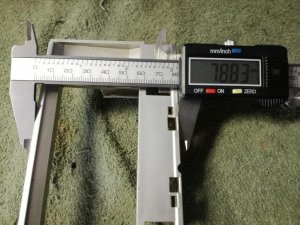
The 777 door is 78.83mm tall.
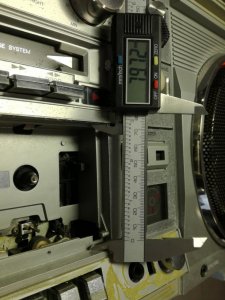
The C-100 deck opening is 79.72mm tall.
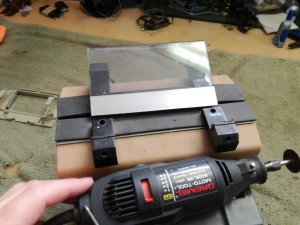
Using the calipers, I scribed lines in the door. The outside line is the exact measurement, the inside line will be my door edge and the gap between is my cut line.
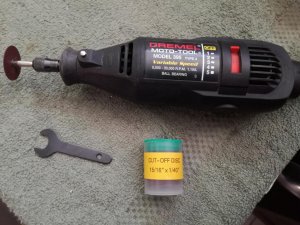
I used a typical Dremil tool with a 15/16" x 1/40" cut off disc. Set the speed to it's slowest setting. When cutting plastic, it will heat up quickly, when it does, it melts and turns to goo. You don't want that. Do not try to cut through the full depth of the plastic. Instead, score a line down the full length of the cut line. Then go back and cut it again. Keep moving down the length. This keeps the plastic from heating and melting. If your blade becomes filled with melted plastic, replace it. Keep the blade clean for a clean cut. As plastic melt and debris builds up on the cut line, pause, let it cool and chip it away. This, along with a steady hand will make for clean precis cuts.
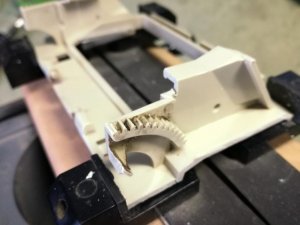
My first cut is near the bottom. I'm going to cut out the hinges to possibly graft them in later, so I want to make sure I don't damage them.
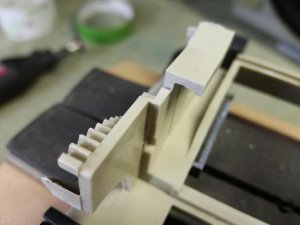
I cut the side above the hinges off first.

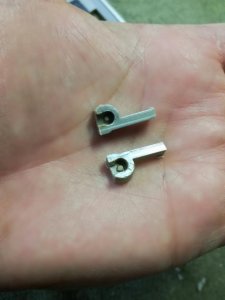
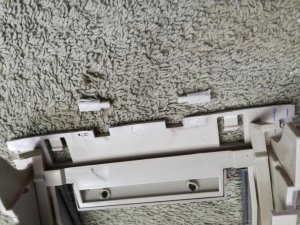
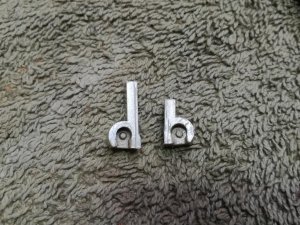
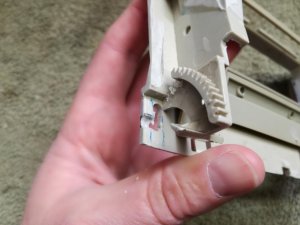
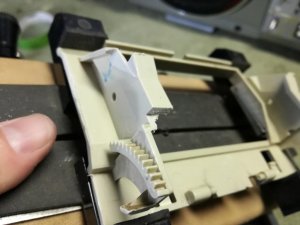
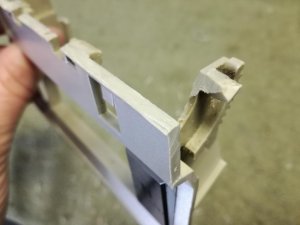
Here are the hinges. I will set those aside till later.

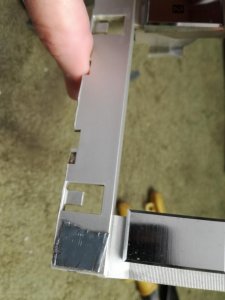
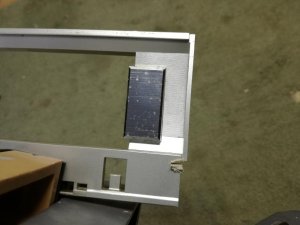
The length of the door now fits.

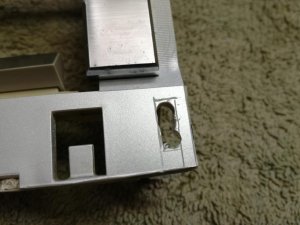
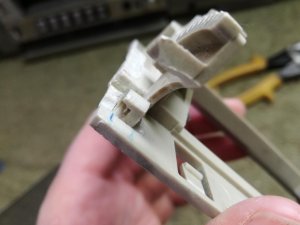
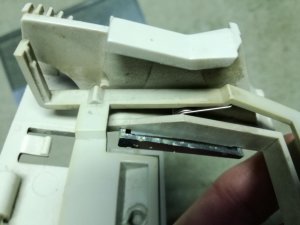
The 777 door latch is at the top and will not be needed on the C-100 and will need to be removed for clearance purposes. So it is cut off.
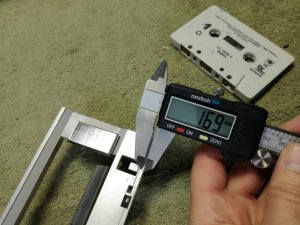
Now it's time to trim the bottom of the door to give us our top to bottom fit.
Remove 1.69.mm off the bottom of the door.
After the cut.
Now the door fits in the opening.

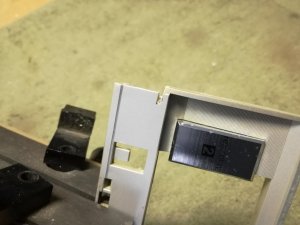
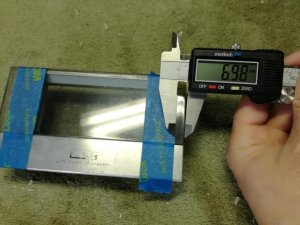
The ends of the plexi need to be cut down to fit the new width of the door.
Take 6.98mm off each end.
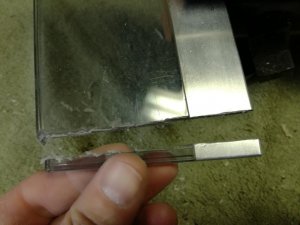
Cutting the plexiglass with the cut off wheel requires going even slower. All these surfaces will require sanding to make them flat and even, but still go as slow as possible.

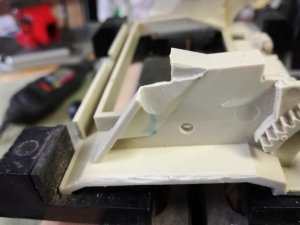
It's time to start making tiny fitment modifications to the door. This will require small bits of trimming in various parts of the door. I have done my best to document each step and each little cut and trim, but you will still need to make small adjustments to make it fit nicely.
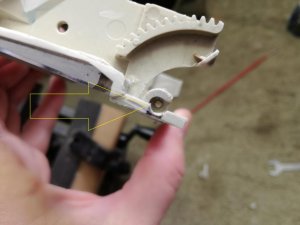
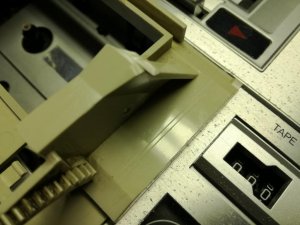
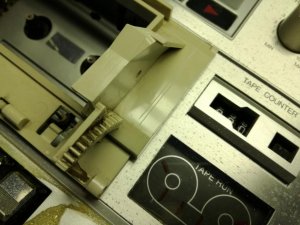
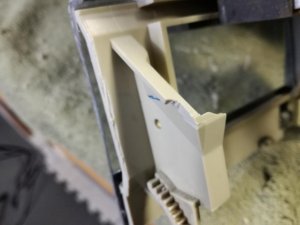
First is a cut to provide clearance for the eject latch. Later, I will make a post for the eject latch to hook on too. But for now, we need the latch to clear the internal structure of the door.
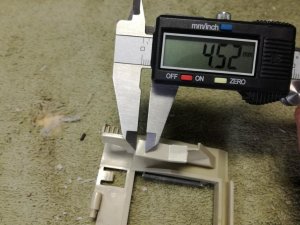
Next is to provide clearance of the cassette slide guides at the rear of the cassette bay in the radio. I am tentatively trimming off 4.52mm to start with.
Using the calipers, I scribed a cut line into each side.
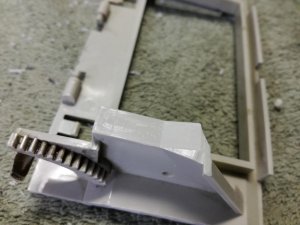
Then made a notched cut into both sides.
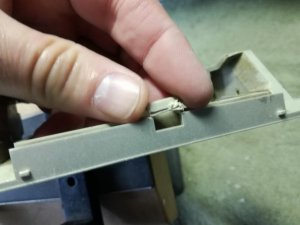
Some material removal was needed near the eject latch again to provide more clearance.
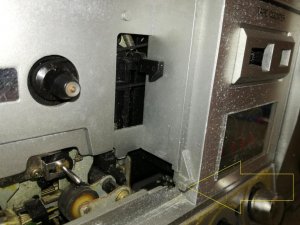
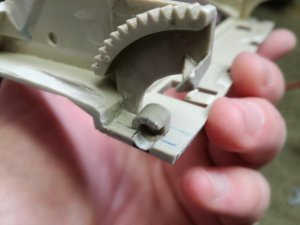
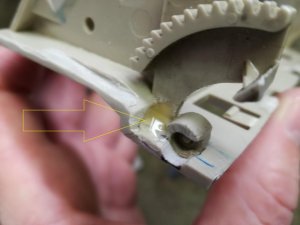
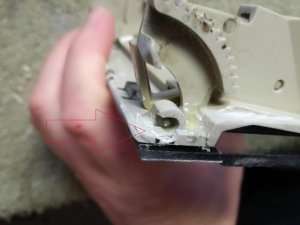
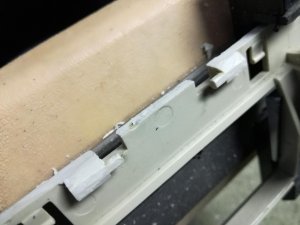
At the bottom of the door you will find these two pins. They are not hinge pins, but attachment points for the spring that will push the door open. I have removed a slight amount of material to get the door to sit more flush to the face of the box.
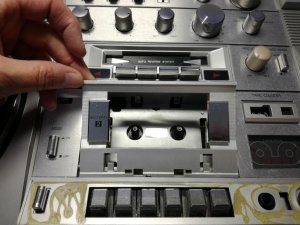
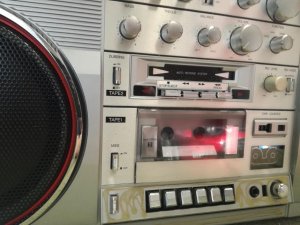
With the cassette cradle back in the deck door, I test for fitment. The door will need to be lowered to make room for the plexi at the top of the deck door.
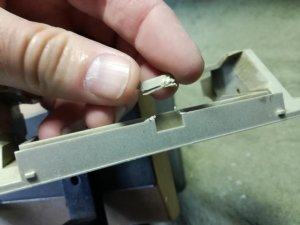
I removed this corner of plastic near the eject latch to both give more space for the latch and more clearance to the back wall of the deck bay.
A tiny bit of material removed here helps the door fit more flush to the face of the radio.
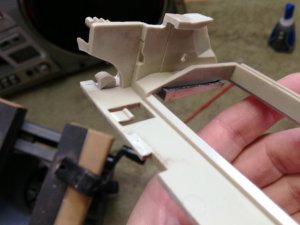
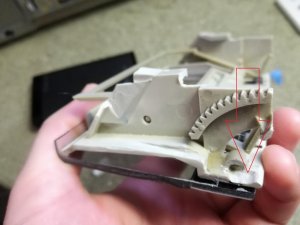
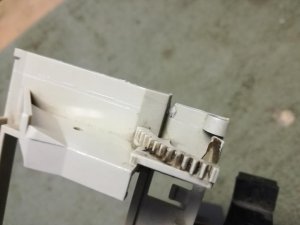
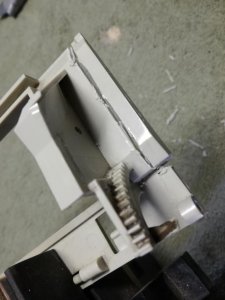
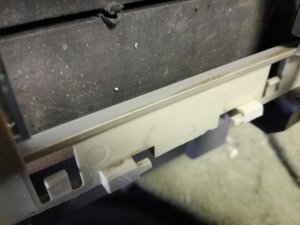
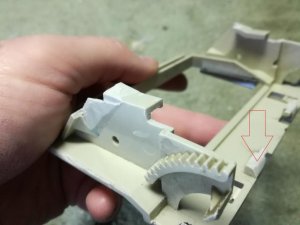
Next is to provide clearance at the bottom of the pivot/limit stops. This allows for the bottom of the door to be more flush with the face of the box.
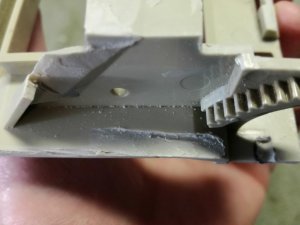
Here is where you need to remove a small amount of material.
With material removed.

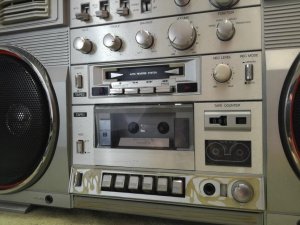
The door is starting fit into the face of the box now.
Tiny adjustments now need to be made.
I rounded out the bottom of the spring pins to allow the door to open smoother.
Removal of material here will provide a better fitment and flusher mounting of the door.
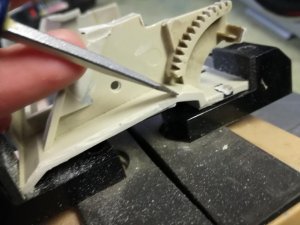
A chamfered edge across the bottom is required so the door can open smoothly.
It's now time to trim the bottom of the door face.
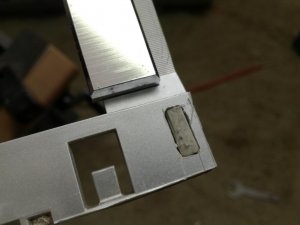
I reinstalled the plexi to the door and made my cut from the back of the face using the door as my guide. I then used sandpaper to even the edge. I used the same cut off wheels to cut the aluminum, but at a higher speed setting. Wear eye protection.
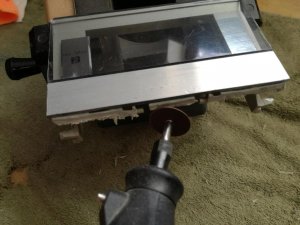
I used a Scotch Bright pad and alcohol to clean up the aluminum a little and remove the text that was on the door.

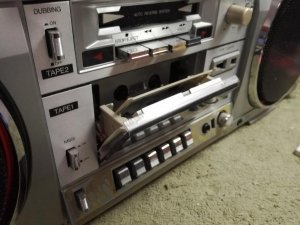
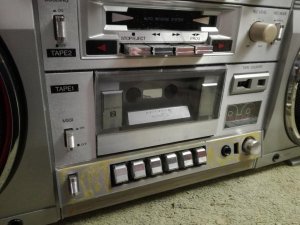
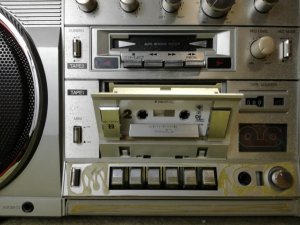
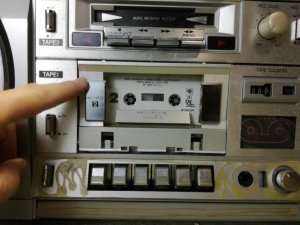
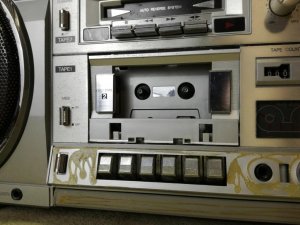
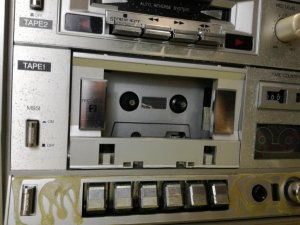
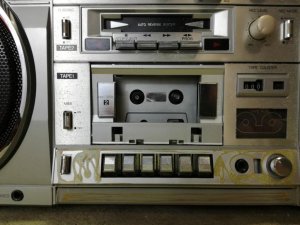
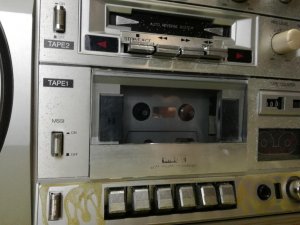
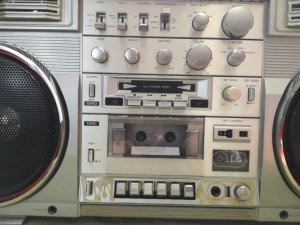
The reassembled door, installed on the radio.
What is next....
Graft in the hinges or make new hinges
Make a spring to push the door open
Make a post for the eject latch to grab
Adjust the gears for the soft eject
Adjust fitment once all these items have been completed
I started with deck door #2 from a donor 777 (thank you to THAFUZZ for hooking me up with this door)
The Sharp GF-777 door is very similar to the C100, but it is longer side to side and slightly taller. But the soft eject gear is in the right spot, as well as the pivot's and open limiters.
Start by disassembling the door parts..
The plexiglass simply slides up and pops off. But there is a touch of glue at the top which can be loosened with an exact o knife. Then it just pops up.
Next remove the cassette cradle and spring. The cradle is held in place with a single dimple at each end. Just be gental and it will pop right out.
The position of the spring.
All deck door parts.
The 777 door is 142.74mm long.
The C-100 deck opening is 130.14mm.
The 777 door is 78.83mm tall.
The C-100 deck opening is 79.72mm tall.
Using the calipers, I scribed lines in the door. The outside line is the exact measurement, the inside line will be my door edge and the gap between is my cut line.
I used a typical Dremil tool with a 15/16" x 1/40" cut off disc. Set the speed to it's slowest setting. When cutting plastic, it will heat up quickly, when it does, it melts and turns to goo. You don't want that. Do not try to cut through the full depth of the plastic. Instead, score a line down the full length of the cut line. Then go back and cut it again. Keep moving down the length. This keeps the plastic from heating and melting. If your blade becomes filled with melted plastic, replace it. Keep the blade clean for a clean cut. As plastic melt and debris builds up on the cut line, pause, let it cool and chip it away. This, along with a steady hand will make for clean precis cuts.
My first cut is near the bottom. I'm going to cut out the hinges to possibly graft them in later, so I want to make sure I don't damage them.
I cut the side above the hinges off first.
Here are the hinges. I will set those aside till later.
The length of the door now fits.
The 777 door latch is at the top and will not be needed on the C-100 and will need to be removed for clearance purposes. So it is cut off.
Now it's time to trim the bottom of the door to give us our top to bottom fit.
Remove 1.69.mm off the bottom of the door.
After the cut.
Now the door fits in the opening.
The ends of the plexi need to be cut down to fit the new width of the door.
Take 6.98mm off each end.
Cutting the plexiglass with the cut off wheel requires going even slower. All these surfaces will require sanding to make them flat and even, but still go as slow as possible.
It's time to start making tiny fitment modifications to the door. This will require small bits of trimming in various parts of the door. I have done my best to document each step and each little cut and trim, but you will still need to make small adjustments to make it fit nicely.
First is a cut to provide clearance for the eject latch. Later, I will make a post for the eject latch to hook on too. But for now, we need the latch to clear the internal structure of the door.
Next is to provide clearance of the cassette slide guides at the rear of the cassette bay in the radio. I am tentatively trimming off 4.52mm to start with.
Using the calipers, I scribed a cut line into each side.
Then made a notched cut into both sides.
Some material removal was needed near the eject latch again to provide more clearance.
At the bottom of the door you will find these two pins. They are not hinge pins, but attachment points for the spring that will push the door open. I have removed a slight amount of material to get the door to sit more flush to the face of the box.
With the cassette cradle back in the deck door, I test for fitment. The door will need to be lowered to make room for the plexi at the top of the deck door.
I removed this corner of plastic near the eject latch to both give more space for the latch and more clearance to the back wall of the deck bay.
A tiny bit of material removed here helps the door fit more flush to the face of the radio.
Next is to provide clearance at the bottom of the pivot/limit stops. This allows for the bottom of the door to be more flush with the face of the box.
Here is where you need to remove a small amount of material.
With material removed.
The door is starting fit into the face of the box now.
Tiny adjustments now need to be made.
I rounded out the bottom of the spring pins to allow the door to open smoother.
Removal of material here will provide a better fitment and flusher mounting of the door.
A chamfered edge across the bottom is required so the door can open smoothly.
It's now time to trim the bottom of the door face.
I reinstalled the plexi to the door and made my cut from the back of the face using the door as my guide. I then used sandpaper to even the edge. I used the same cut off wheels to cut the aluminum, but at a higher speed setting. Wear eye protection.
I used a Scotch Bright pad and alcohol to clean up the aluminum a little and remove the text that was on the door.
The reassembled door, installed on the radio.
What is next....
Graft in the hinges or make new hinges
Make a spring to push the door open
Make a post for the eject latch to grab
Adjust the gears for the soft eject
Adjust fitment once all these items have been completed