Magic touch to Lasonic TRC975

Status
Not open for further replies.

BoomboxLover48

Member (SA)
Dec 3, 2010
5,747
262
83
Chicago, IL
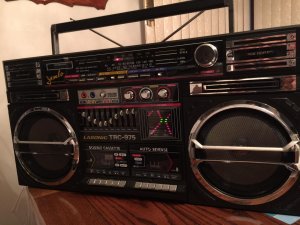
Eric the magician (caution) came to my help for making Lasonic TRC975 decals.

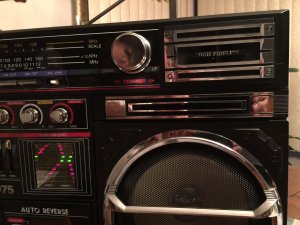
These are the decals around the real tweeters on the top corner, and those fake ones right below it.

I simply take measurements when Eric was perfecting, and it is almost done now.

This is our 3rd project!

1. Sanyo Big Ben - Tweeter and mid range speaker decals
2. JVC M90 - Tweeter decals
3. Lasonic TRC975 - Tweeter decals

Eric is AWESOME!

:bow: :bow: :bow: :bow:

~Royce
 

Attachments

BoomboxLover48

Member (SA)
Dec 3, 2010
5,747
262
83
Chicago, IL
Radio-Active said:
So the square chrome parts are removable decals?,
or you placed decals over the worn chrome?
Like Eric said the square chrome parts were not removable. The chrome layer is a few mils thick, I would say they are like 1- 2 mils thick (1 mil = 25.4 microns = 0.0254 mm). They were not uniformly factory applied or had less prep before application. If you do a common ASTM paint adhesion test (tape pull after cross hatch) they fail right away.


I used wet sanding and made the surface slightly rough without completely removing the chrome layer. Then cleaned the surface with isopropyl alcohol before applying Eric's decals.

Always align one end so perfect and lay it slowly to the other side without fully applying it. I keep a small plastic tie piece under the decal and above the box where you are applying it, so you can always gently lift the decal for better alignment. If it aligns all the way to the other end then you can gently press with fingers and make it stick well.

Don't press too much to avoid telegraphing. Then it will show the substrate surface imperfections telegraphed to the top shiny layer of the decals.

Don't use a cloth and press it, as you move to the side it might lift the corners of the decal, pull it out and mess the adhesive with cloth fiber.
 
Status
Not open for further replies.